title: 给hexo博客添加后台系统(Nginx+tomcat+Springboot)
date: 2023/5/8
tags: 网站搭建
categories: 建站
1.需求
hexo只是个前端静态页面,一方面提交日志不方便,另一方面也没法拓展其他功能,
因此,萌生了一个开发基于springboot,甚至是基于springcloud的后台系统的想法。
2.架构
暂时先弄一个简单的springboot项目,(以后用springcloud,再集成区块链)

3.代码实现
1.云服务器上安装 Nginx,之前的博客已经安装过了
2.部署 Spring Boot
1.springboot 的controller层提供/hello的API接口
@PostMapping("/hello")
@ResponseBody
@CrossOrigin(origins = "http://101.42.229.55")
public String hello(@RequestBody Map<String,String>requestBody) {
    System.out.println("step into hello...");
    String input = requestBody.get("input");
    String result = "Hello, " + input + "!";
    return result;
}
这个CrossOrigin注解是指定那些ip可以访问这个端口,相当于一个白名单
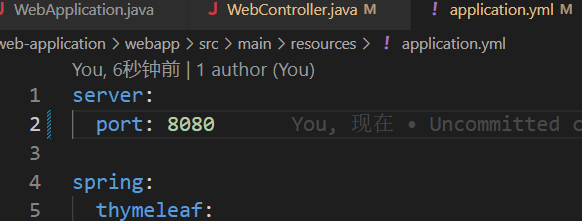
配置 Spring Boot 端口,默认是8080,我配置的是8081。这可以通过在 Spring Boot 的配置文件 application.properties 或 application.yml 中添加以下行来完成:
server.port=8081
在springboot项目根据录下打包生成jar
mvn clean package然后会在target目录下生成web-app-1.0.jar
执行nohup java -jar $APP_NAME > start.log 2>&1 &启动springboot服务
nohup java -jar $APP_NAME > start.log 2>&1 &3.配置HEXO(Butterfly主题)
在hexo根目录下的新建/source/_date/widget.yml文件
top:
  - class_name: CLASSNAME
    id_name:  IDNAME
    name: API调用
    icon: fas fa-heartbeat
    html: '<!DOCTYPE html>
<html>
<head>
  <title>动态页面示例</title>
  <meta http-equiv="Content-Type" content="text/html; charset=utf-8">
</head>
<body>
  <h1>动态页面示例</h1>
  <input type="text" id="input" placeholder="请输入内容">
  <button onclick="sendRequest()">提交</button>
  <p id="result"></p >
<script>

function sendRequest() {

let input = document.getElementById("input").value;

let xhr = new XMLHttpRequest();

xhr.onreadystatechange = function() {

if (xhr.readyState === 4 && xhr.status === 200) {

document.getElementById("result").innerHTML = xhr.responseText;

}

};

xhr.open("POST", "http://101.42.229.55/hello", true);

xhr.setRequestHeader("Content-Type", "application/json;charset=UTF-8");

xhr.send(JSON.stringify({input: input}));

}

</script>

</body>

</html>

'
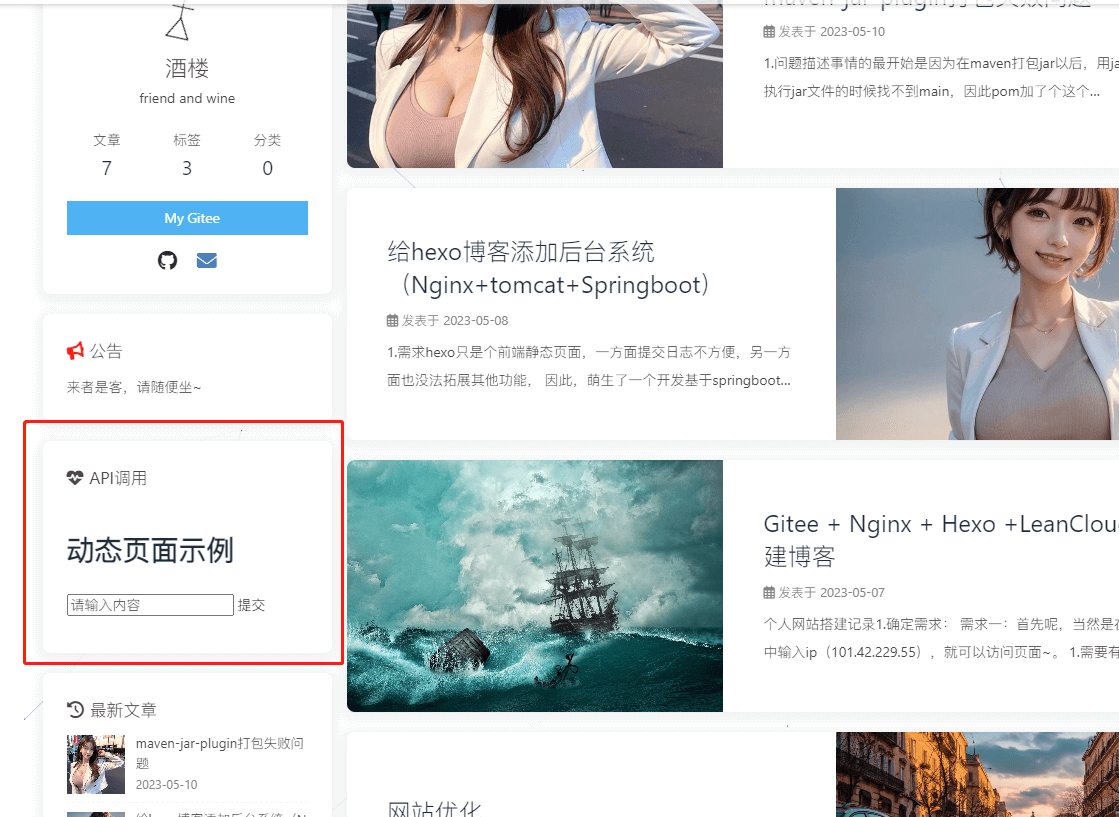
加了这个会在博客侧边栏中添加一个这个

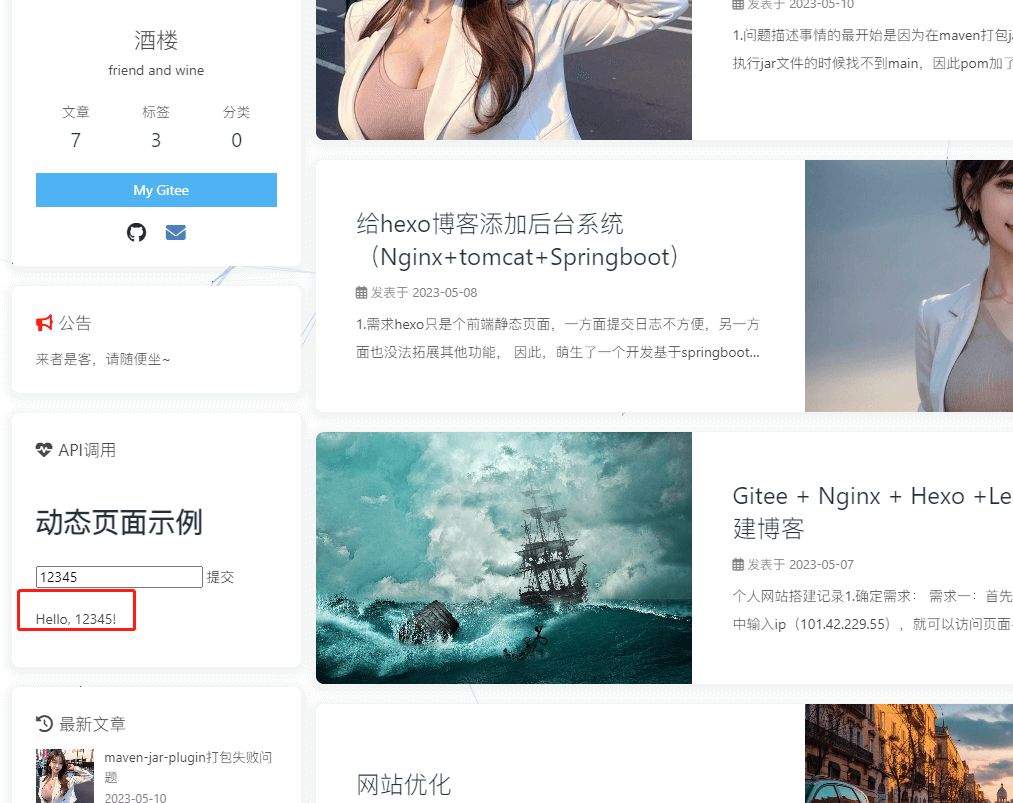
xhr.open("POST", "http://101.42.229.55/hello", true);
这个代码在点击提交后,会把输入框里的值取出来通过post方式调用/hello API,然后调用Springboot的对应服务
