spring前导知识:
版本注意:
该博客所用的版本:
tomcat version 9 (注意10有未知错误(个人测试))
Maven version3.6.3 (注意3.6.2未知错误)
servlet-api version4.0.1 Spring前导知识.png
安装Tomact:
官网:
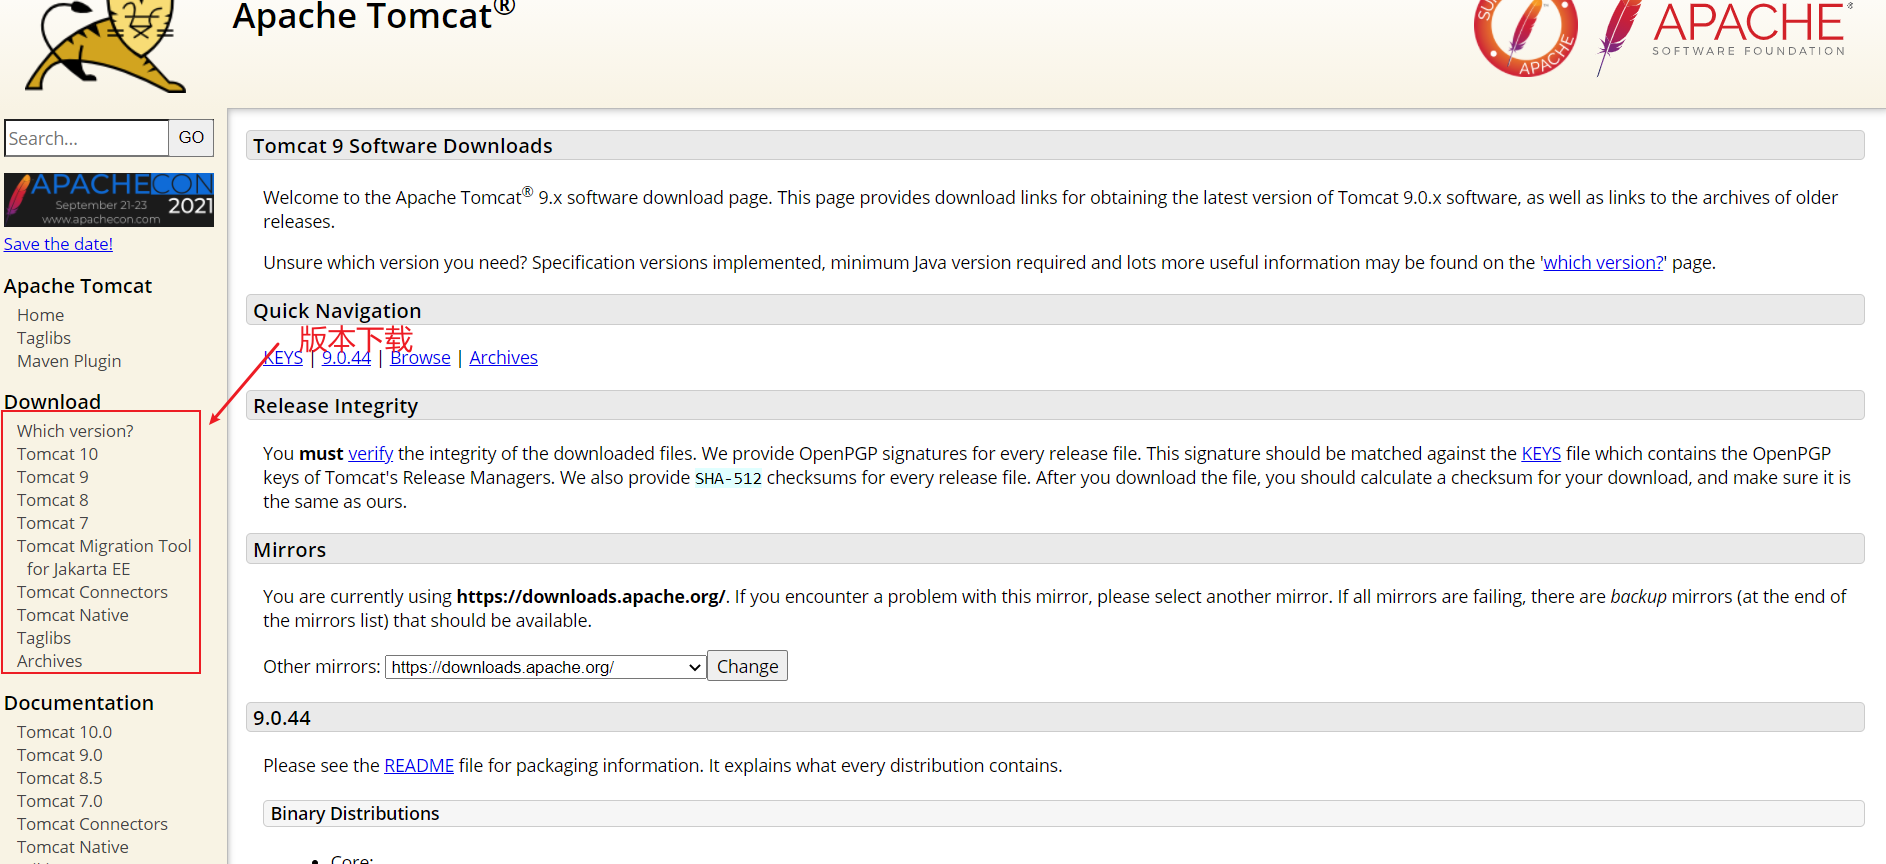
image-20210326224641373
进入下载界面(这里以9为例):
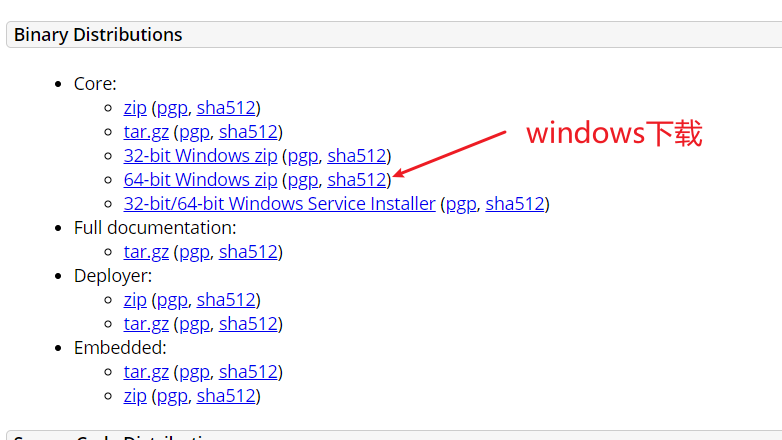
image-20210326224741420
本地目录文件:
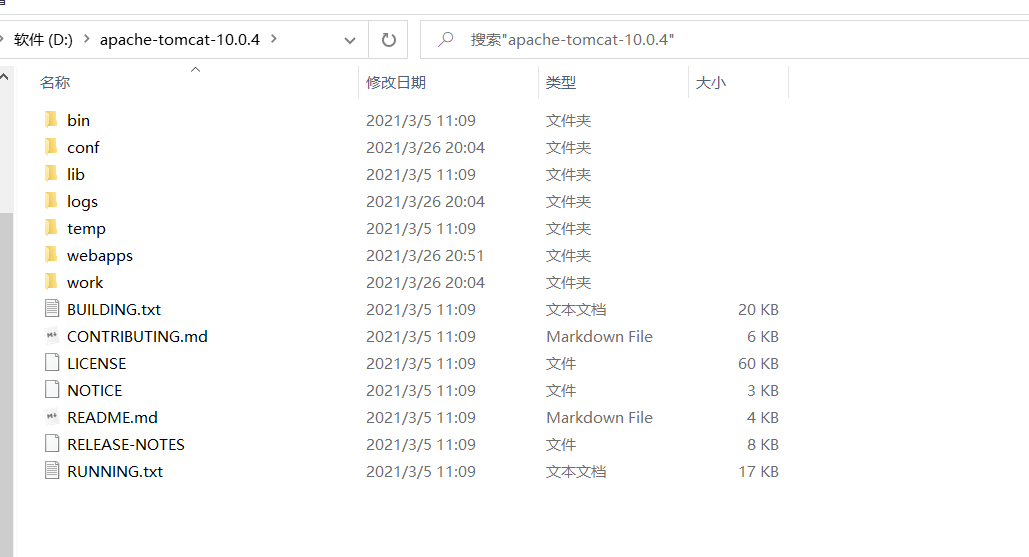
image-20210326224838199
启动Tomcat:
进入:盘\apache-tomcat-10.0.4\bin(推荐下载version9);后面测试的时候version10有点问题;
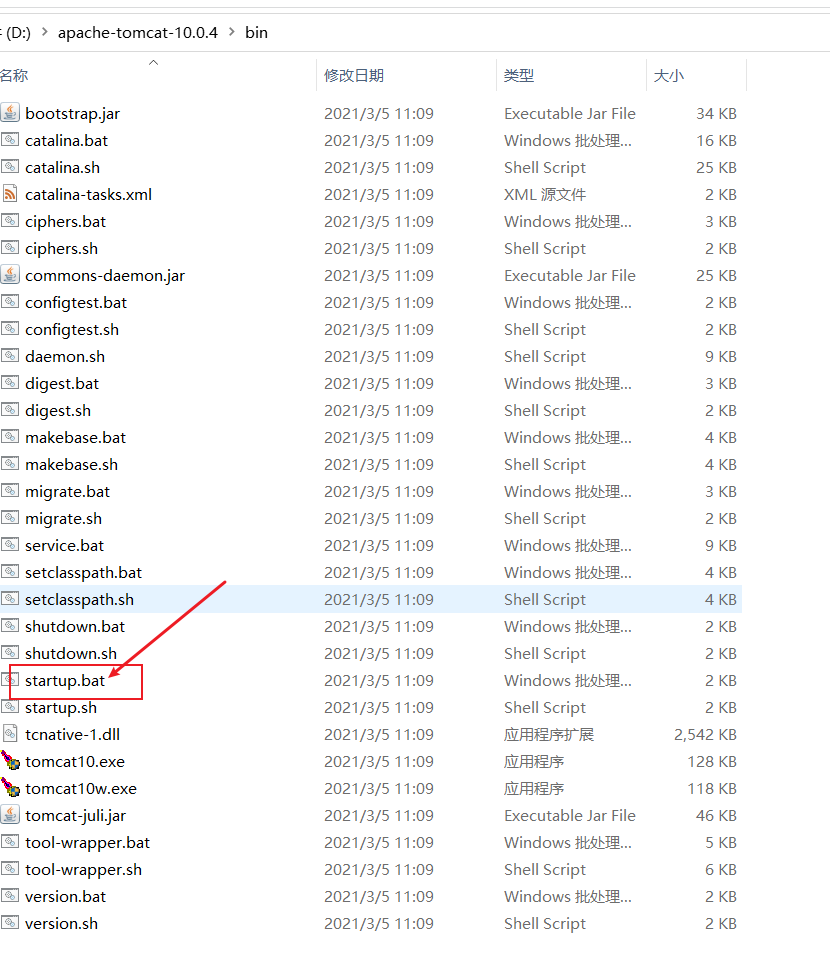
image-20210326224944293
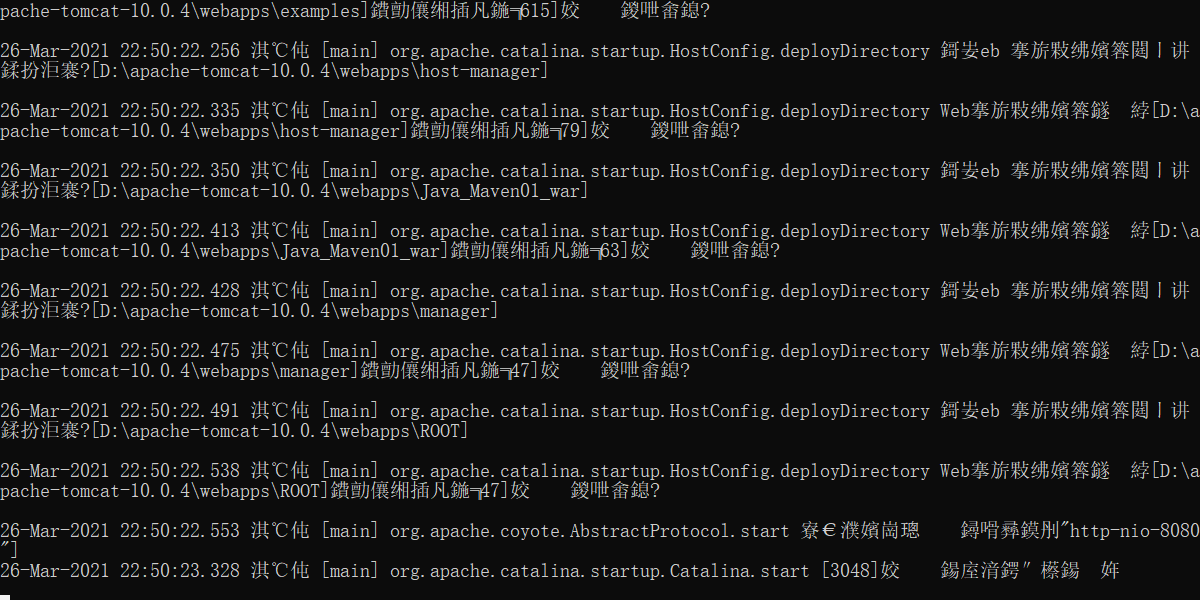
image-20210326225149870
打开网站:
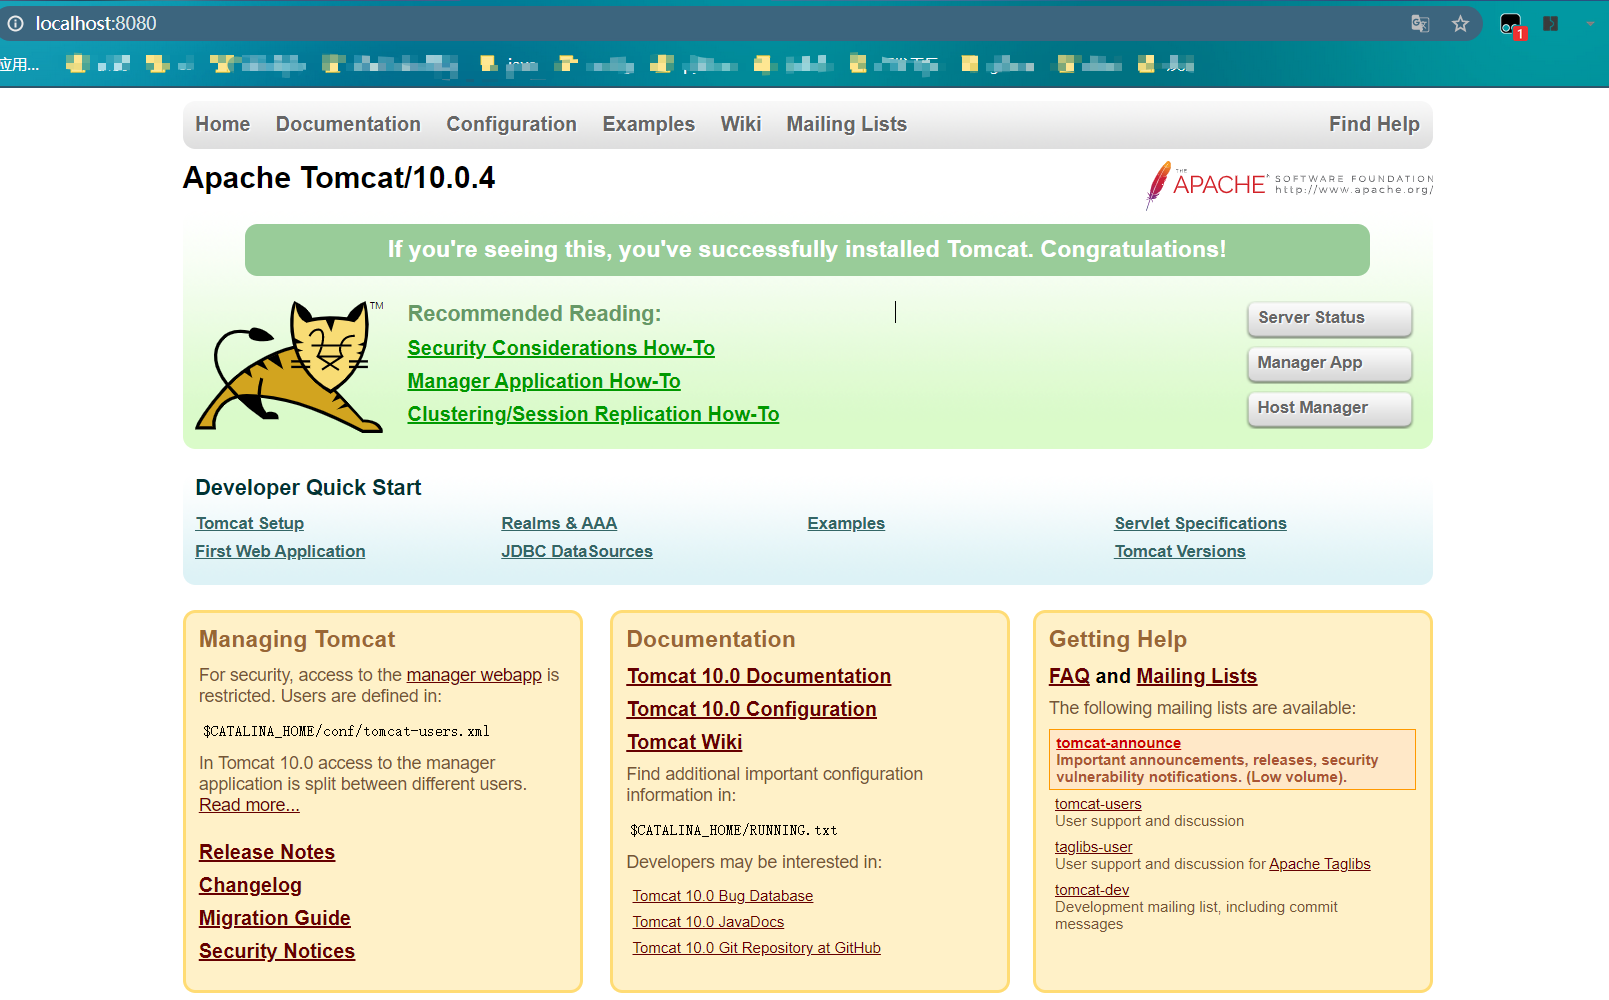
image-20210326225123346
Maven环境搭建:
官网下载
版本下载为3.6.3,测试基本稳定,没有报错,只有一些警告;3.6.2听说报错很多(未测试)

image-20210326230701082
设置Windows的环境变量:
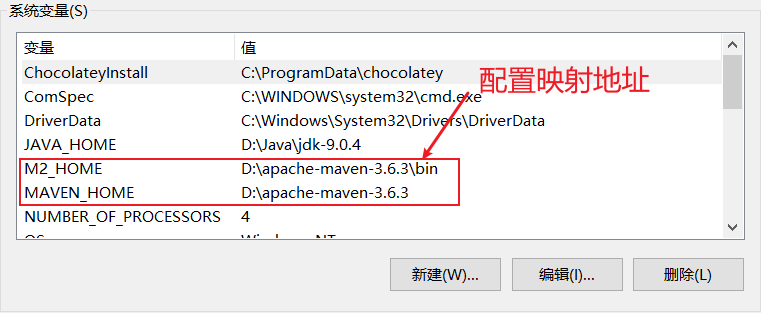
image-20210326231115369
添加到Path变量中:

image-20210326231256317
配置Maven:
找到文件下的D:\apache-maven-3.6.3\conf\setting.xml
配置阿里源:
代码语言:javascript
复制
  <mirrors>
    <!-- mirror
     | Specifies a repository mirror site to use instead of a given repository. The repository that
     | this mirror serves has an ID that matches the mirrorOf element of this mirror. IDs are used
     | for inheritance and direct lookup purposes, and must be unique across the set of mirrors.
     |
    <mirror>
      <id>mirrorId</id>
      <mirrorOf>repositoryId</mirrorOf>
      <name>Human Readable Name for this Mirror.</name>
      <url>http://my.repository.com/repo/path</url>
    </mirror>
     -->
     <mirror>
      <id>nexus-aliyun</id>
        <mirrorOf>*,!jeecg,!jeecg-snapshots</mirrorOf>
        <name>Nexus aliyun</name>
        <url>http://maven.aliyun.com/nexus/content/groups/public</url>
    </mirror>
  </mirrors>
配置本地仓库:

image-20210326233206428
在setting中配置仓库信息:
代码语言:javascript
复制
<settings xmlns="http://maven.apache.org/SETTINGS/1.0.0"
          xmlns:xsi="http://www.w3.org/2001/XMLSchema-instance"
          xsi:schemaLocation="http://maven.apache.org/SETTINGS/1.0.0 http://maven.apache.org/xsd/settings-1.0.0.xsd">
  <!-- localRepository
   | The path to the local repository maven will use to store artifacts.
   |
   | Default: ${user.home}/.m2/repository
  <localRepository>/path/to/local/repo</localRepository>
  -->
  <localRepository>D:\apache-maven-3.6.3\maven-repo</localRepository>
IDEA中使用Maven:
- 创建maven的项目
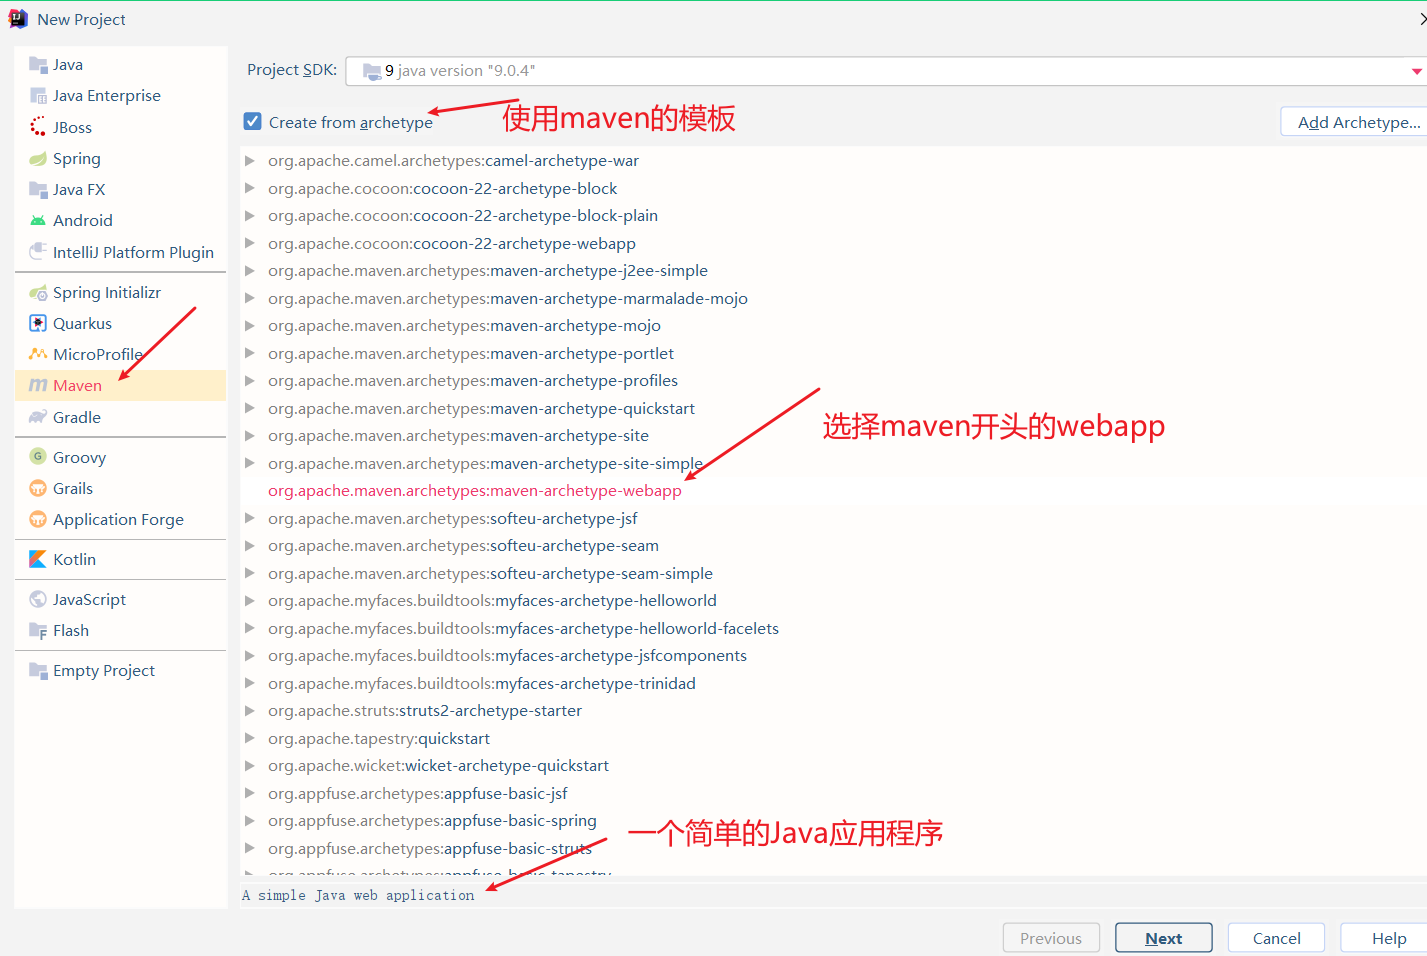
image-20210326184745738
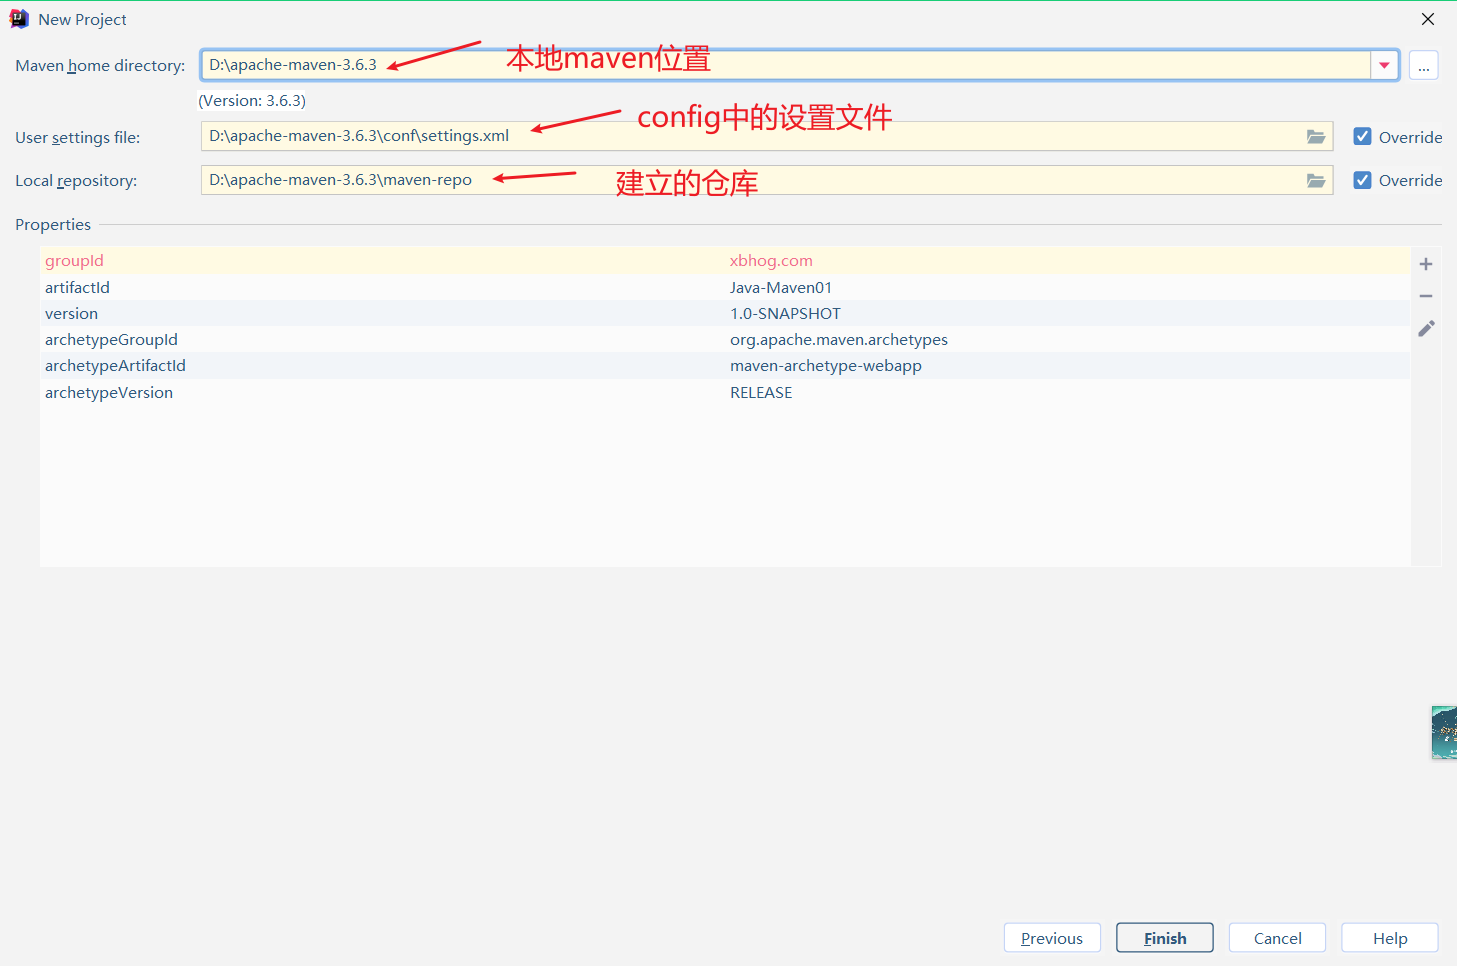
image-20210326185330233
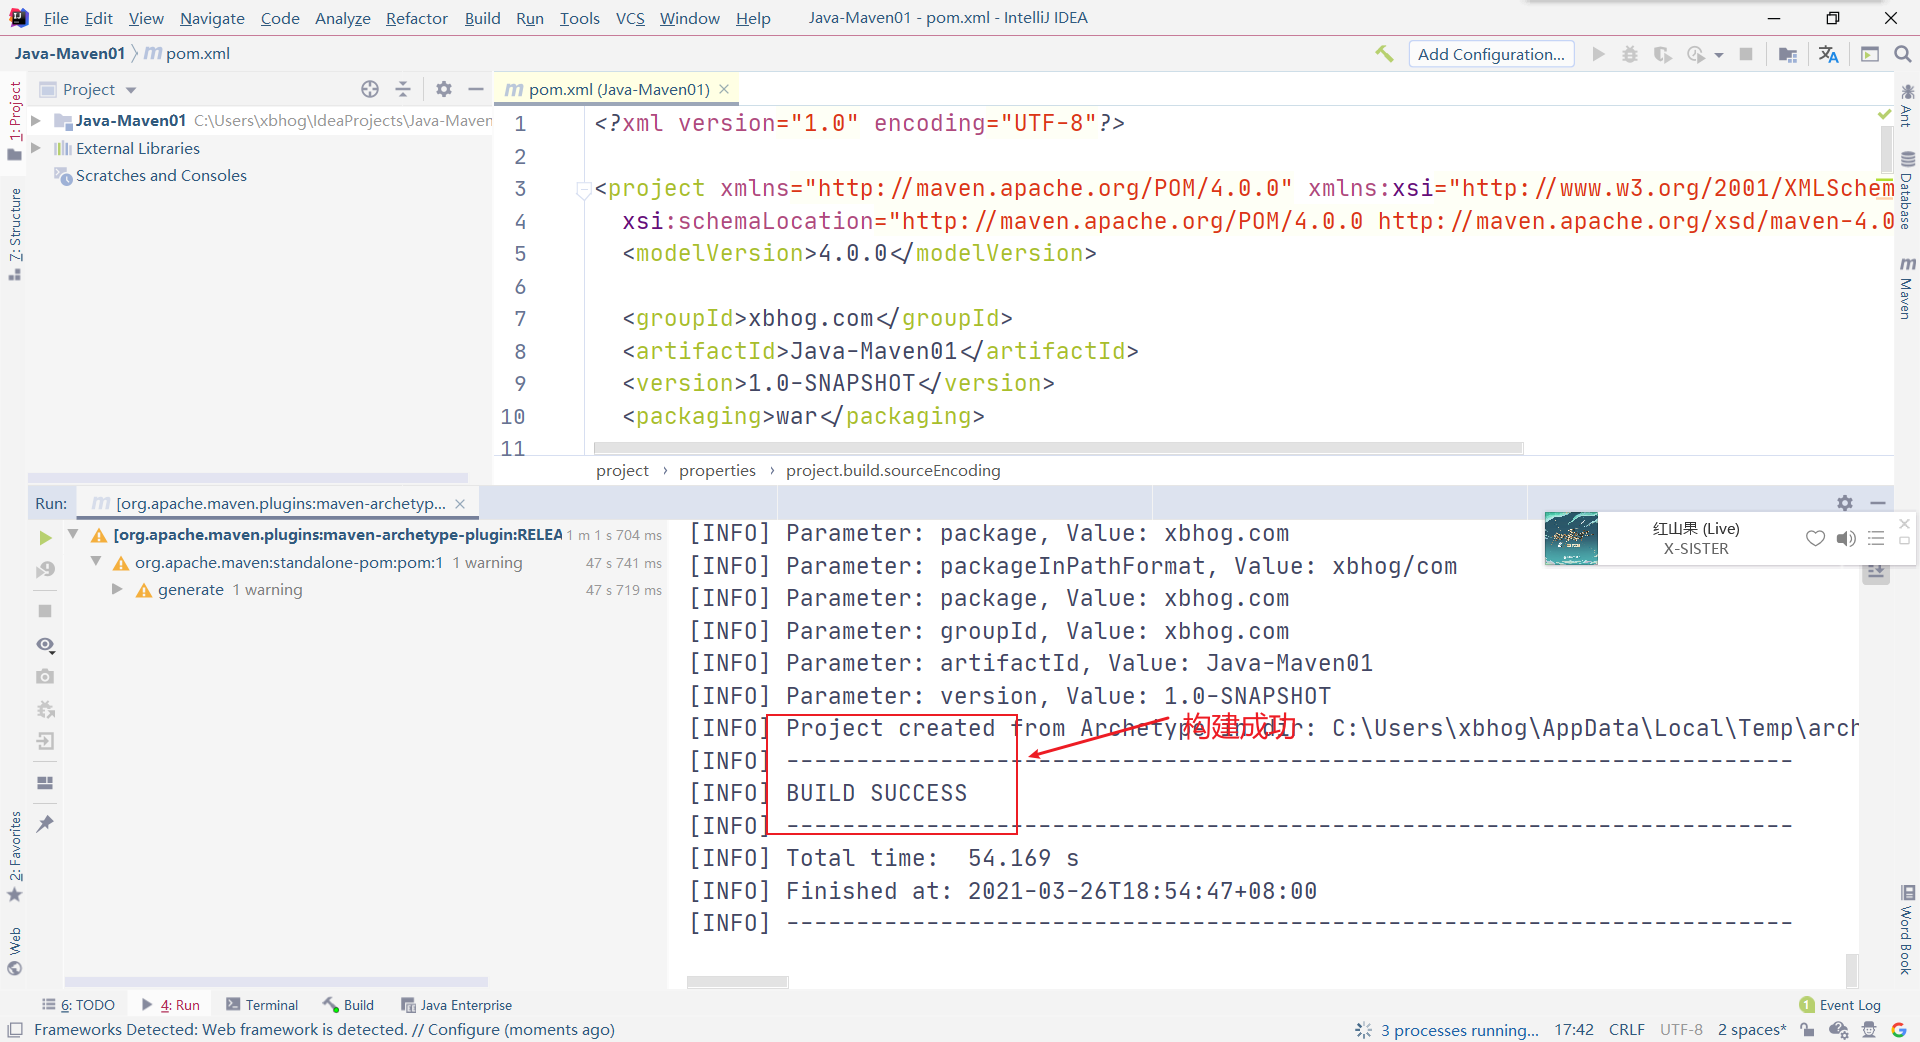
image-20210326185548929
IDEA创建成功后,需要检查以下Maven的项目路径是否正确:
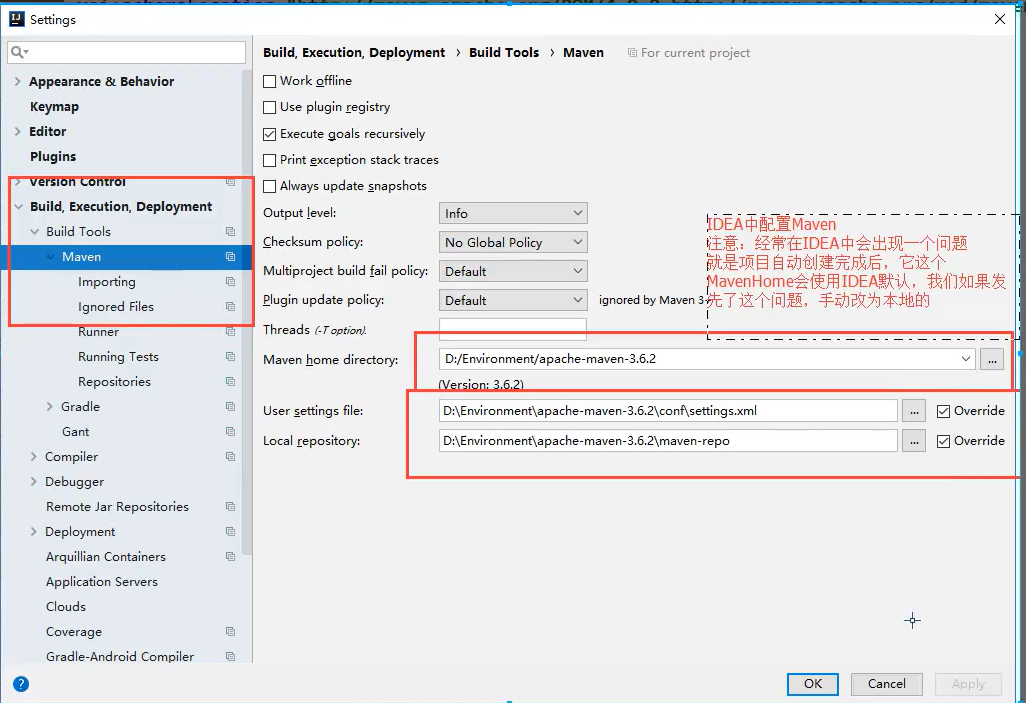
image-20210326185926575
IDEA配置tomcat:

image-20210327182620504
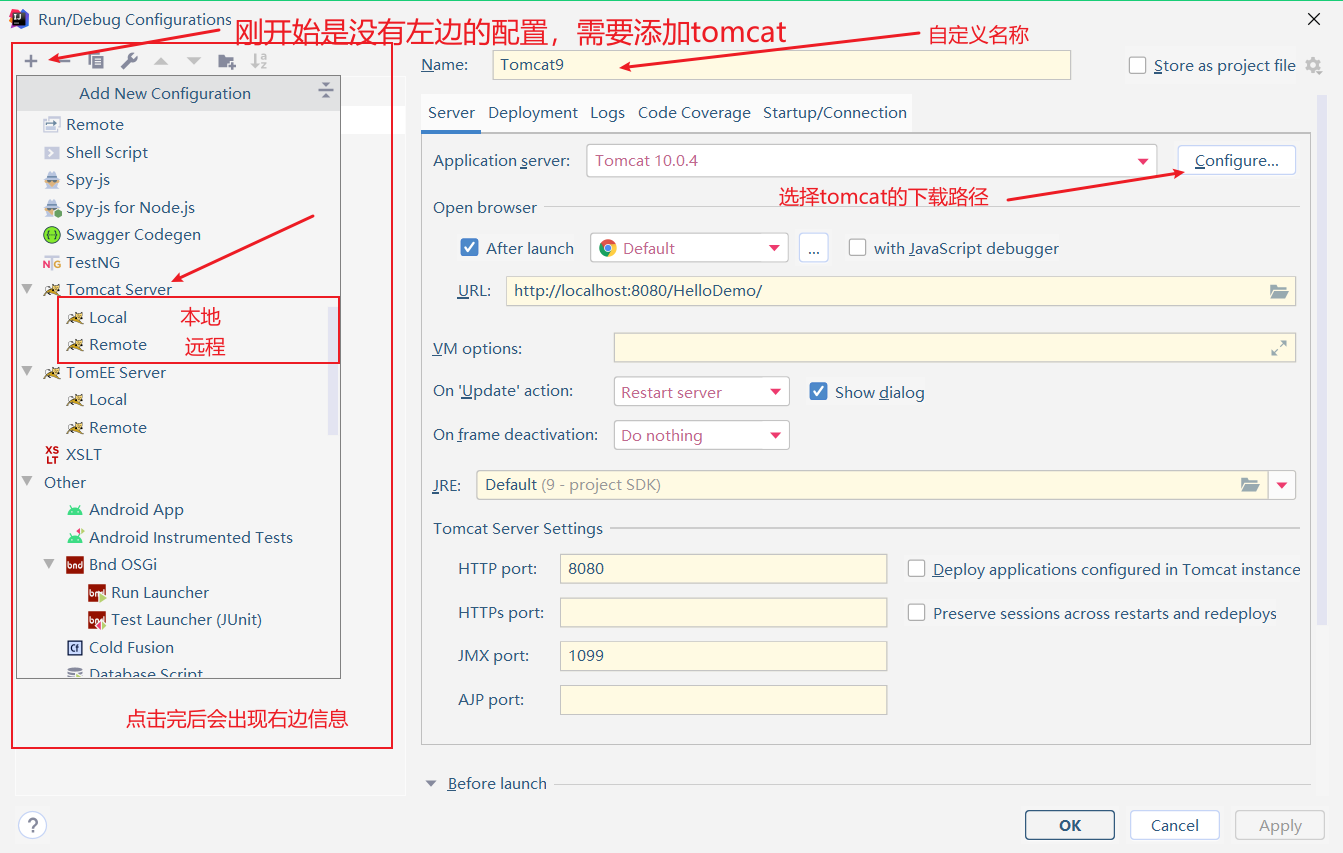
image-20210327182847850
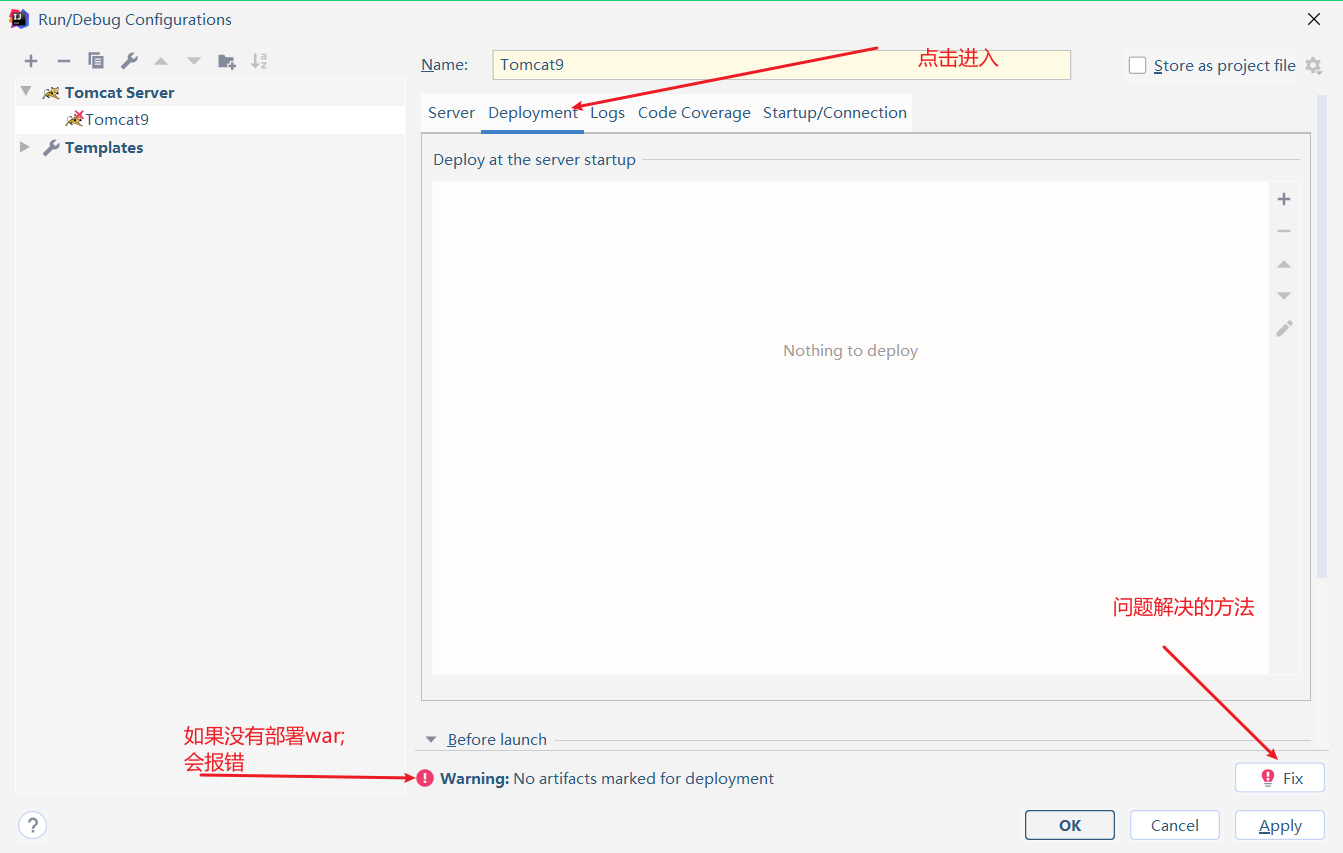
image-20210327183110586
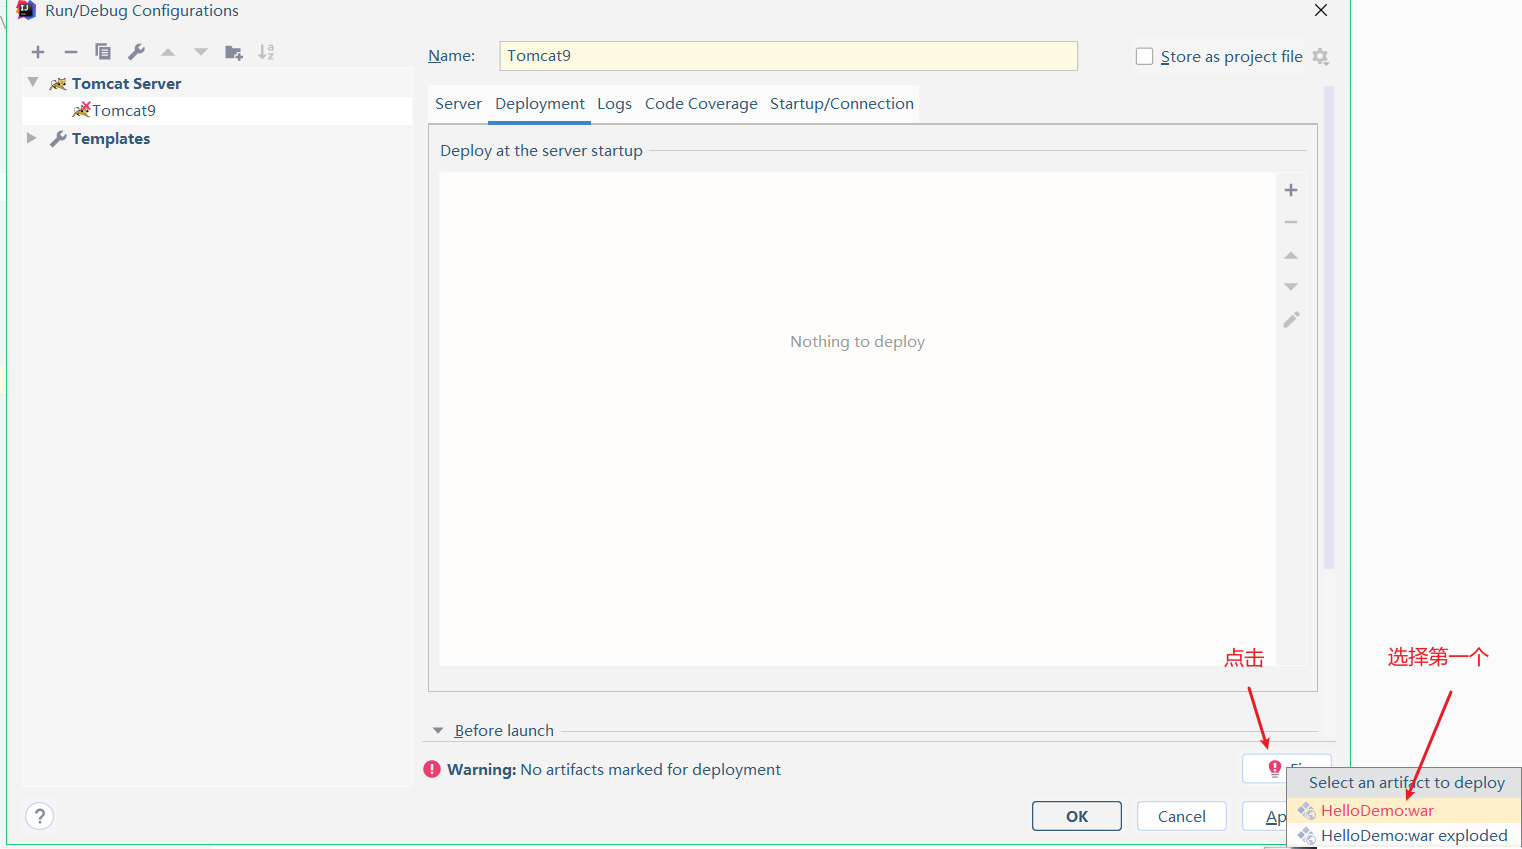
image-20210327183155085
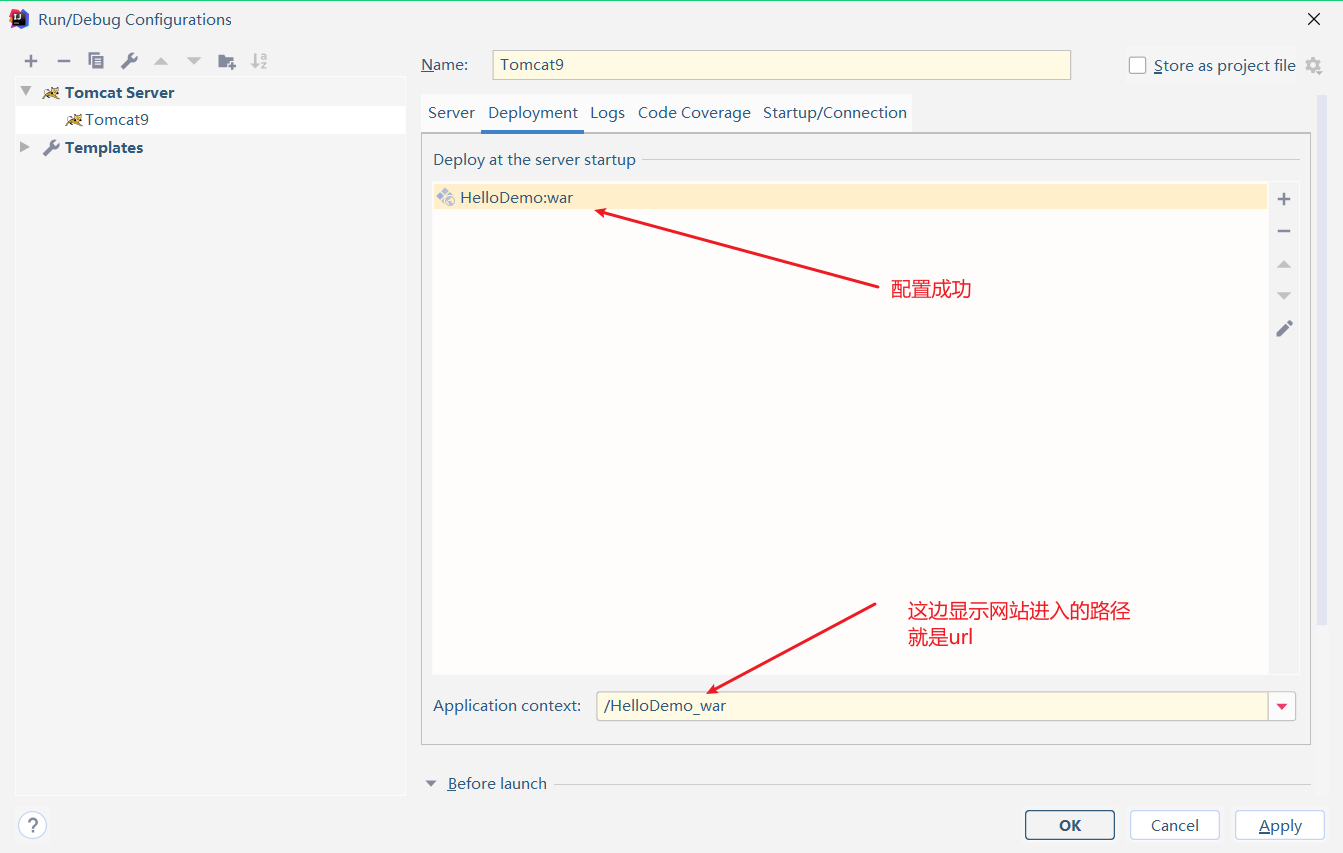
image-20210327183246221
以上配置完成后可以进行启动了。
搭建HelloServlet:
目标:实现tomcat中的hello world
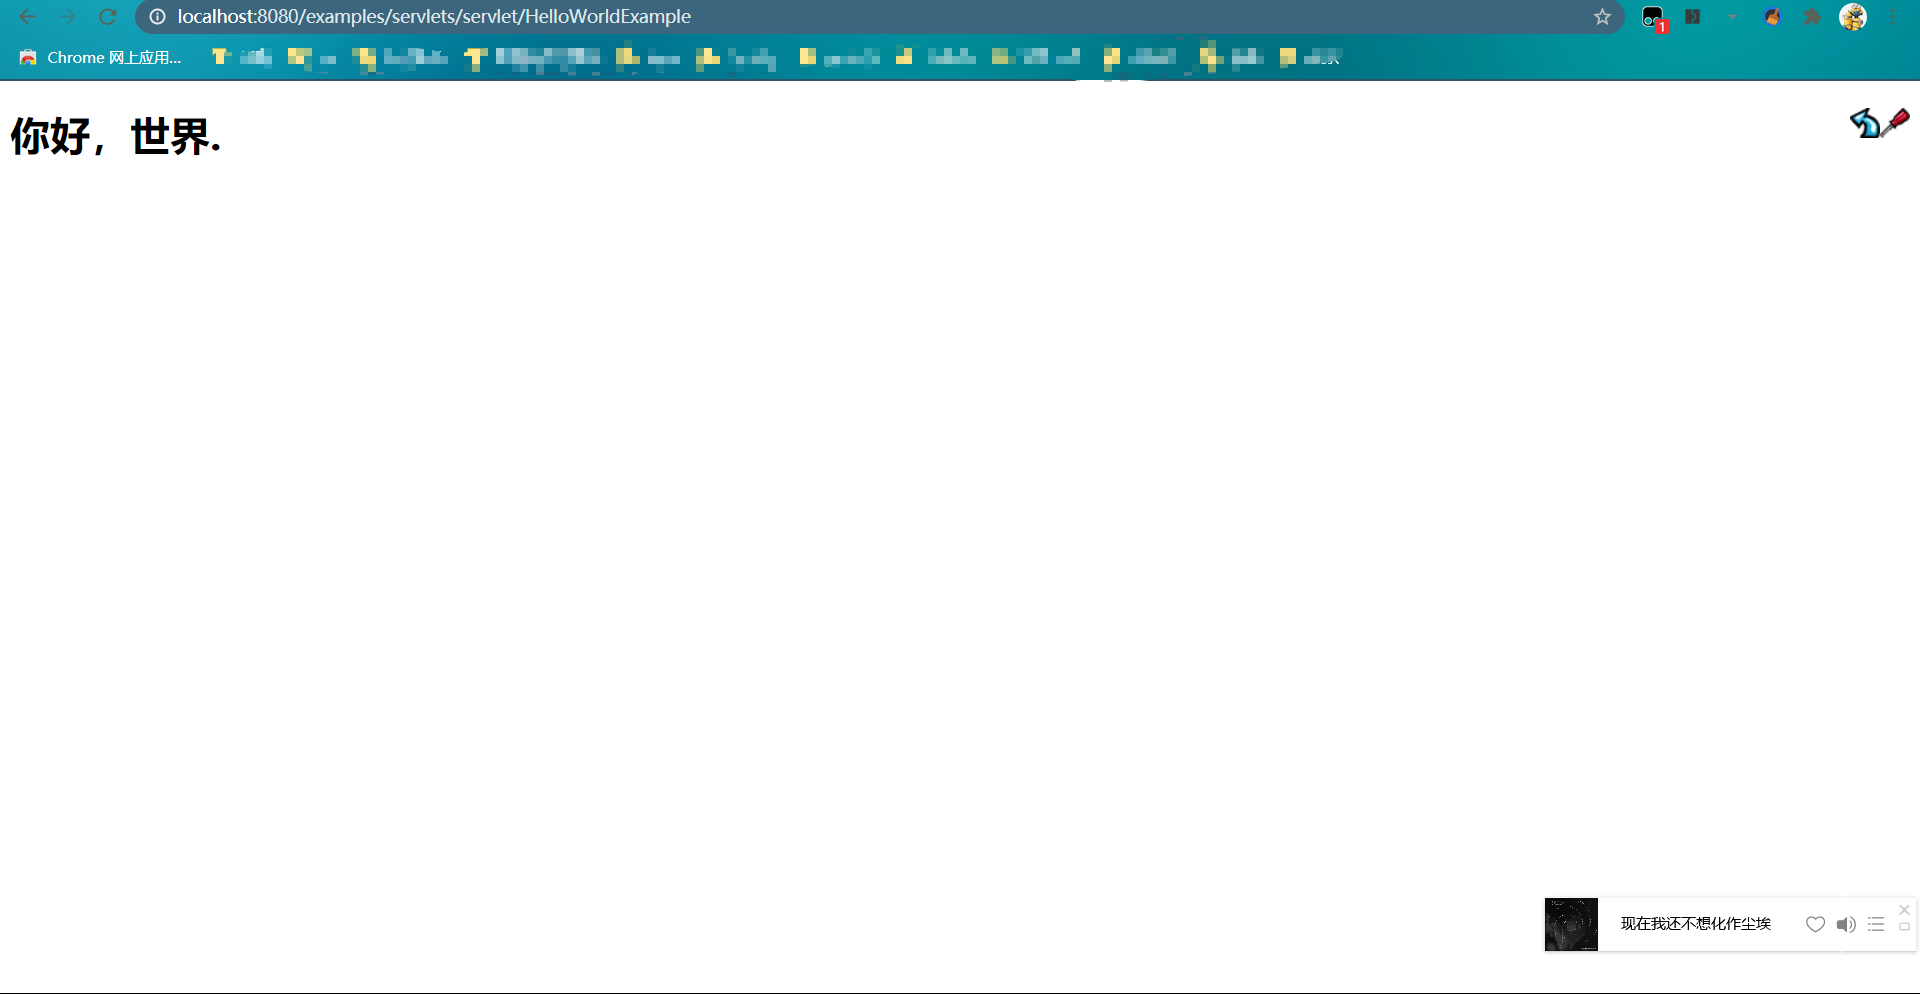
image-20210327190404992
第一部分:
首先创建两个文件夹:
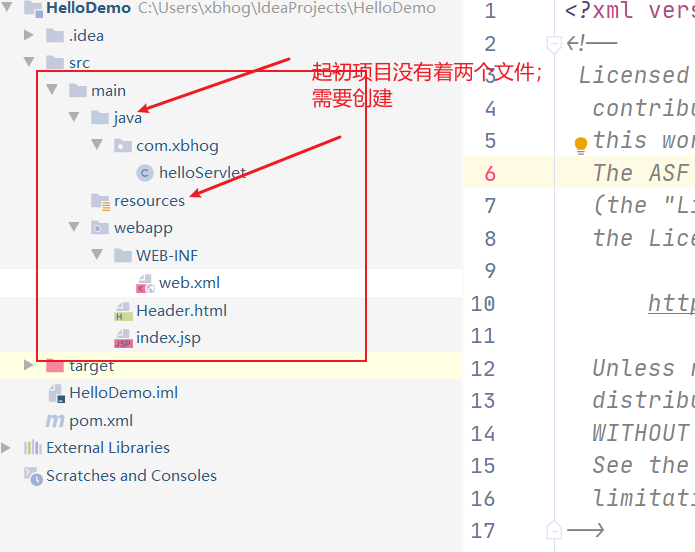
image-20210327183738320
标记Java与resources两个文件的属性(右击文件):
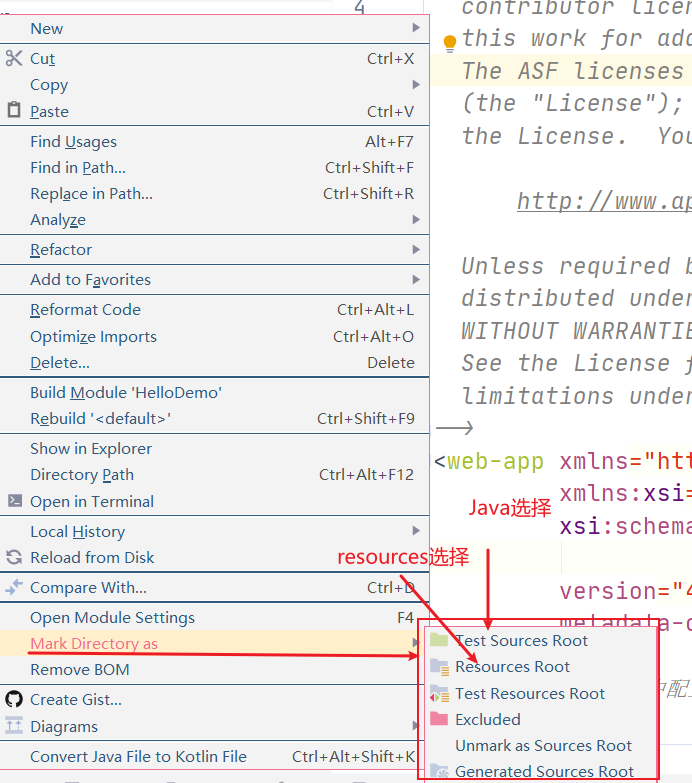
image-20210327183902018
想类一样,新建文件夹,在下面创建HelloServlet;
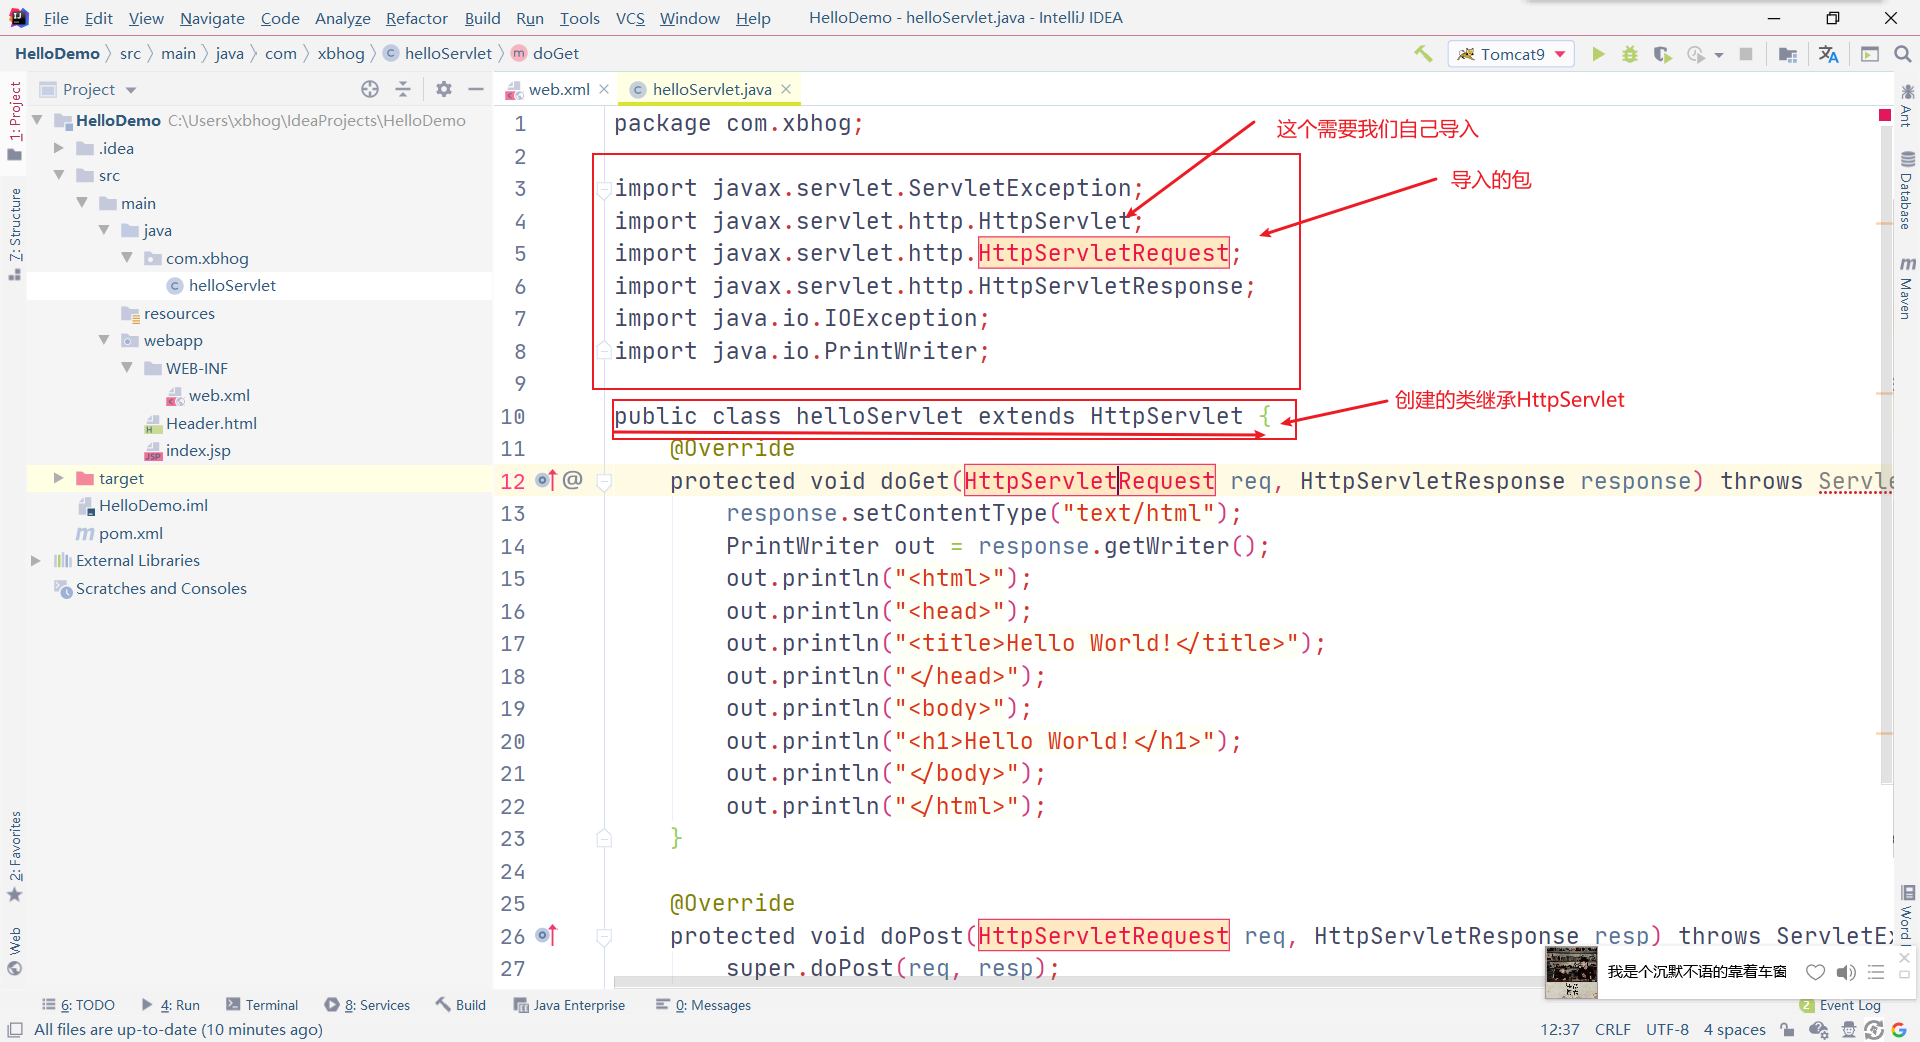
image-20210327184503455
第二部分:
导包:
Maven中的包仓库地址
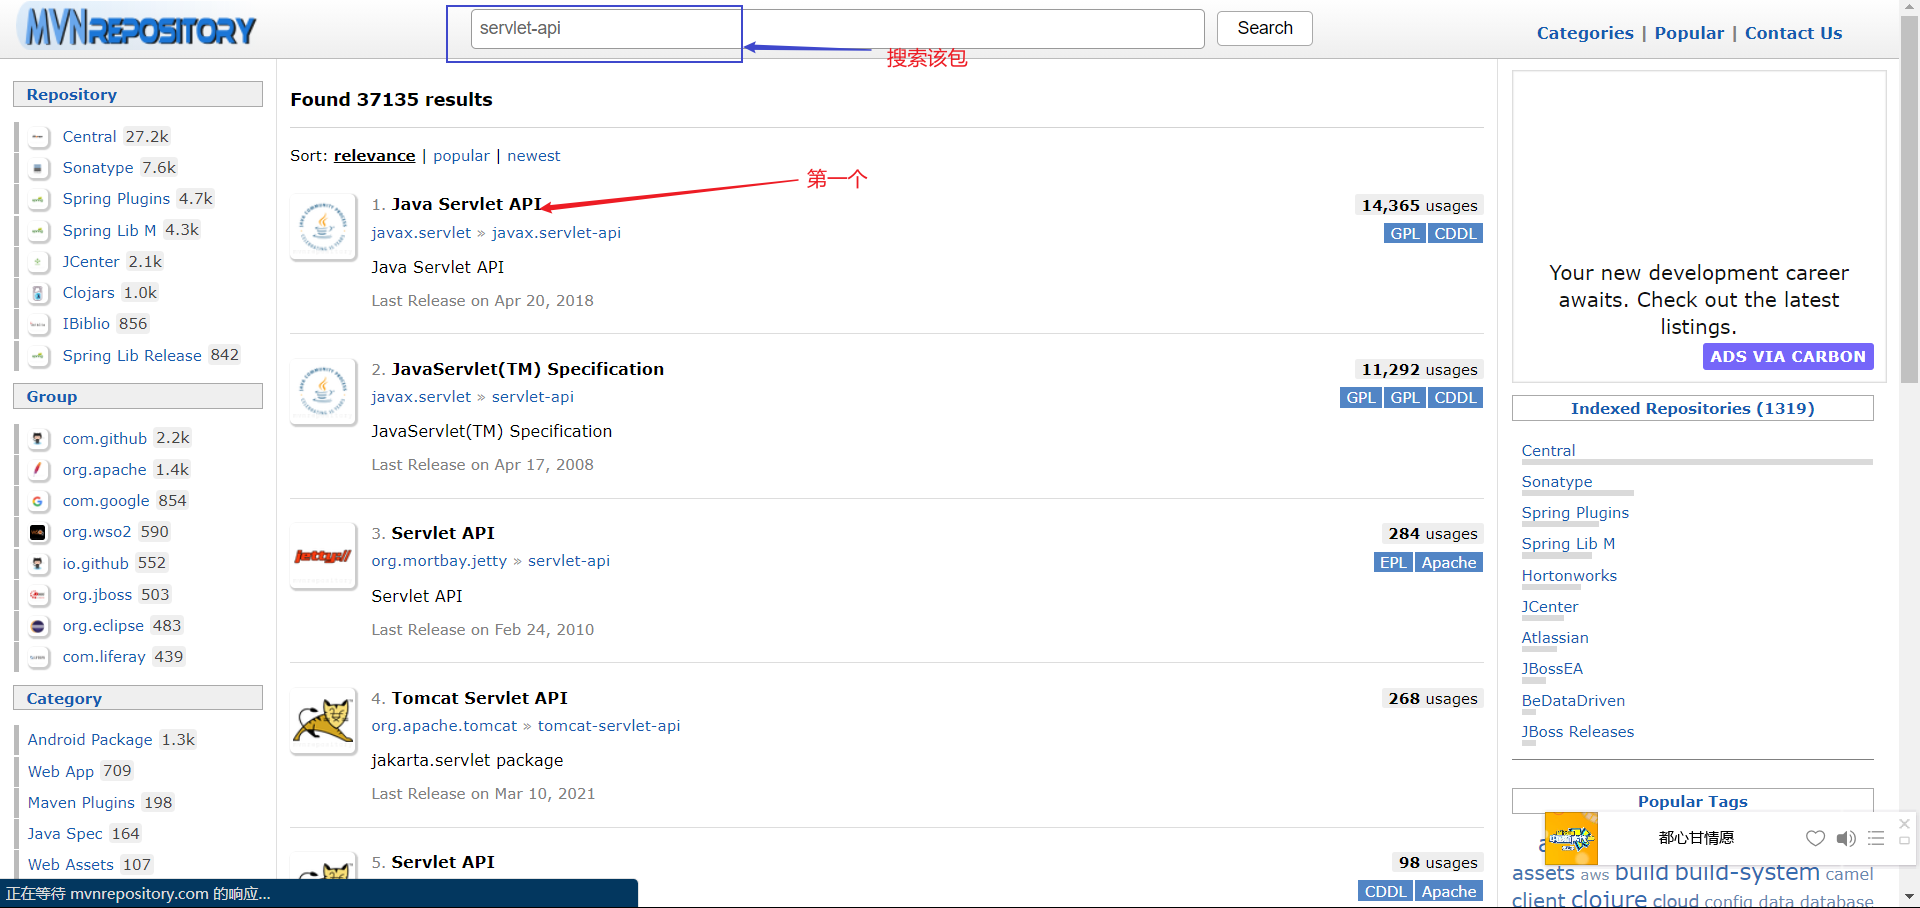
image-20210327190206631
为什么要找到servlet-api;因为我们的目标实现tomcat中的hello world;我们不知道要什么包,但是tomcat中应该有的;
与serlvet有关的包只有一个,可以尝试下载:
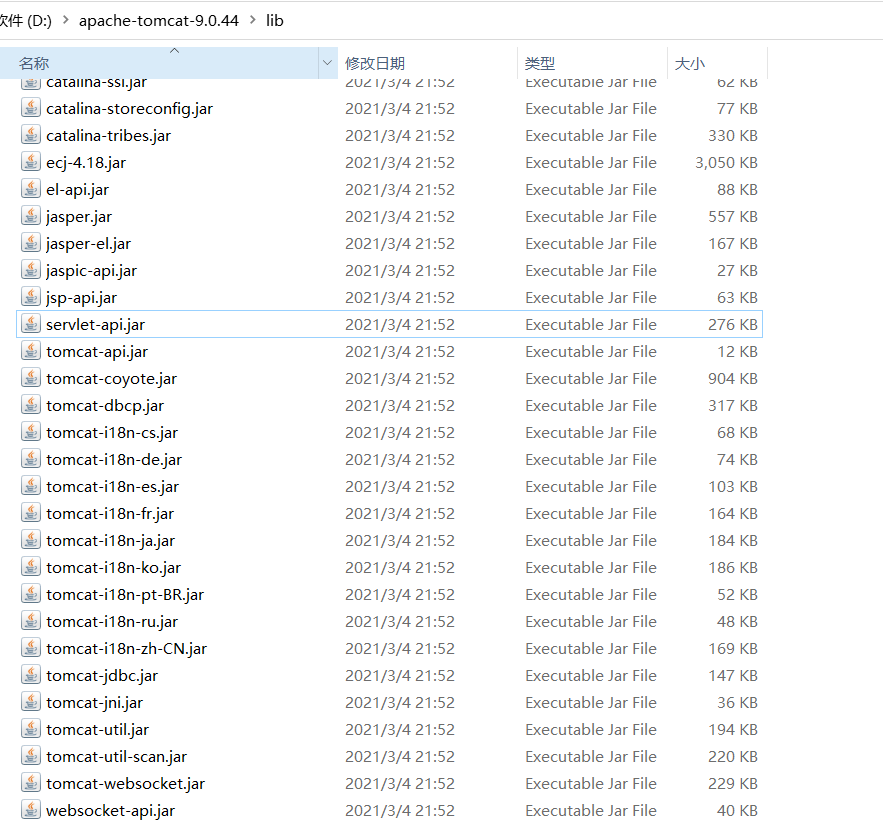
image-20210327190629390
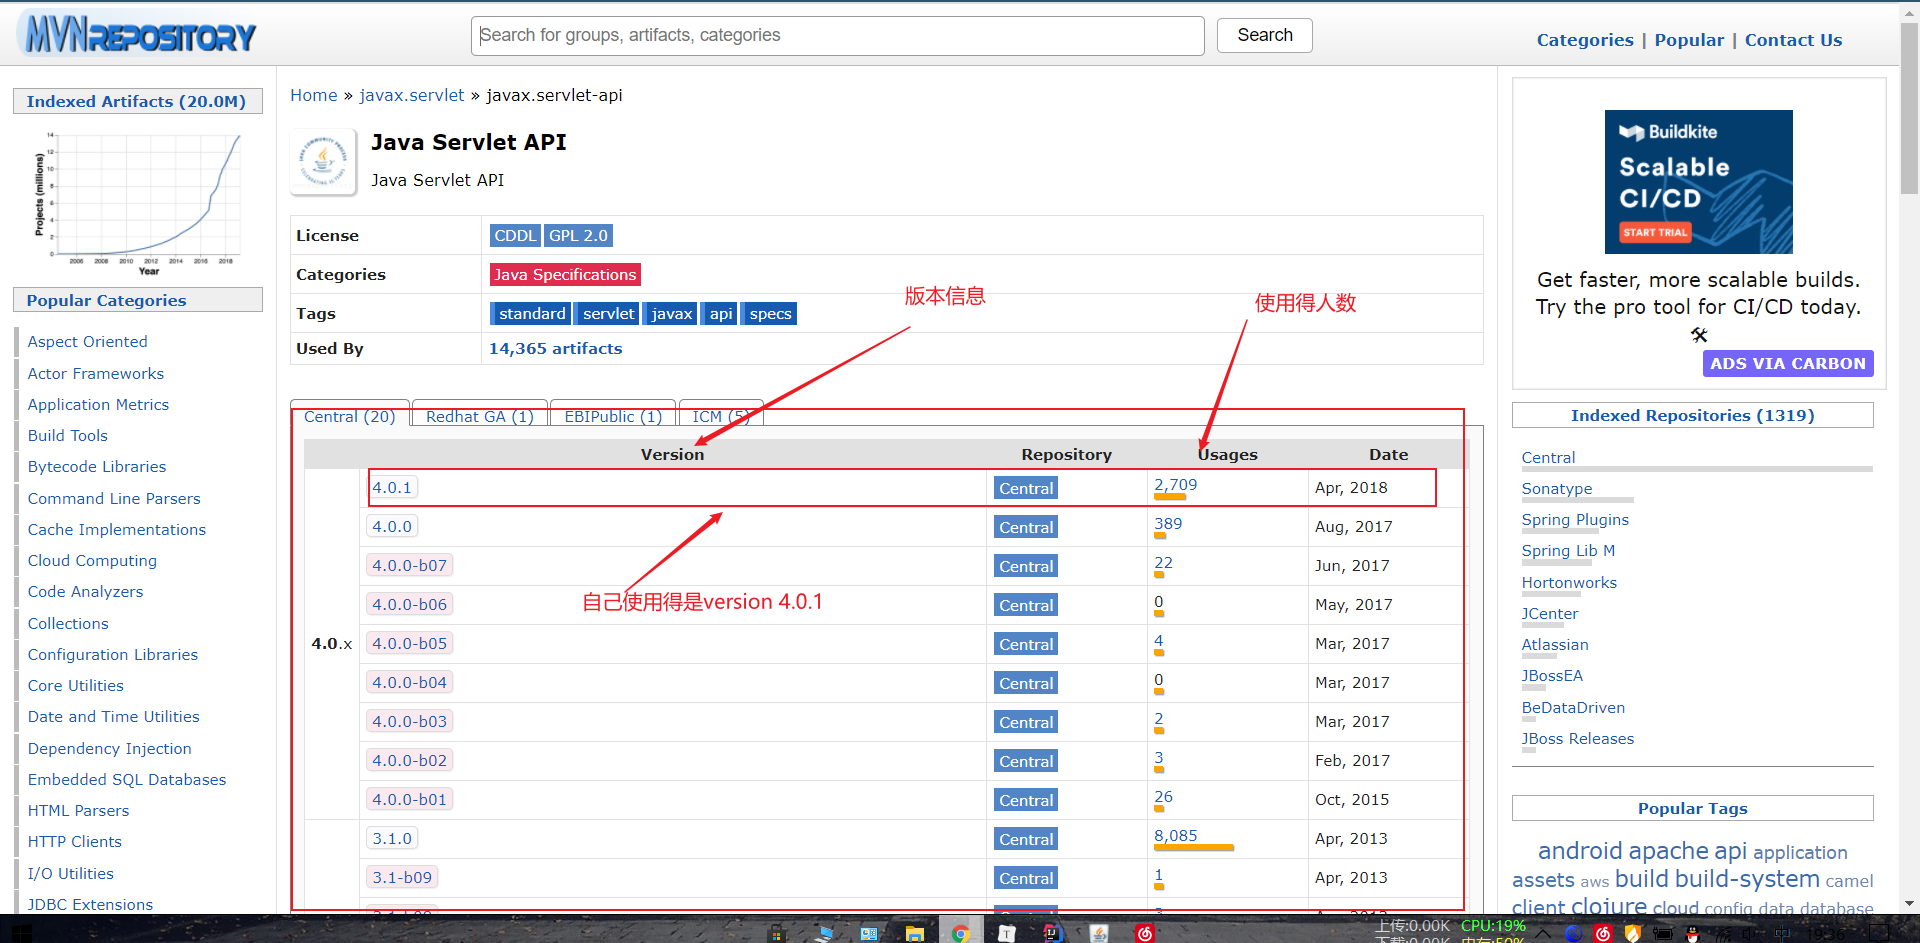
image-20210327193723684
点击版本号:
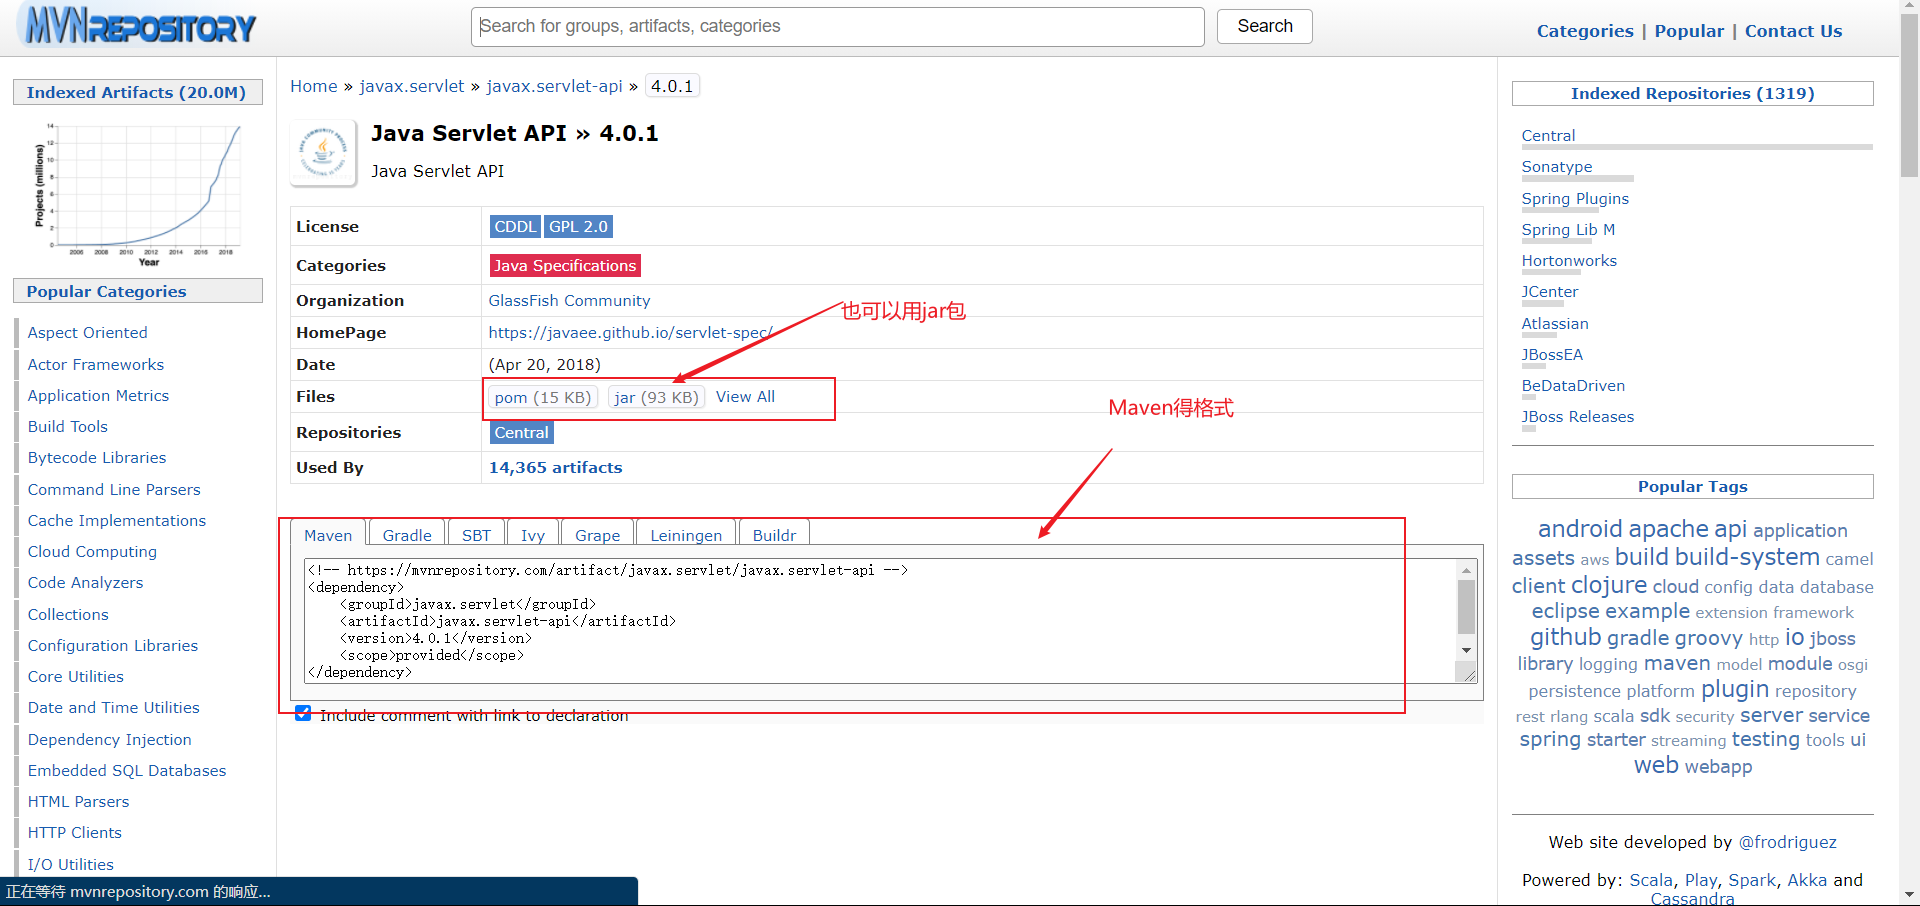
image-20210327193817204
导包得位置:

image-20210327193514101
第三部分:
实现get/post得方法:
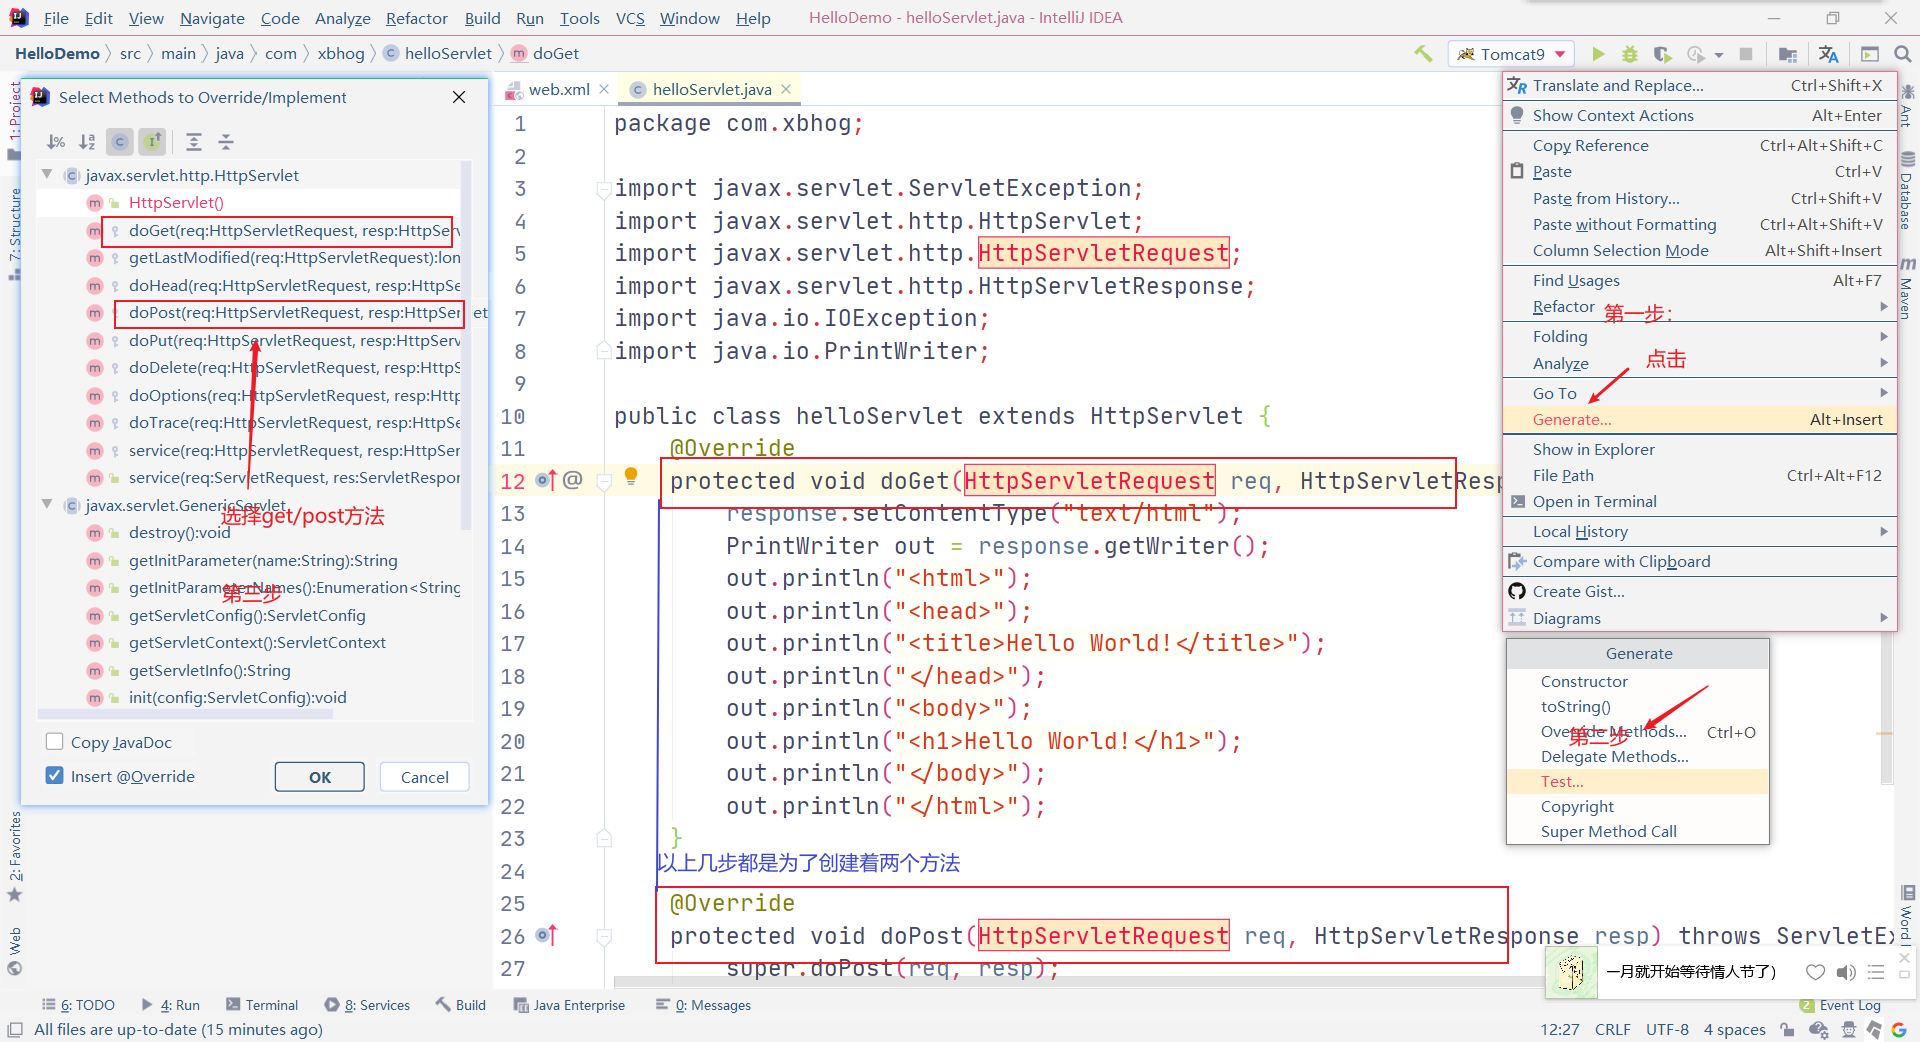
image-20210327185017446
实现doget()方法中的请求:
- cmd启动tomact,进入首页
- 访问
http://localhost:8080/examples/
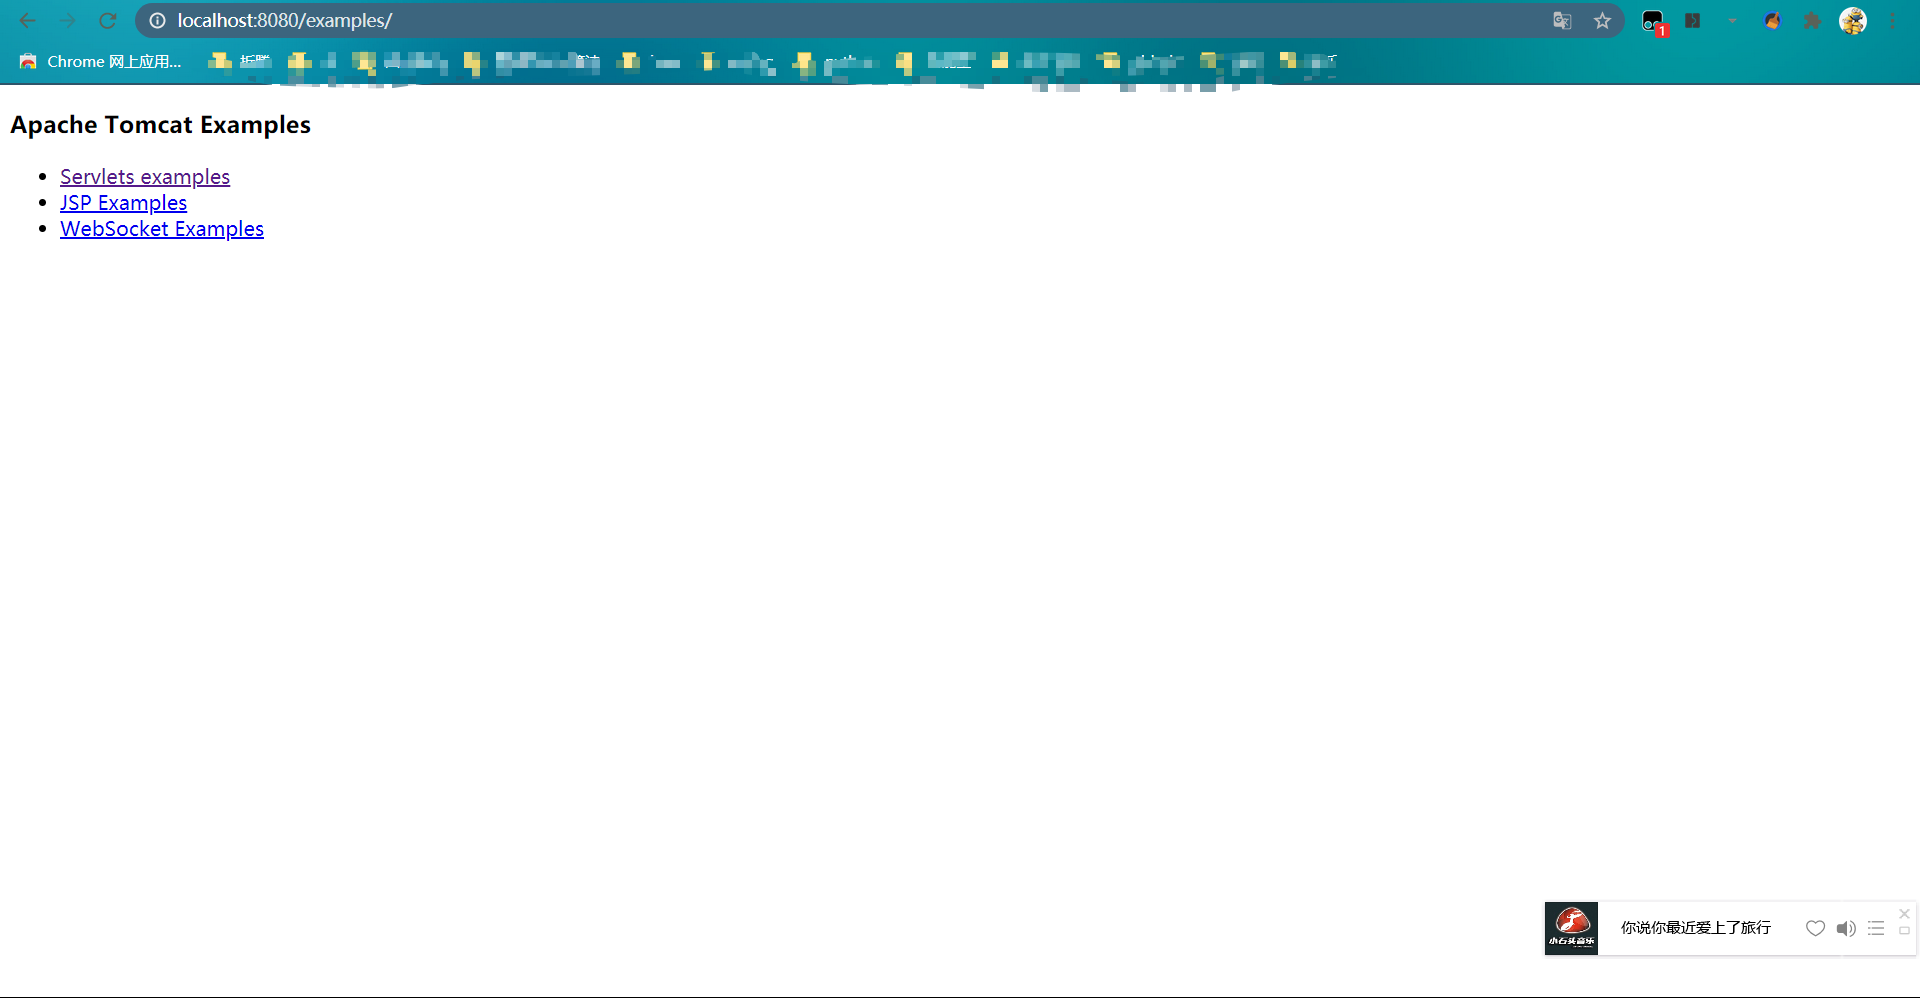
image-20210327185304269
我们点击第一个Serlvets examples:
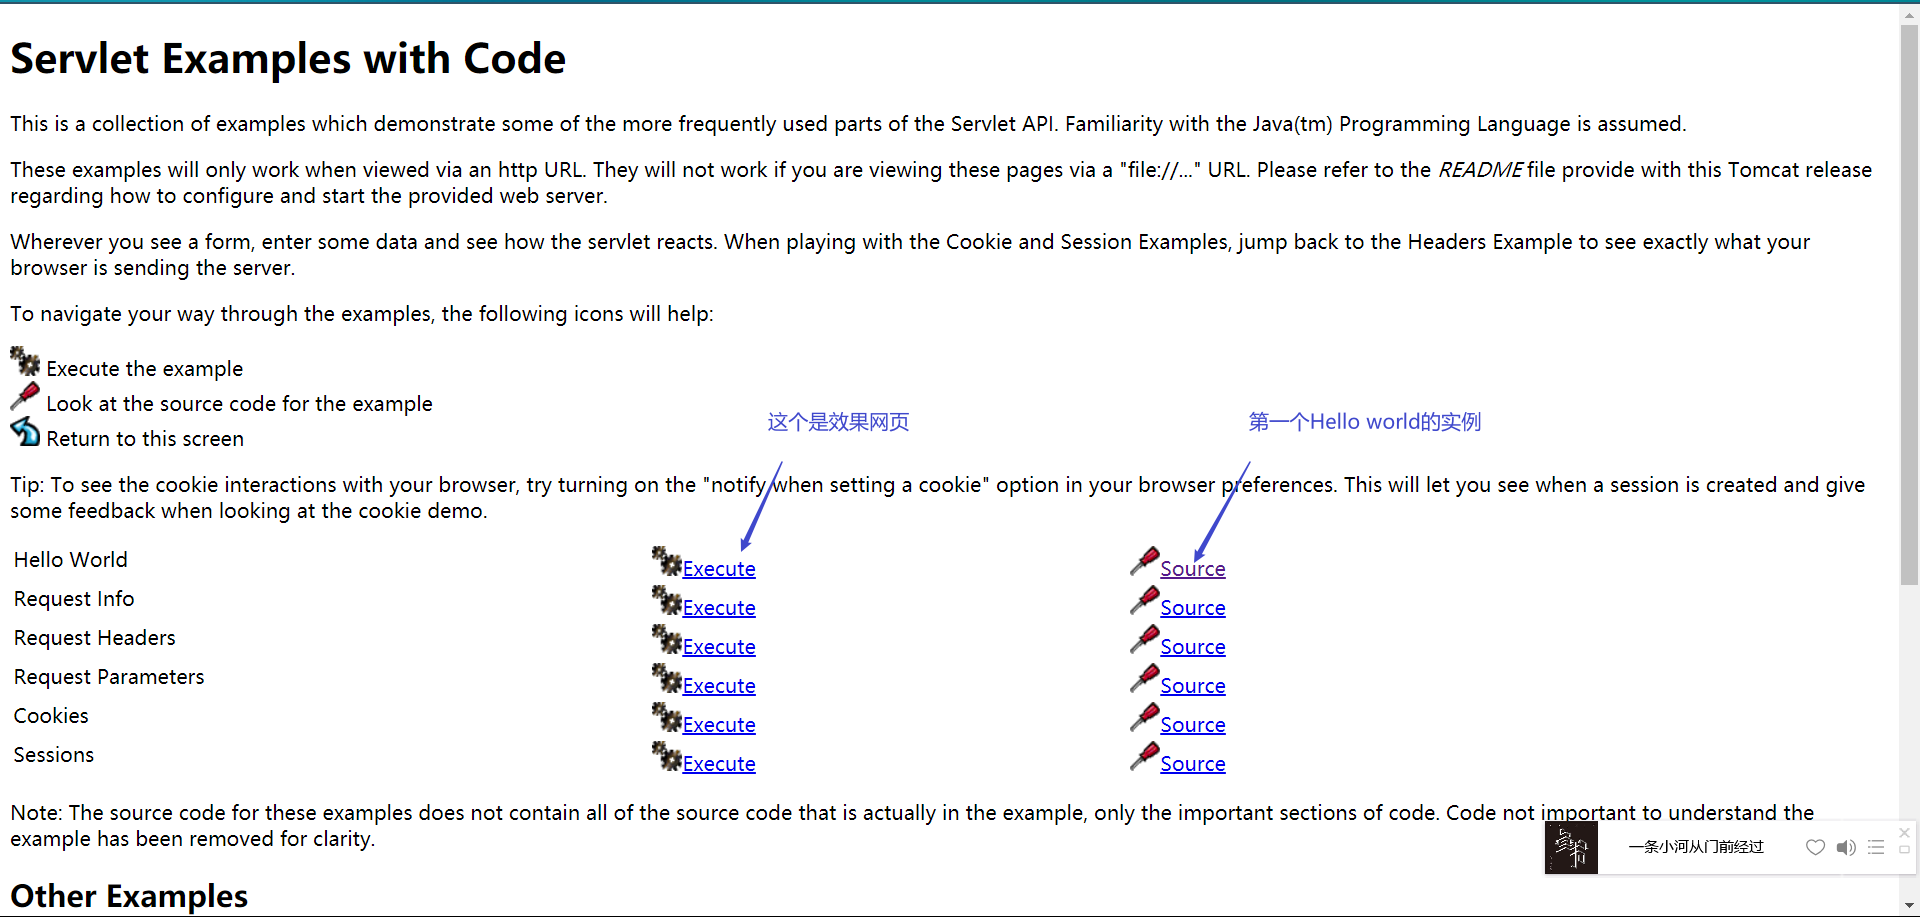
image-20210327185422198
查看它给出的标准实例:
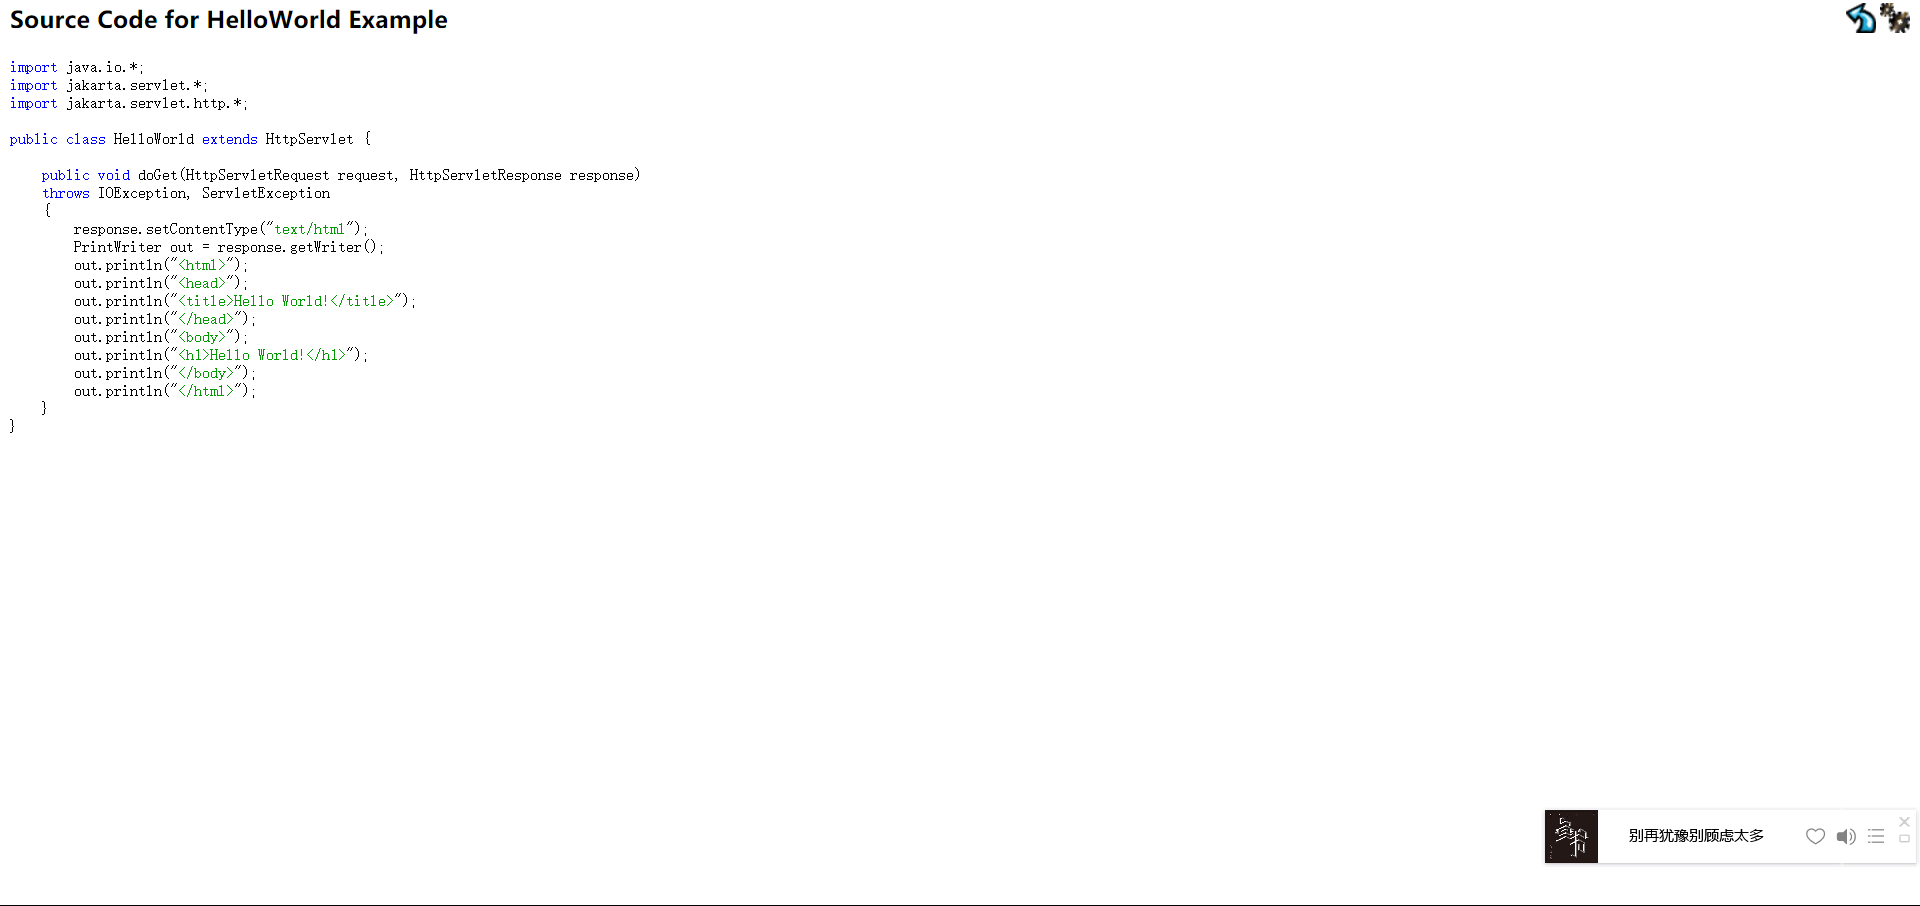
image-20210327185451096
复制主题内容代码到IDEA中。
第四部分:

image-20210327194518241
代码语言:javascript
复制
  <!--  web.xml中配置我们的web的核心应用-->
  <servlet>
    <servlet-name>helloServlet</servlet-name>
    <servlet-class>com.xbhog.helloServlet</servlet-class>
  </servlet>
  <!--  一个servlet对应一个Mapping映射-->
  <servlet-mapping>
    <servlet-name>helloServlet</servlet-name>
    <!--  请求路径-->
    <url-pattern>/xbhog</url-pattern>
  </servlet-mapping>
最后完结:
启动tomcat后结果三张图:

image-20210327194740086
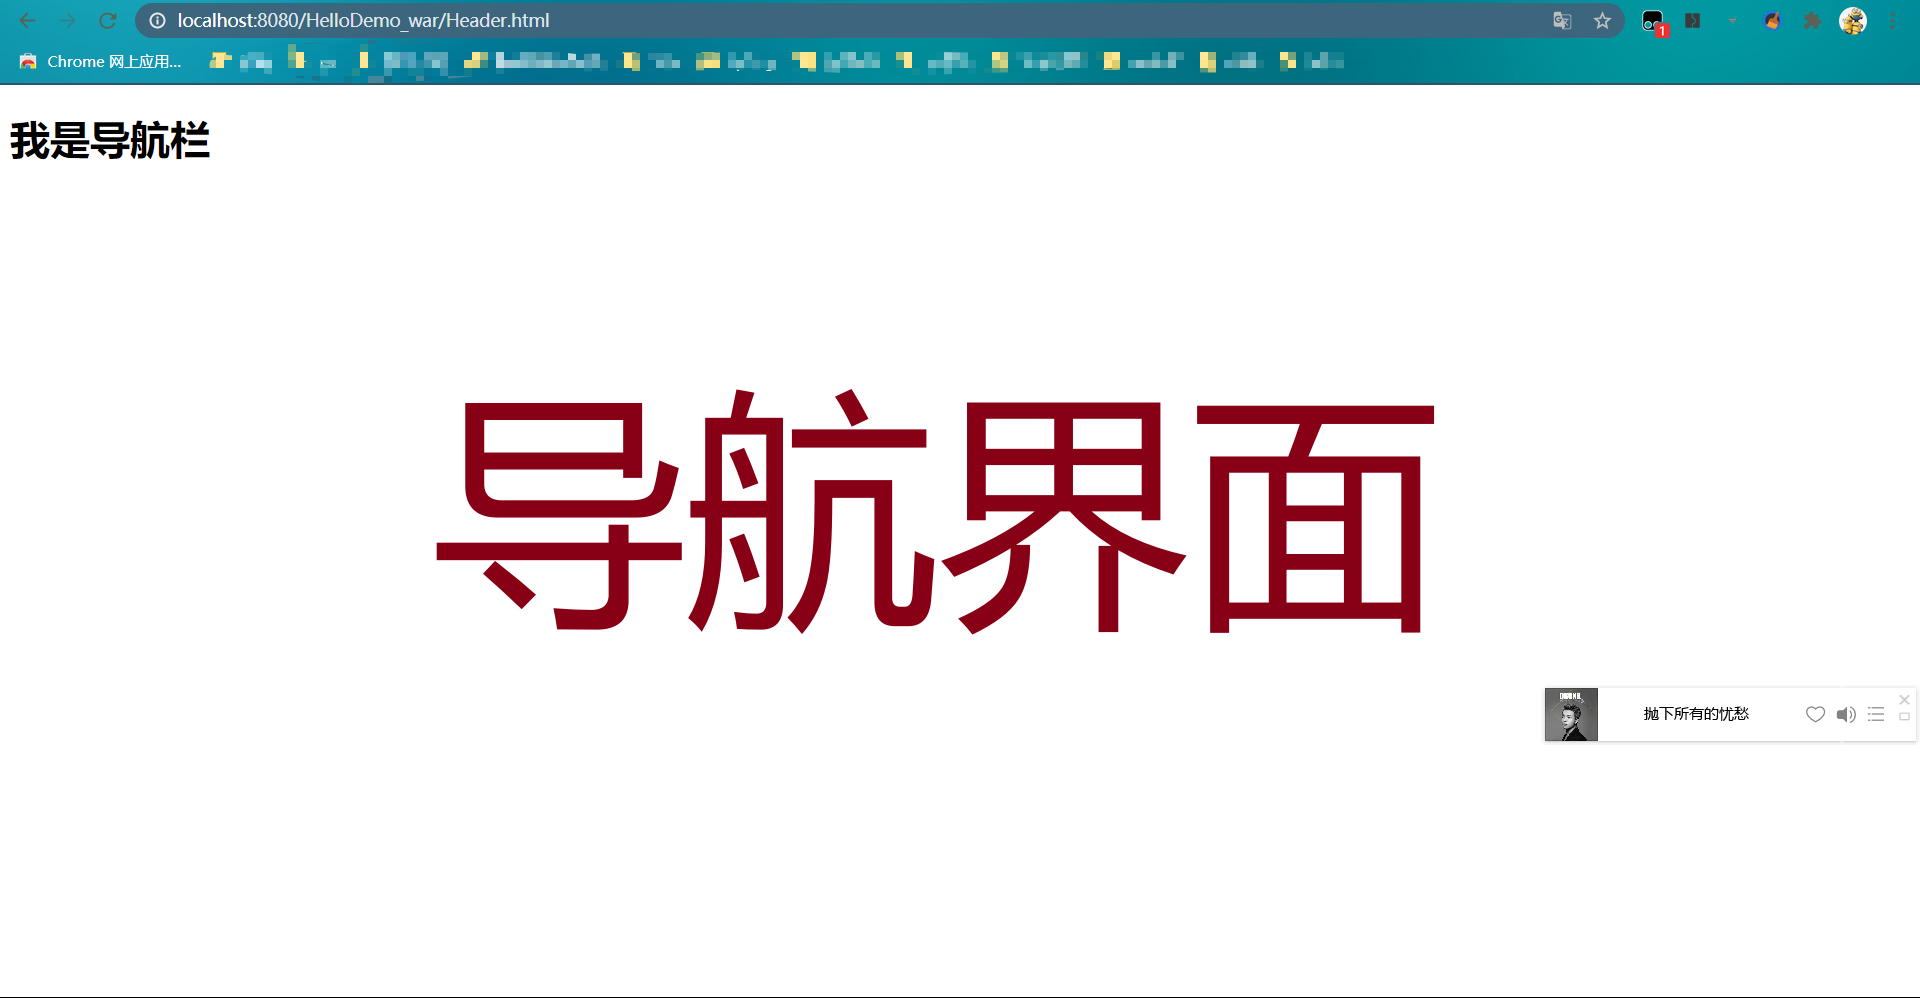
image-20210327194821383
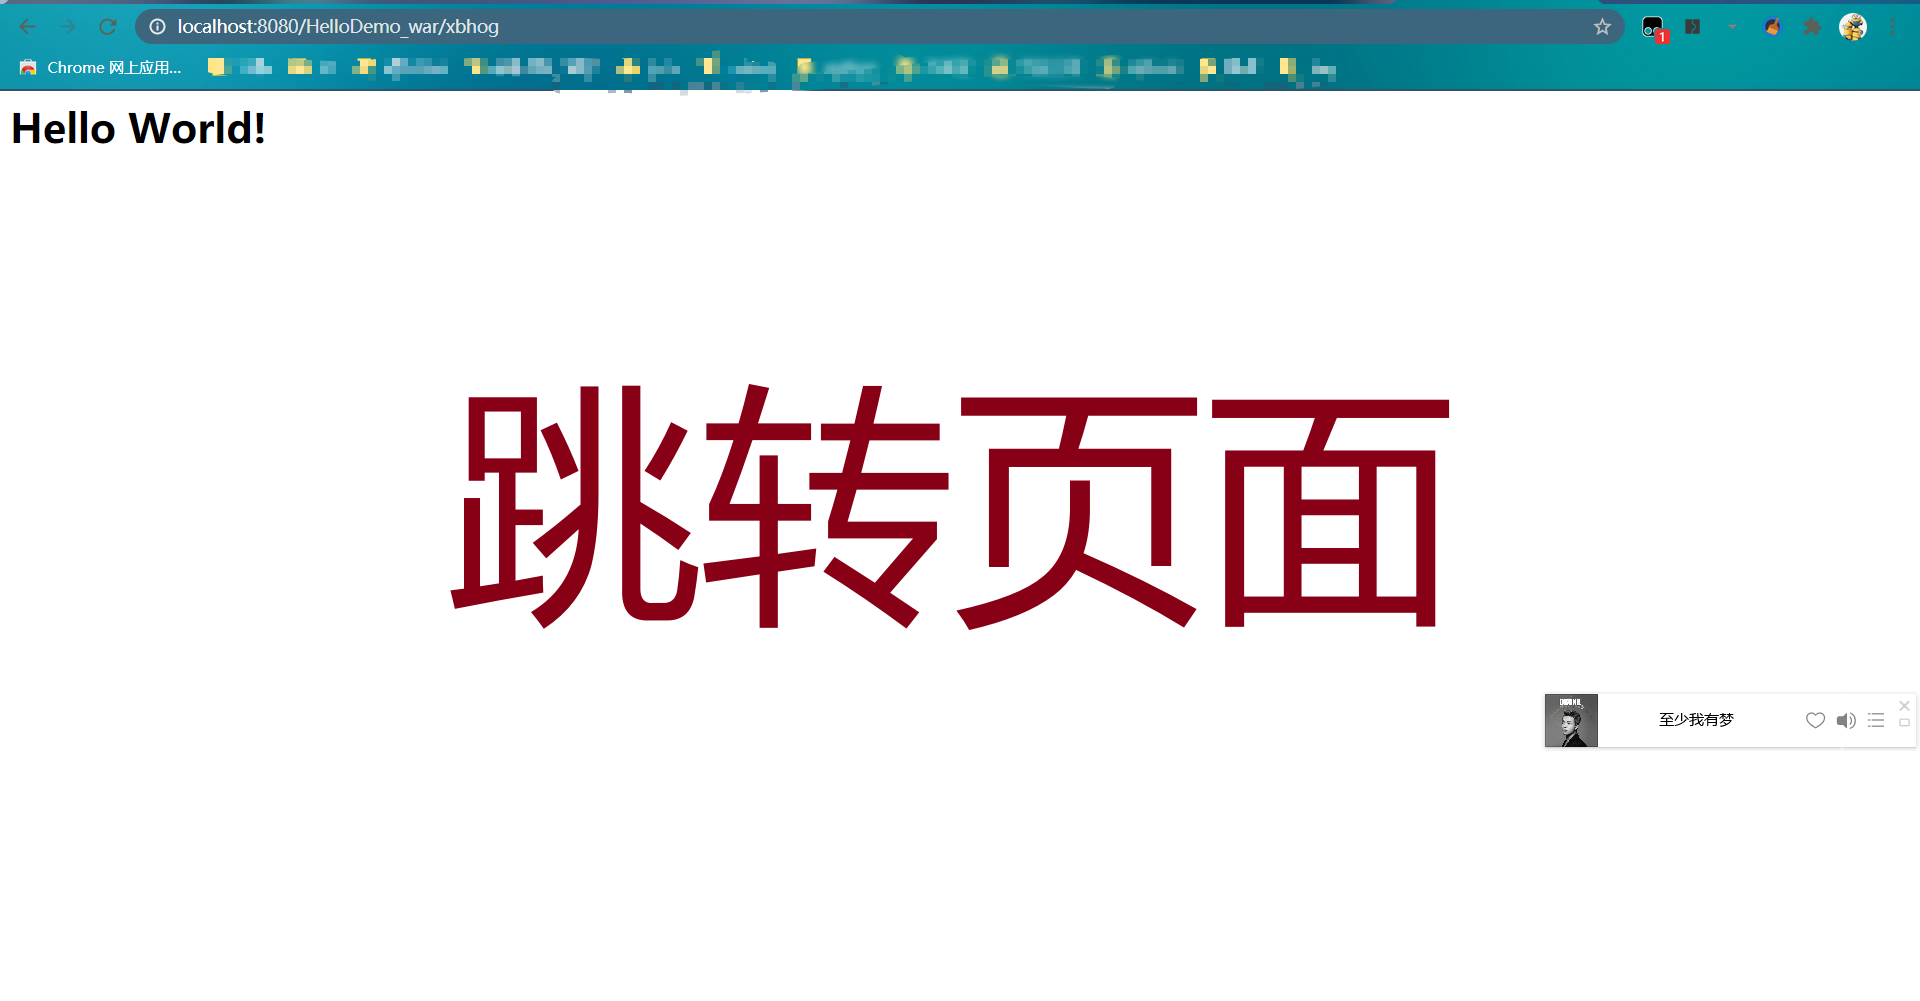
image-20210327194928666