准备工作
- 已经创建了一个腾讯云容器服务集群
- 配置好kubectl客户端
- 已经有一个腾讯云(DNSPod)解析的域名
安装chectl
$ bash <(curl -sL https://www.eclipse.org/che/chectl/)安装NGINX Ingress Controller
详细安装过程见:https://kubernetes.github.io/ingress-nginx/deploy/
这里需要注意的是是controller使用的镜像地址国内无法访问,需要换成你自己的镜像地址,可以将镜像翻墙下载,然后上传到腾讯云容器服务的镜像仓库里。
安装cert-manager
cert-manager是原生的Kubernetes证书管理控制器。 它可以帮助从各种证书机构颁发证书,例如Let's Encrypt,HashiCorp Vault,Venafi,简单的签名密钥对或生成自签名证书。
它将确保证书有效并且是最新的,并在到期前尝试在配置的时间续订证书。
# Kubernetes 1.16+ $ kubectl apply --validate=false -f https://github.com/jetstack/cert-manager/releases/download/v1.0.2/cert-manager.yamlKubernetes <1.16
kubectl apply --validate=false -f https://github.com/jetstack/cert-manager/releases/download/v1.0.2/cert-manager-legacy.yaml</code></pre></div></div><p>本文只要确保会使用即可,有时间再详细介绍一下cert-manager</p><h3 id="fv7vi" name="%E5%AE%89%E8%A3%85dnspod-webhook">安装dnspod webhook</h3><h4 id="6rbqo" name="%E7%94%B3%E8%AF%B7dnspod%E7%9A%84api%E8%B0%83%E7%94%A8%E5%87%AD%E8%AF%81">申请dnspod的api调用凭证</h4><p>在安装dnspod webhook之前,需要新申请dnspod调用api接口的id和和token,首先登陆dnspod管理控制台(使用腾讯云账号即可登陆),如下图所示:</p><figure class=""><div class="rno-markdown-img-url" style="text-align:center"><div class="rno-markdown-img-url-inner" style="width:100%"><div style="width:100%"><img src="https://cdn.static.attains.cn/app/developer-bbs/upload/1723254550195696727.jpeg" /></div><div class="figure-desc">dnspodconsole.jpg</div></div></div></figure><p>进入“密钥管理”页面,点击“创建密钥”。</p><figure class=""><div class="rno-markdown-img-url" style="text-align:center"><div class="rno-markdown-img-url-inner" style="width:100%"><div style="width:100%"><img src="https://cdn.static.attains.cn/app/developer-bbs/upload/1723254550577384903.jpeg" /></div><div class="figure-desc">keymanager.jpg</div></div></div></figure><p>在创建“创建密钥”页面,输入密钥名称,点击“确定”即可。</p><figure class=""><div class="rno-markdown-img-url" style="text-align:center"><div class="rno-markdown-img-url-inner" style="width:100%"><div style="width:100%"><img src="https://cdn.static.attains.cn/app/developer-bbs/upload/1723254550799479417.jpeg" /></div><div class="figure-desc">createkey.jpg</div></div></div></figure><p>创建成功后,如下图所示:</p><figure class=""><div class="rno-markdown-img-url" style="text-align:center"><div class="rno-markdown-img-url-inner" style="width:100%"><div style="width:100%"><img src="https://cdn.static.attains.cn/app/developer-bbs/upload/1723254550965549862.jpeg" /></div><div class="figure-desc">createkeysuccess.jpg</div></div></div></figure><p><strong>复制保存ID和Token、复制保存ID和Token、复制保存ID和Token,后面将用到。</strong></p><h4 id="9piju" name="%E5%AE%89%E8%A3%85dnspod-webhook">安装dnspod webhook</h4><p>下载代码:</p><div class="rno-markdown-code"><div class="rno-markdown-code-toolbar"><div class="rno-markdown-code-toolbar-info"><div class="rno-markdown-code-toolbar-item is-type"><span class="is-m-hidden">代码语言:</span>txt</div></div><div class="rno-markdown-code-toolbar-opt"><div class="rno-markdown-code-toolbar-copy"><i class="icon-copy"></i><span class="is-m-hidden">复制</span></div></div></div><div class="developer-code-block"><pre class="prism-token token line-numbers language-txt"><code class="language-txt" style="margin-left:0"> git clone https://github.com/qqshfox/cert-manager-webhook-dnspod.git
使用helm安装:
$ cd cert-manager-webhook-dnspod

$ helm install --name cert-manager-webhook-dnspod ./deploy/cert-manager-webhook-dnspod

--namespace <NAMESPACE-WHICH-CERT-MANAGER-INSTALLED>

--set groupName=<GROUP_NAME>

--set secrets.apiID=<DNSPOD_API_ID>,secrets.apiToken=<DNSPOD_API_TOKEN>

--set clusterIssuer.enabled=true,clusterIssuer.email=<EMAIL_ADDRESS>
注意:上面的命令中中,namespace配置为che,GROUP_NAME建议使用acme.xxx.com这样的唯一标识即可,DNSPOD_API_ID和DNSPOD_API_TOKEN为上一步申请的api调用凭证,EMAIL_ADDRESS配置为您常用地址即可,在证书过期的时候会发送提醒之类到这个邮箱地址。
安装完后,webhook将自动帮您创建一个cluster issuer,如下所示:
[root@VM_0_10_centos cheworkspace]# kubectl get clusterissuer

NAME                                         READY   AGE

cert-manager-webhook-dnspod-cluster-issuer   True    14h
查看yaml格式,如下:
apiVersion: cert-manager.io/v1

kind: ClusterIssuer

metadata:

……

name: cert-manager-webhook-dnspod-cluster-issuer

……

spec:

acme:

email: zhcj11118@126.com

preferredChain: ""

privateKeySecretRef:

name: cert-manager-webhook-dnspod-letsencrypt

server: https://acme-v02.api.letsencrypt.org/directory

solvers:

- dns01:

webhook:

config:

apiID: 184422

apiTokenSecretRef:

key: api-token

name: cert-manager-webhook-dnspod-secret

groupName: acme.venusource.com

solverName: dnspod
申请ssl证书
eclipse che要求使用一个泛域名来自动配置相关的服务及实现多租户模式,我们需要解析一个*.xxx.xxx.cn这样的域名到nginx controller,所以cert-manager申请证书时,必须使用dns01方式认证域名所有权,HTTP方式不支持泛域名的所有权认证。请确保您在腾讯云申请了相关了域名。
新建文件che-certificate.yaml,内容如下:
apiVersion: cert-manager.io/v1

kind: Certificate

metadata:

name: che-certificate

namespace: che

spec:

dnsNames:

- 'ide.gwunion.cn'

- '*.ide.gwunion.cn'

secretName: che-tls

issuerRef:

name: cert-manager-webhook-dnspod-cluster-issuer

kind: ClusterIssuer
系统将调用letsencrypt的acme的接口为我们的域名申请证书。
注意:这里的secretName必须为che-tls,chectl在安装时会检查,如果有有che-tls这个secret就不在自动创建一个自签名的证书,直接使用che-tls。
执行下面的命令查看证书申请情况
kubectl describe Certificate che-certificate -n che等待通过dns方式对域名进行所有权认证,一段1-2分钟内证书就申请完毕,并保存到名称为che-tls的secret内。
安装eclipse che
安装之前,请确保您使用的域名*.xxx.xxx.com已经解析到ingress nginx controller的IP地址,查看IP地址可执行下面的命令查看:
kubectl get services --namespace ingress-nginxIP地址为EXTERNAL-IP字段,请在腾讯云域名解析控制台或dnspod域名解析控制台解析*.xxx.xxx.com的A记录到EXTERNAL-IP。
$ chectl server:start -a helm -b ide.gwunion.cn -p k8s --multiuser --k8spodreadytimeout=13000000 --k8spodwaittimeout=30000000
› Current Kubernetes context: 'cls-8437x8wt-context-default'
✔ Verify Kubernetes API...OK
✔ 👀 Looking for an already existing Eclipse Che instance
✔ Verify if Eclipse Che is deployed into namespace "che"...it is not
✔ ✈️ Kubernetes preflight checklist
✔ Verify if kubectl is installed
✔ Verify remote kubernetes status...done.
✔ Check Kubernetes version: Found v1.18.4-tke.2.
✔ Verify domain is set...set to ide.gwunion.cn.
↓ Check if cluster accessible [skipped]
✔ Start following logs
↓ Start following Operator logs [skipped]
✔ Start following Eclipse Che logs...done
✔ Start following Postgres logs...done
✔ Start following Keycloak logs...done
✔ Start following Plugin registry logs...done
✔ Start following Devfile registry logs...done
✔ Start following events
✔ Start following namespace events...done
› Warning: Consider using the more reliable 'OLM' installer when deploying a stable release of Eclipse Che (--installer=olm).
✔ 🏃 Running Helm to install Eclipse Che
✔ Verify if helm is installed
✔ Check Helm Version: Found v3.3.1+g249e521
✔ Create Namespace (che)...does already exist.
✔ Check Eclipse Che TLS certificate...TLS certificate secret found
✔ Check Cluster Role Binding...done.
✔ Preparing Eclipse Che Helm Chart...done.
✔ Updating Helm Chart dependencies...done.
✔ Deploying Eclipse Che Helm Chart...done.
✔ ✅ Post installation checklist
✔ PostgreSQL pod bootstrap
✔ scheduling...done.
✔ downloading images...done.
✔ starting...done.
✔ Devfile registry pod bootstrap
✔ scheduling...done.
✔ downloading images...done.
✔ starting...done.
✔ Plugin registry pod bootstrap
✔ scheduling...done.
✔ downloading images...done.
✔ starting...done.
✔ Eclipse Che pod bootstrap
✔ scheduling...done.
✔ downloading images...done.
✔ starting...done.
✔ Retrieving Eclipse Che server URL... https://che-che.ide.gwunion.cn
✔ Eclipse Che status check
✔ Show important messages
✔ Autogenerated Keycloak credentials are: "admin:iZ245VK5RUHV"
Command server:start has completed successfully.这里简单说明一下chectl几个参数:
- -a helm 为安装方式使用helm chart
- -b ide.gwunion.cn 为eclipse che使用的访问域名
- -p k8s 安装平台为独立安装的k8s平台
- --multiuser 支持多用户
- --k8spodreadytimeout=13000000 等待pod为ready状态的超时时长
- --k8spodwaittimeout=30000000 等待pod启动的超时时长,为什么要配置那么长时间,主要是由于国内网络状态太差,拉取镜像的时间较长,所以越大越好。
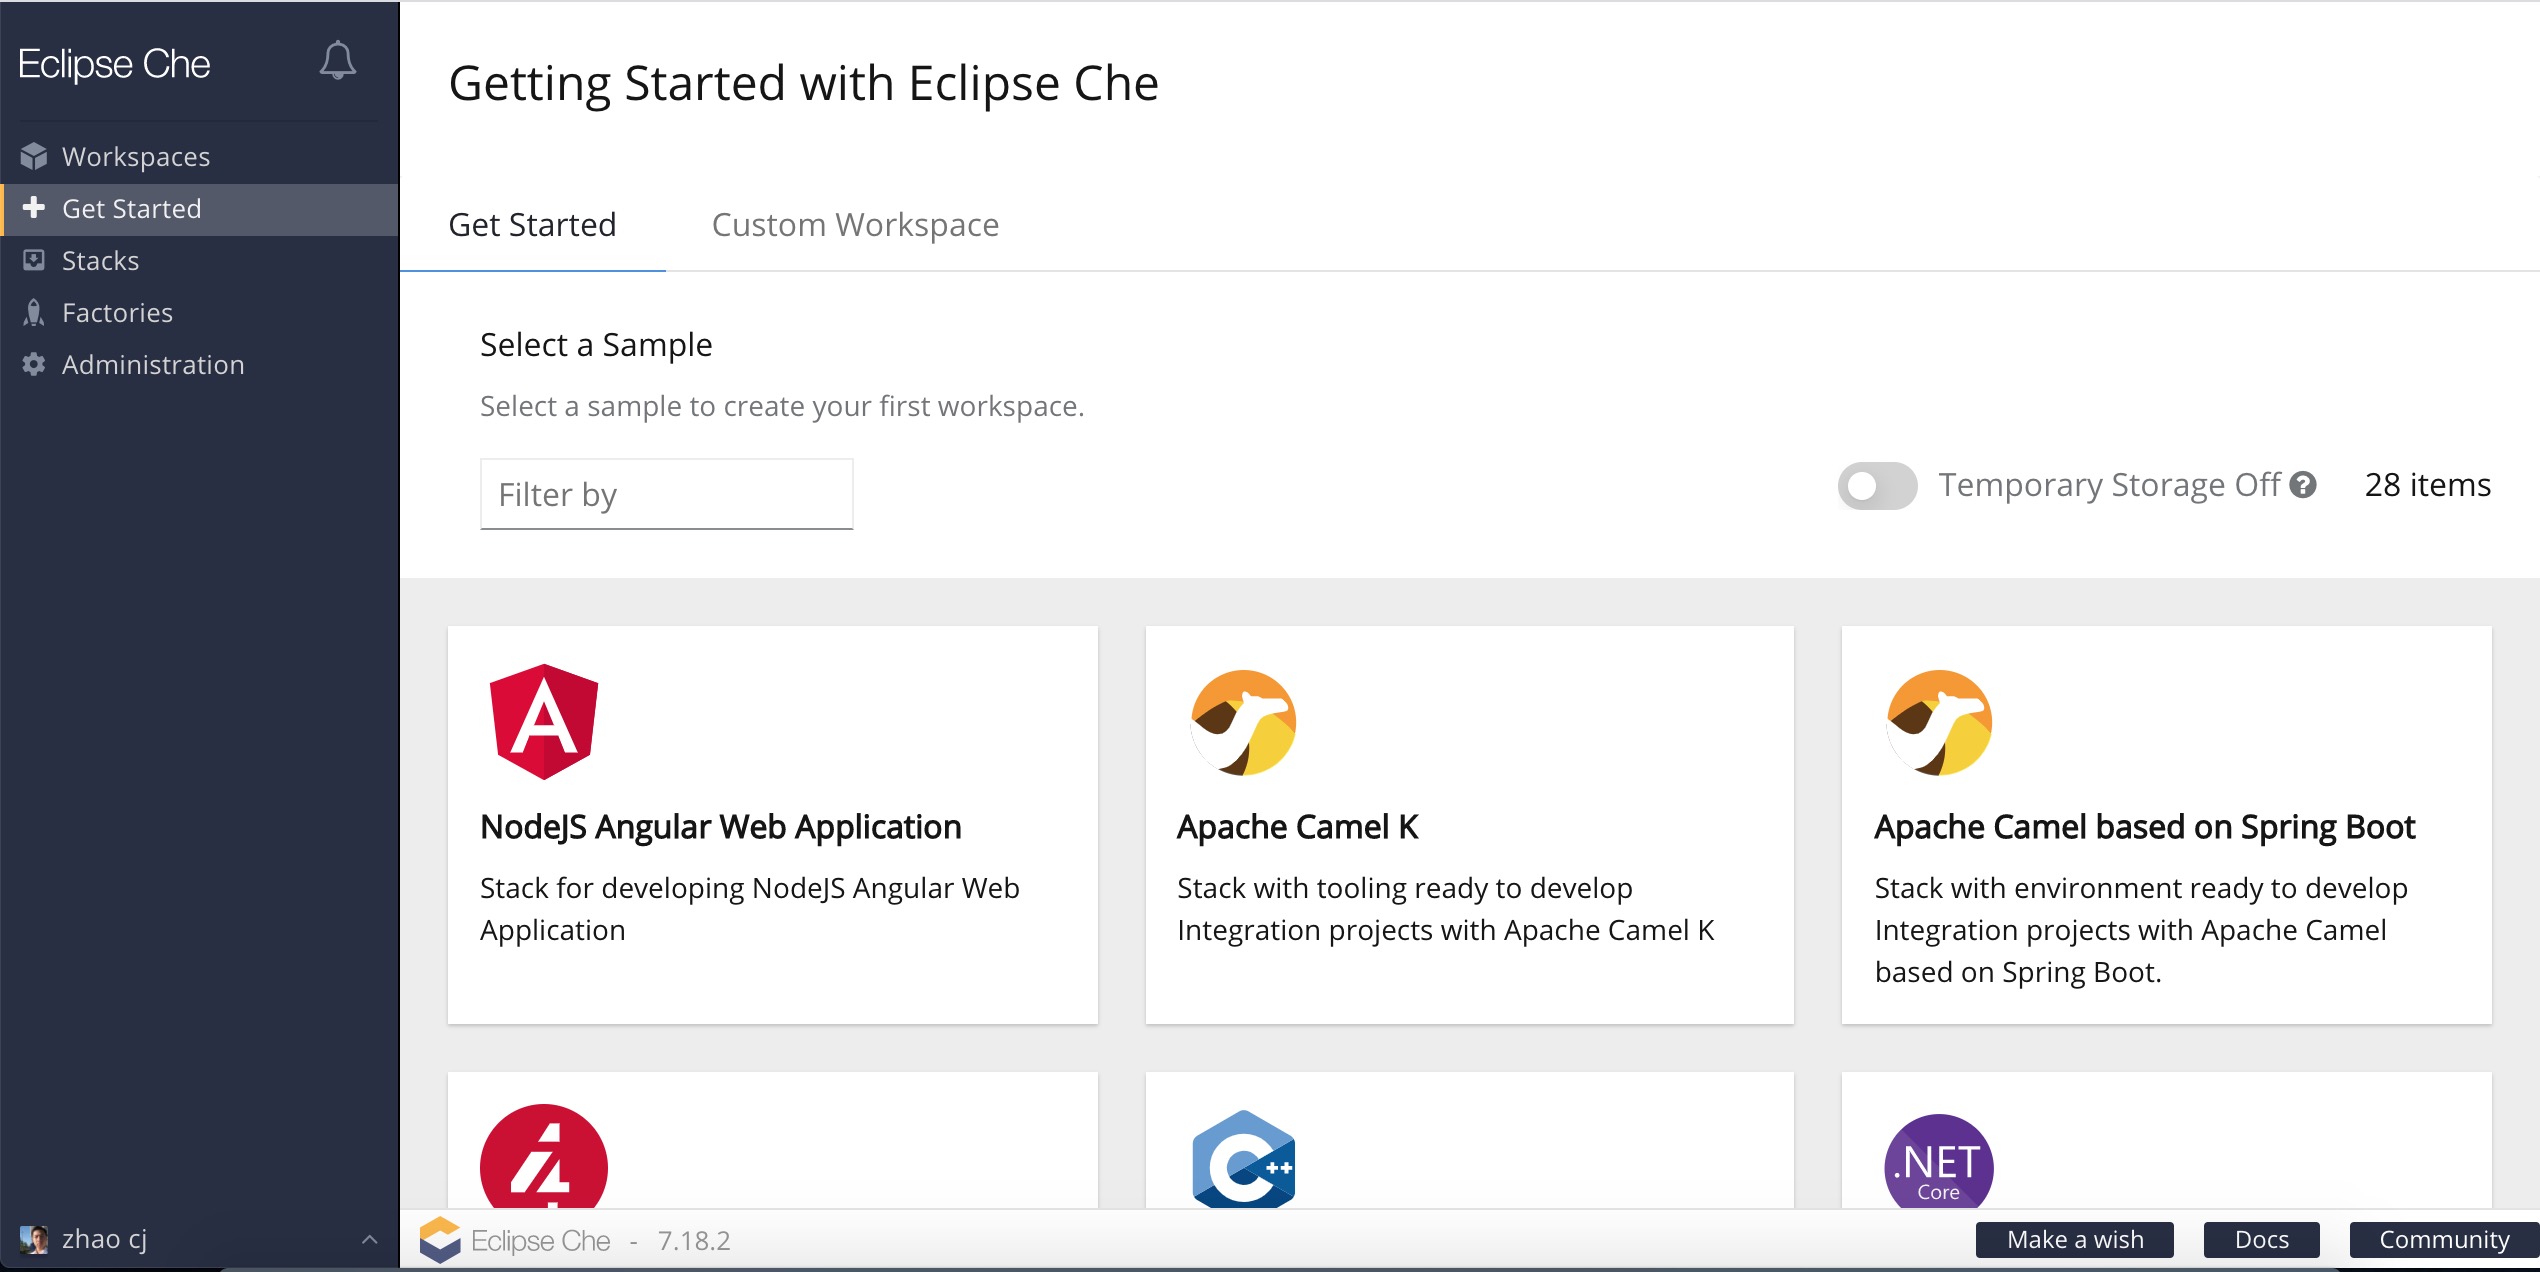
安装完成后,即可通过 https://che-che.xxx.com访问您的eclipse che云开发ide环境了,如下图所示:
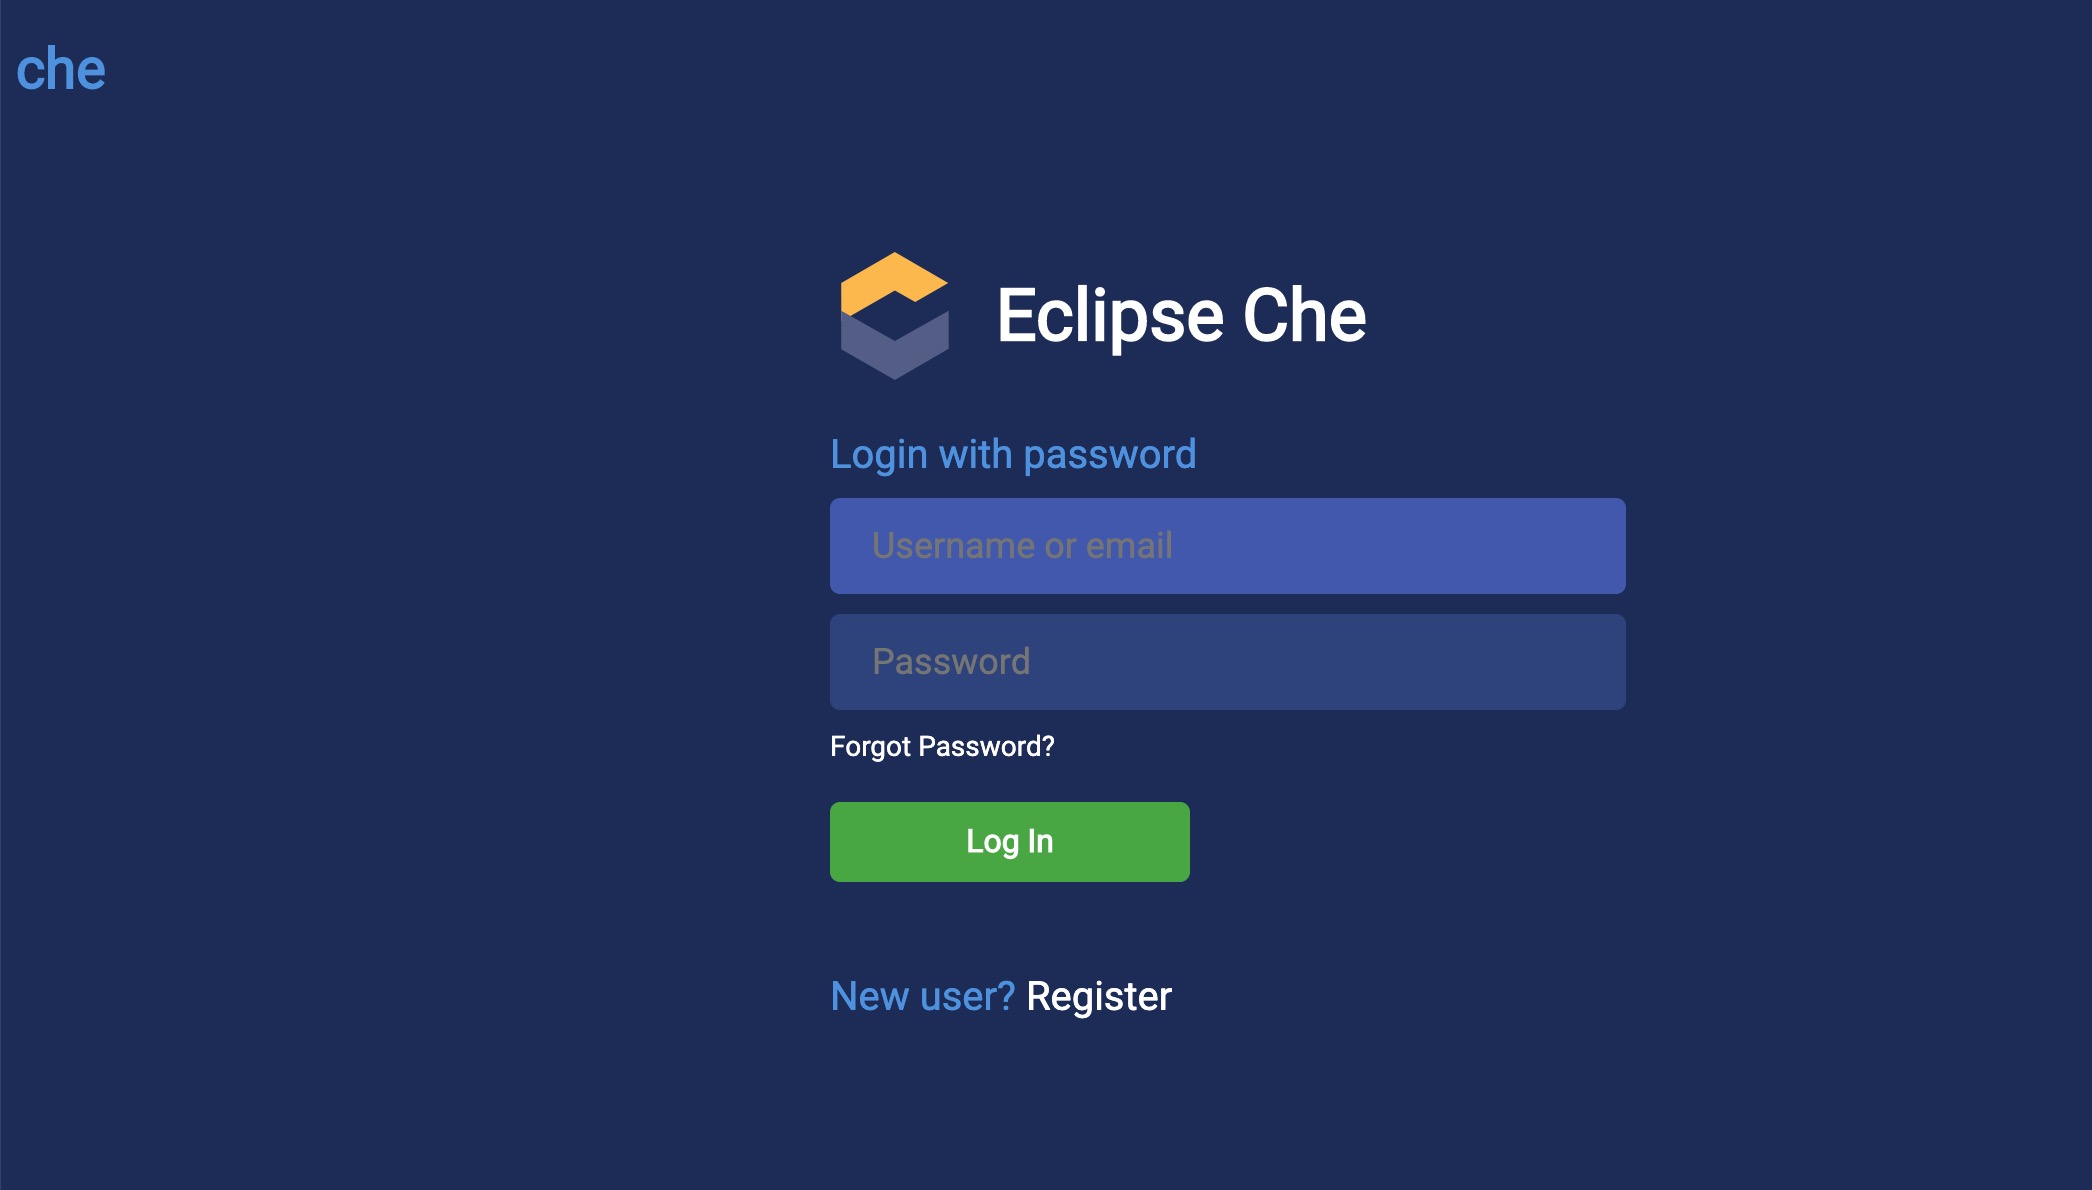
首次需要注册用户,然后登陆控制台即可,让您的团队尽情的享用云原生IDE吧。

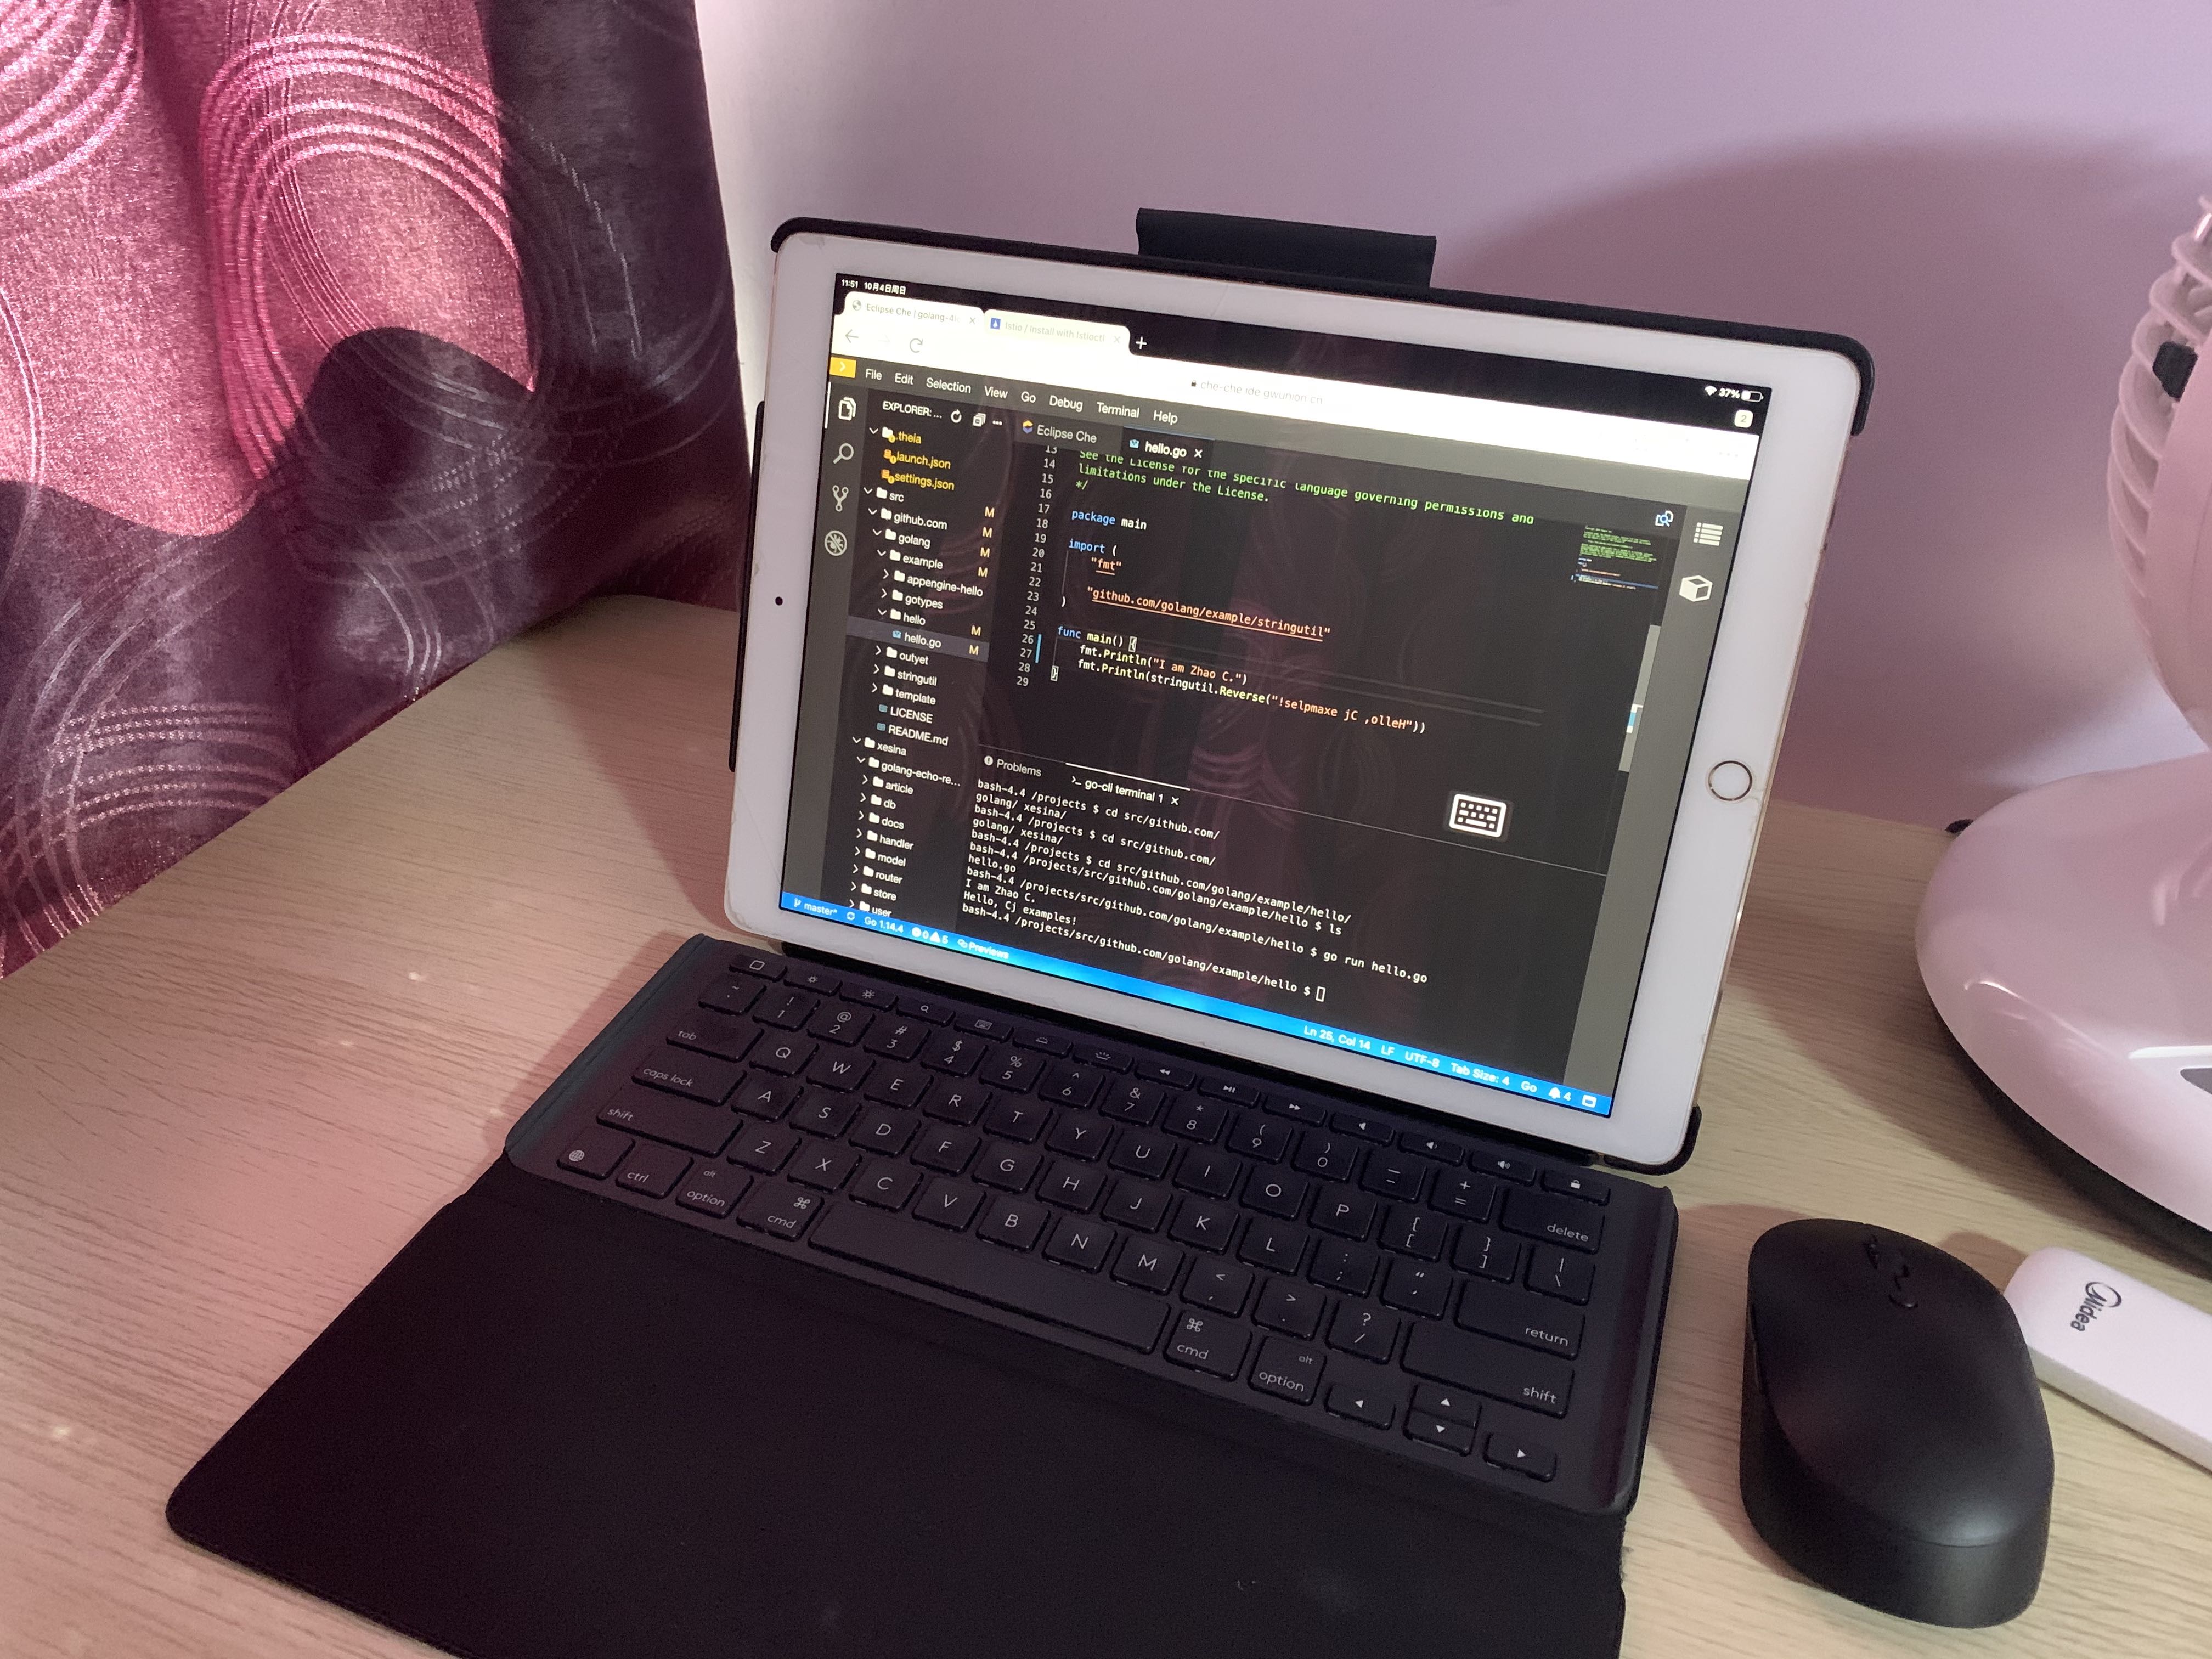
以后不用给你的团队配笔记本电脑了,人手一个ipad,性能可按需配置,就像下面这样:
后续的优化提升
由于目前平台所有镜像都使用国外的镜像,下载速度较慢,建议在生产环境使用将镜像本地化,可以使用腾讯云的容器镜像服务。