Grafana 是一个用于监控、分析和可视化实时系统数据的工具,从收集到的一系列数据中,我们将获得一个公司或组织情况的图形全景图,它从时间序列数据库(Graphite、InfluxDB 或 OpenTSDB)生成图形和仪表板,它还允许您将它们作为快照与其他用户共享。
在本教程中,我们将学习如何在Ubuntu 20.04上安装 Grafana 8 。
先决条件
- 一个 Ubuntu 20.04 服务器
- 具有 sudo 权限的用户
- 至少 255 MB RAM
- 最少 01 个 CPU
- 支持的数据库(MySQL、PostgreSQL、SQLite)
- 启用了 javascript 的兼容浏览器
- 打开 3000 端口(如果您不使用反向代理)
第 1 步:在 Ubuntu 上安装 Grafana
Grafana 不存在于 Ubuntu 的默认存储库中,我们将添加 Grafana 的官方存储库进行安装,这可确保您拥有它的最新版本。
运行以下命令以添加 Grafana 存储库:
$ sudo wget -q -O - https://packages.grafana.com/gpg.key | sudo apt-key add -echo "deb https://packages.grafana.com/oss/deb stable main" | sudo tee -a /etc/apt/sources.list.d/grafana.list安装其他必要的软件包
$ sudo apt install -y apt-transport-https software-properties-common wget更新存储库的缓存
$ sudo apt update现在您可以使用 APT 命令安装 Grafana
$ sudo apt install grafana您可以检查安装的版本以获取更多信息
$ grafana-server -v
Version 8.2.3 (commit: fb85ed6912, branch: HEAD)
输出显示 Grafanaversion 8.2已安装。
现在在启动时启用服务,这样如果服务器重新启动,它也会自动启动
$ sudo systemctl enable grafana-server
Synchronizing state of grafana-server.service with SysV service script with /lib/systemd/systemd-sysv-install.
Executing: /lib/systemd/systemd-sysv-install enable grafana-server
Created symlink /etc/systemd/system/multi-user.target.wants/grafana-server.service → /lib/systemd/system/grafana-server.service.
您需要启动服务才能让 Grafana 正常工作
$ sudo systemctl start grafana-server第 2 步:Grafana 的 Nginx 反向代理
由于我们想通过域名(或子域)访问它,我们将使用反向代理将通信重定向到服务器上的 Grafana,因此,我们将安装 Nginx 并添加证书来处理 Grafana 的所有外部请求。
Grafana 正常运行在 3000 端口上,也就是说你需要在防火墙上打开该端口,通过 IP 地址和端口访问。
在我们的配置中,我们将使用Nginx作为反向代理来监听端口 80/443 上的请求
$ sudo apt install nginx由于我们需要保护通信,我们将复制证书
$ sudo cp grafana.domain.com.crt /etc/nginx/certs/grafana.domain.com.crt然后复制证书的密钥
$ sudo cp grafana.domain.com.key /etc/nginx/certs/grafana.domain.com.key由于这是我们的第一个配置,我们需要停用默认配置以避免任何可能的冲突
$ sudo rm /etc/nginx/sites-enabled/default是时候为 Grafana 设置配置文件了。您需要正确指明您的证书和密钥文件所在的位置。此外,默认情况下,Nginx 会将端口 80 上的所有流量重定向到端口 443 上的安全通道
$ sudo vim /etc/nginx/sites-available/jenkins.conf Server { server_name grafana.websitefortesting.com; listen 80 ; access_log /var/log/nginx/grafana.log; return 301 https://$host$request_uri; } server { server_name grafana.websitefortesting.com; listen 443 ssl http2 ; access_log /var/log/nginx/grafana.log;ssl_protocols TLSv1 TLSv1.1 TLSv1.2; ssl_ciphers "HIGH:!aNULL:!MD5 or HIGH:!aNULL:!MD5:!3DES"; ssl_prefer_server_ciphers on; ssl_session_timeout 5m; ssl_certificate /etc/nginx/certs/grafana.websitefortesting.com.crt; ssl_certificate_key /etc/nginx/certs/grafana.websitefortesting.com.key; add_header Strict-Transport-Security "max-age=31536000"; location / { proxy_pass http://localhost:3000; proxy_set_header X-Forwarded-Host $host:$server_port; proxy_set_header X-Forwarded-Server $host; proxy_set_header X-Forwarded-For $proxy_add_x_forwarded_for; }
}
现在我们需要通过在文件夹中创建配置文件的软链接来激活配置/etc/nginx/site-enabled。
 sudo ln -s /etc/nginx/sites-available/grafana.conf /etc/nginx/sites-enabled/grafana.conf</code></pre></div></div><p>可以检查一下Nginx的配置好不好</p><div class="rno-markdown-code"><div class="rno-markdown-code-toolbar"><div class="rno-markdown-code-toolbar-info"><div class="rno-markdown-code-toolbar-item is-type"><span class="is-m-hidden">代码语言:</span>txt</div></div><div class="rno-markdown-code-toolbar-opt"><div class="rno-markdown-code-toolbar-copy"><i class="icon-copy"></i><span class="is-m-hidden">复制</span></div></div></div><div class="developer-code-block"><pre class="prism-token token line-numbers language-txt"><code class="language-txt" style="margin-left:0"> sudo nginx -t

nginx: the configuration file /etc/nginx/nginx.conf syntax is ok

nginx: configuration file /etc/nginx/nginx.conf test is successful
然后我们需要重启 Nginx 服务来考虑所有的修改
$ sudo systemctl restart nginx第 3 步:访问 Grafana
现在 Grafana 的安装和配置已经完成,我们可以访问它了,为此,您需要打开浏览器并输入 Grafana 服务器的 URLhttp://grafana.domain.com

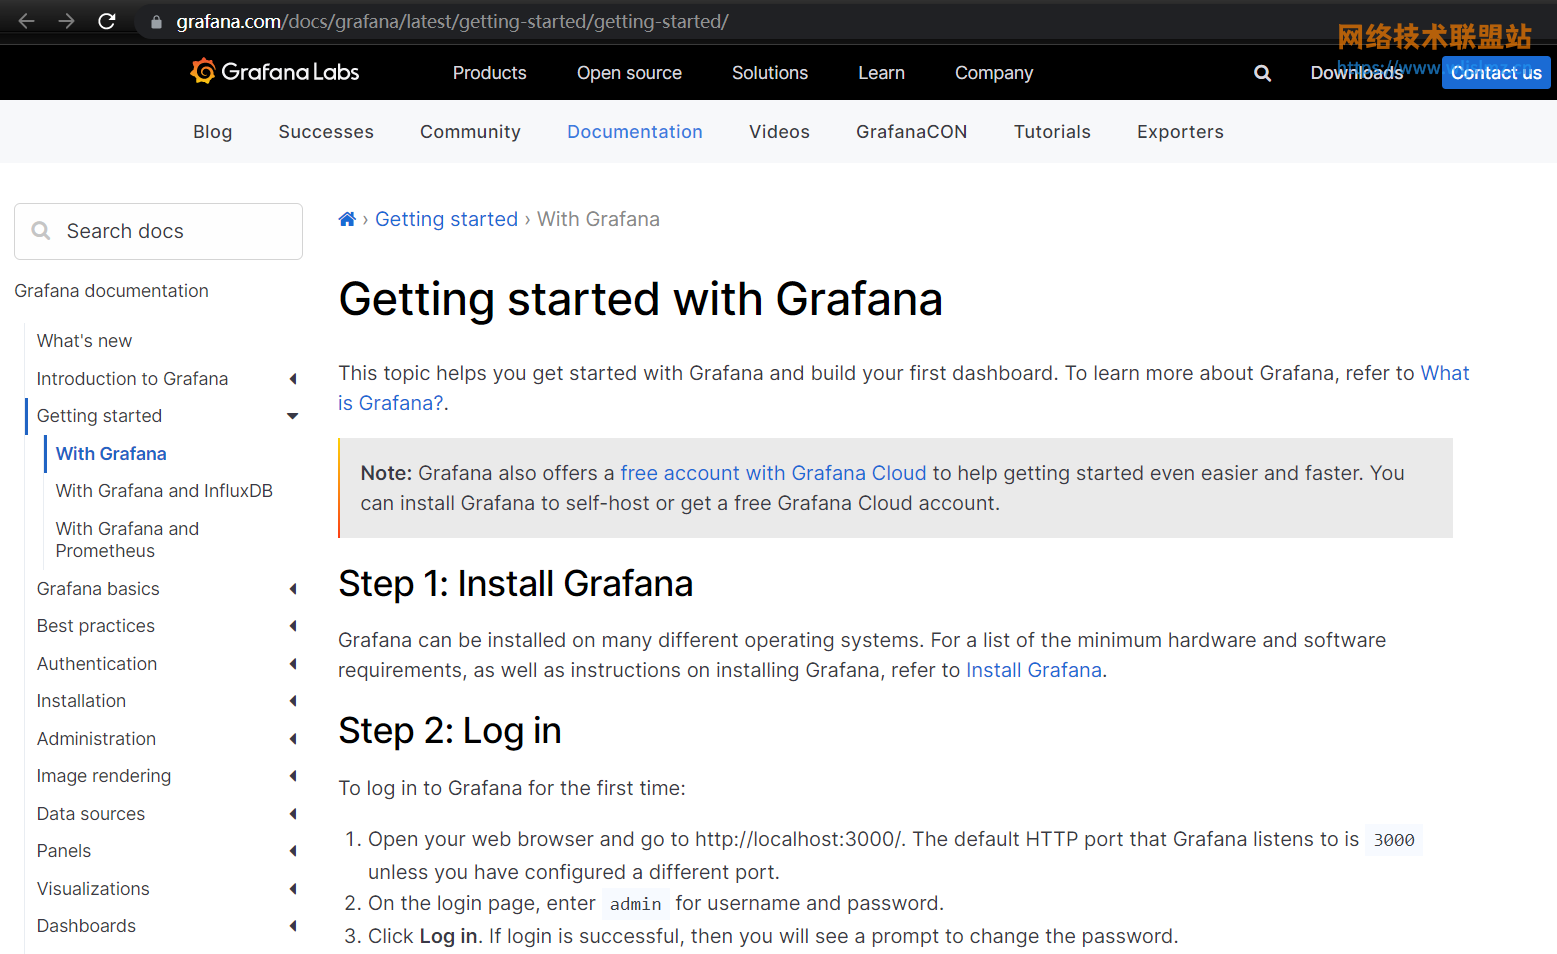
默认用户名和密码是admin. 之后,系统将提示您更改默认密码。
这将让您直接访问您的仪表板

现在您可以开始使用 Grafana 并设置所有内容,如果您需要一些配置指南,可以查看官方文档。
