错误聚集篇:
由于我 git 碰见大量错误,所以集合了一下: git 把项目托管到 码云出现的错误集合_打不着的大喇叭的博客-CSDN博客

https://blog.csdn.net/weixin_49931650/article/details/132460492
1、安装 git
- 1.1 安装步骤
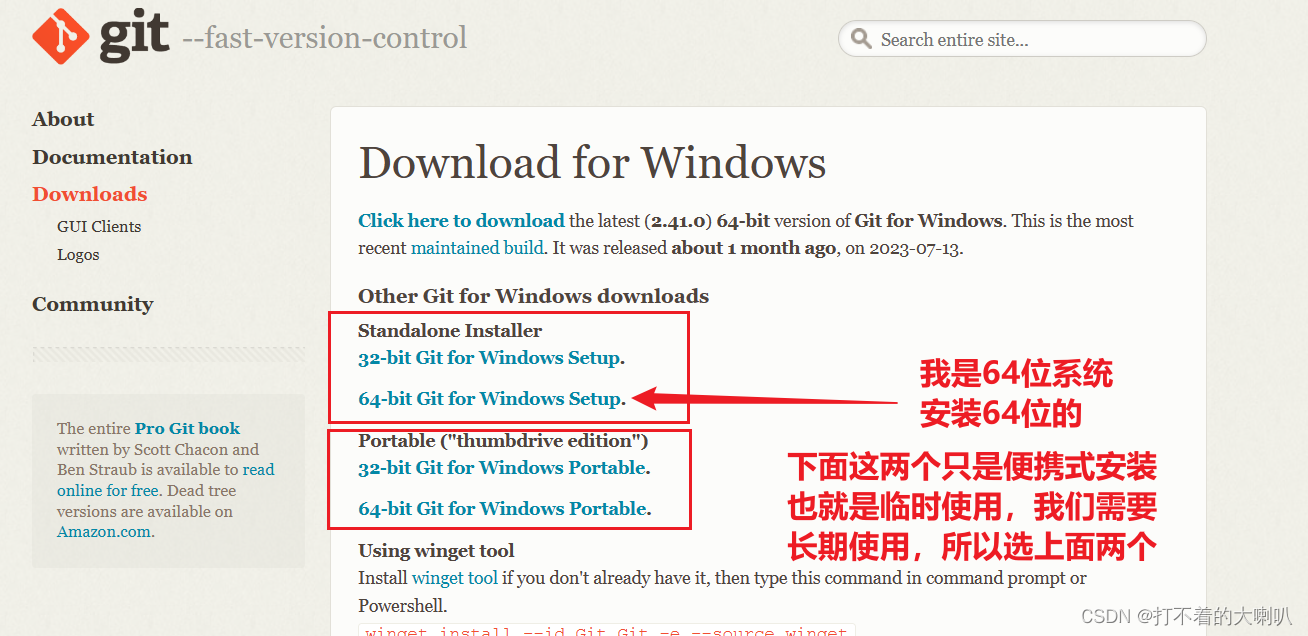
- 1.1.1 下载对应安装包
网址:Git - Downloading Package (git-scm.com)
由于我的是64位系统,所以选第二个。(桌面上鼠标右键 “计算机” 或者 “此电脑” 点击 “属性” 查看操作位数)
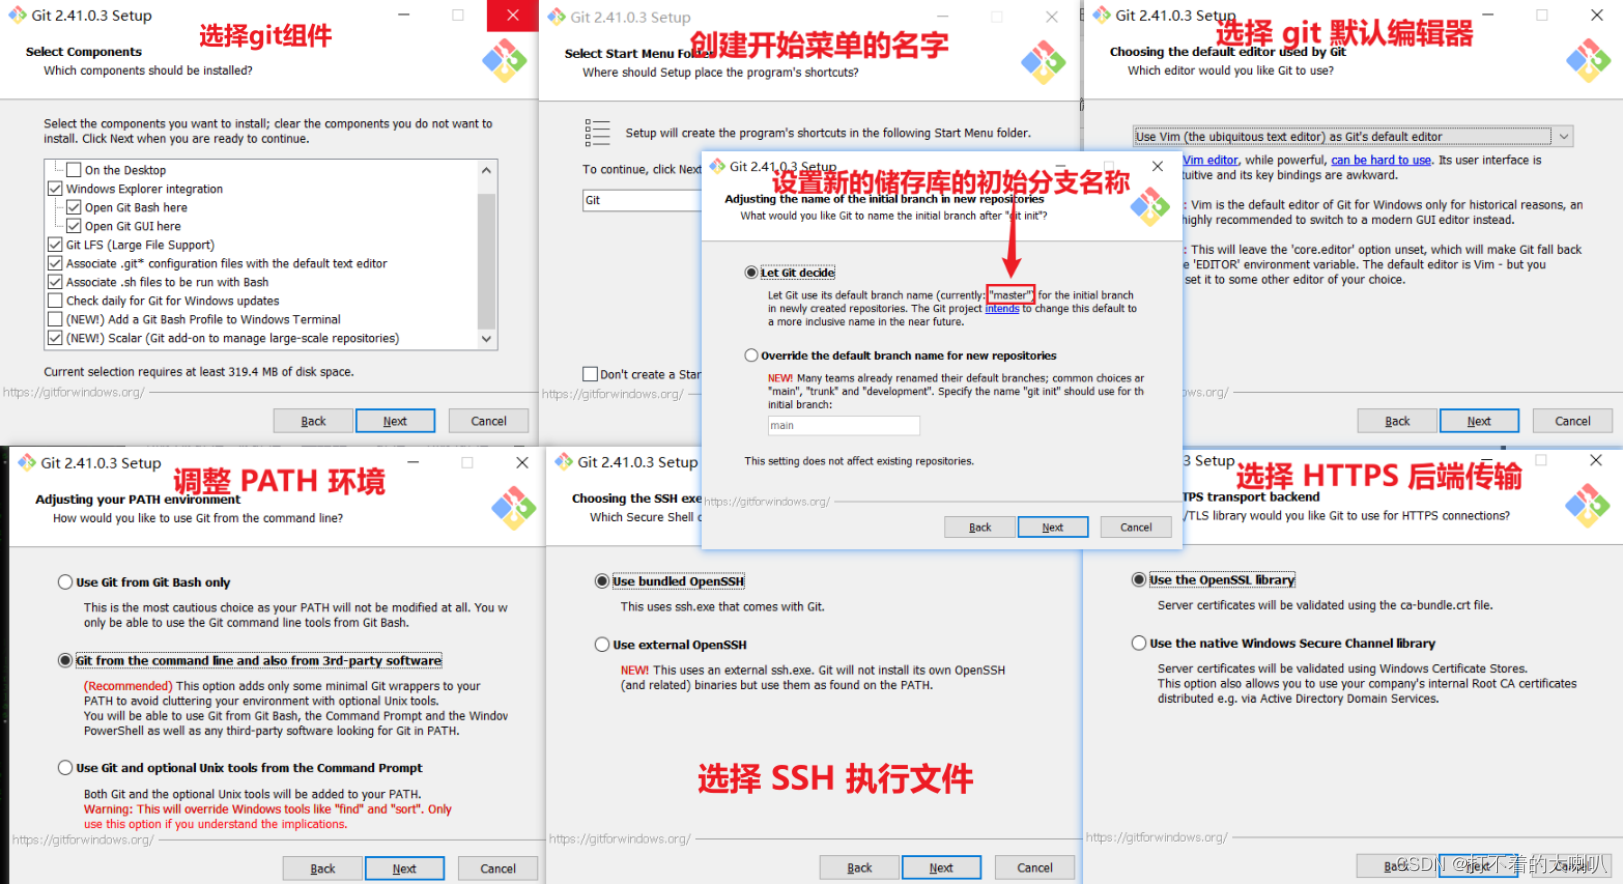
- 1.1.2 双击运行程序
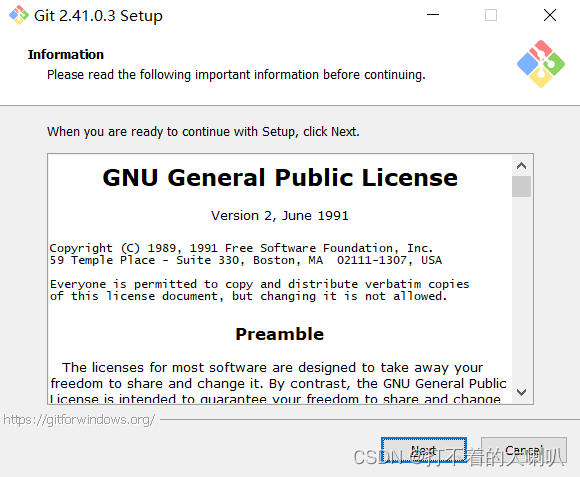
- 1.1.3 点击 Next 即可
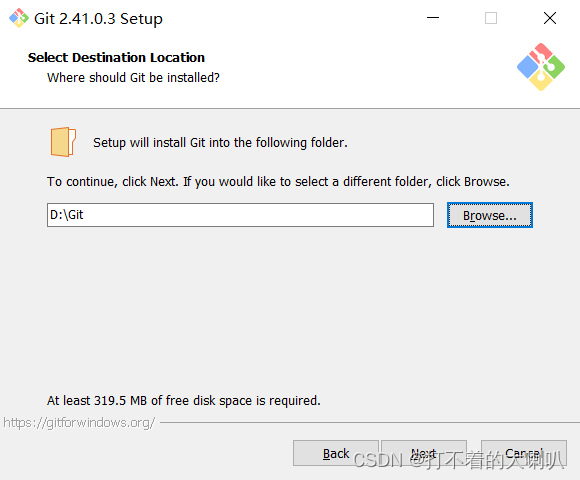
- 1.1.4 现在确认 git 安装目录
我选择 D盘 ,默认 C盘 也行,然后 Next
- 1.1.5 继续 Next 便可
什么都不用动,直接猛点 Next,直到 git 开始安装
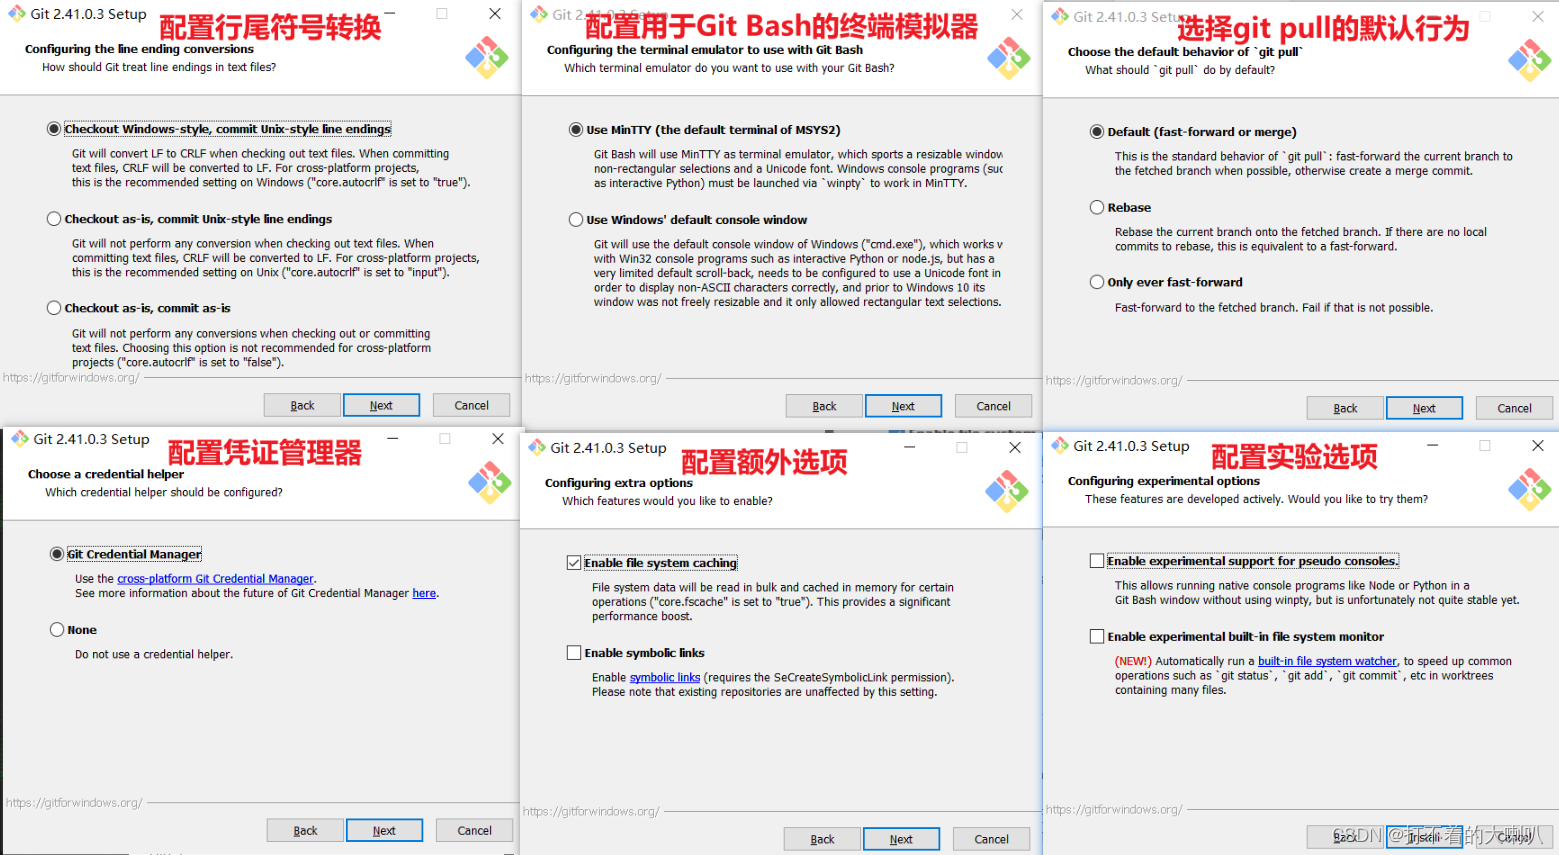
- 1.1.6 等待安装即可

- 1.1.7 点击Finish完成安装

1.2 配置步骤
- 1.2.1 设置用户名和邮箱成功
**1、桌面右键选择 git bush** **2、在打开的窗口上使用命令设置用户名:【用户名是github或者gitee用户名】** git config --global user.name "xxxxx" **3、使用命令设置邮箱:【邮箱为你的gitee或者github邮箱】**git config --global user.email xxxxx@qq.com **4、使用命令判断是否成功:【出现下面字眼成功】**git config --list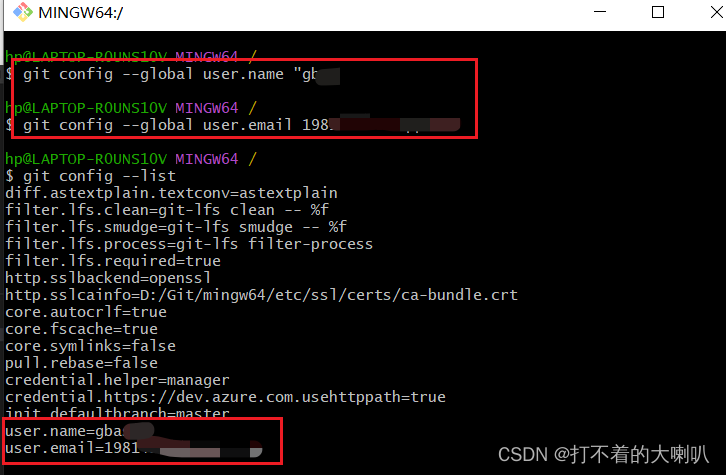
2、使用 Git 管理项目
- 2.1 本地管理
- 2.1.1 设置完成后初始化本地 Git 仓库
git init出现"Initialized empty Git repository in ------/git/.git/"表示仓库创建成功。

- 2.1.2 将所有文件都加入到暂存区
git add .
- 2.1.2.1 一步成功
如果没有提示,或者只有一些无用的警告,证明设置成功,然后执行下面命令,查看页面状态,出现一堆绿色文字,证明已经将所有文件都加入到暂存区
git status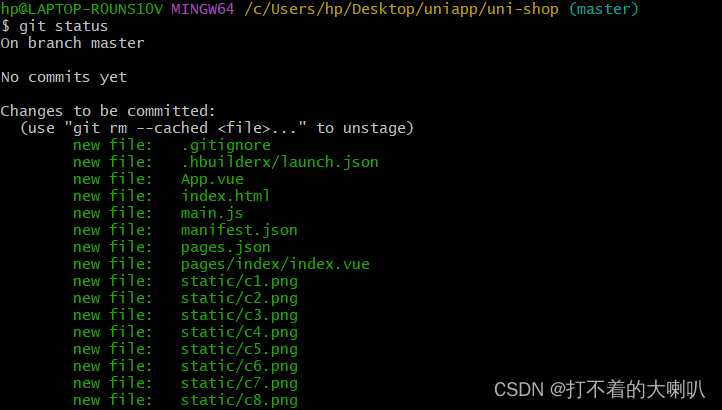
- 2.1.2.2 出现错误 fatal: detected dubious ownership in repository
- 2.1.2.3 又出现 Permission denied 权限错误
以上两个错误,开头链接指向的博客里面有
- 2.1.3 本地提交更新
git commit -m "init project"
执行下面命令查看状态,看看是否成功,出现下面内容表示成功了

2.2 把项目托管到码云
- 2.2.1 注册并激活码云账号
码云 Gitee 网址 :https://gitee.com/signup
- 2.2.2 生成并配置 SSH 公钥
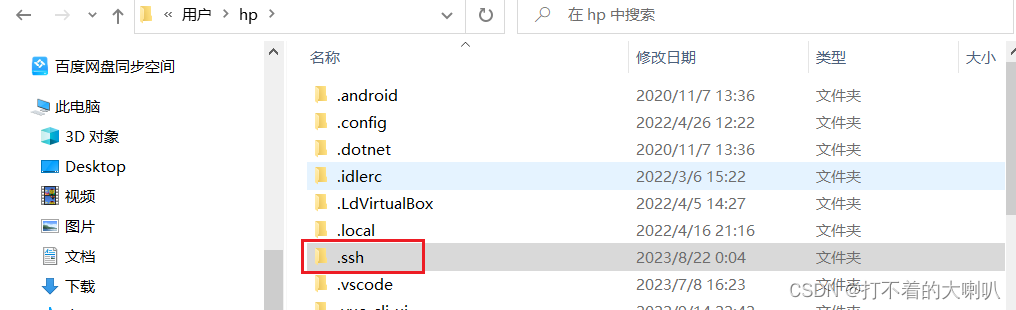
没有.ssh文件夹,就在下面创建一个 .ssh 文件夹 ,有的就跳过这几个步骤
输入你的邮箱
ssh-keygen -t rsa -C "xxx@xx.com"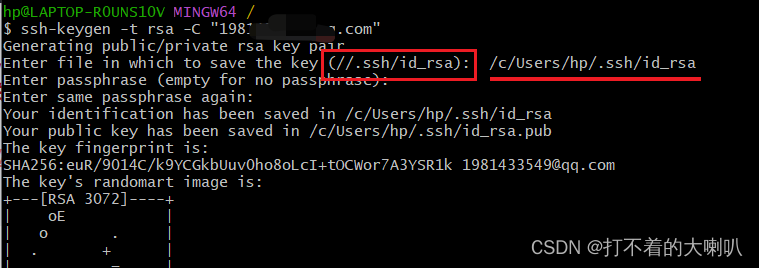
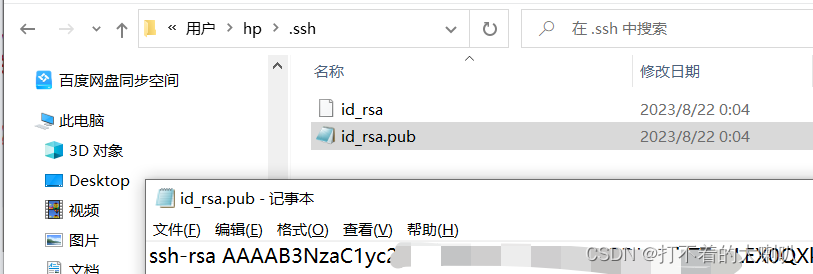
在上面,可能别的博客直接三个回车就行,我的不行,注意框框的内容,是这个就的在后面加上自己的路径,注意:可能你users文件夹下面不是hp,还是看看你自己的是什么 然后复制密钥到码云 地址:SSH公钥 - Gitee.com

然后,输入下面命令,查看是否连接上码云,如果连接上就往下面看
- 2.2.2.1 错误:git@gitee.com: Permission denied (publickey)
以上错误,开头链接指向的博客里面有
- 2.2.3 创建空白的码云仓库

- 2.2.4 把本地项目上传到码云对应的空白仓库中
- 选择 SSH
- 分别复制最后两条命令进 git bash【注意:要在项目根目录下右键打开git bash】
git remote add origin git@gitee.com:gbaes/uni-shop2.git
git push -u origin "master"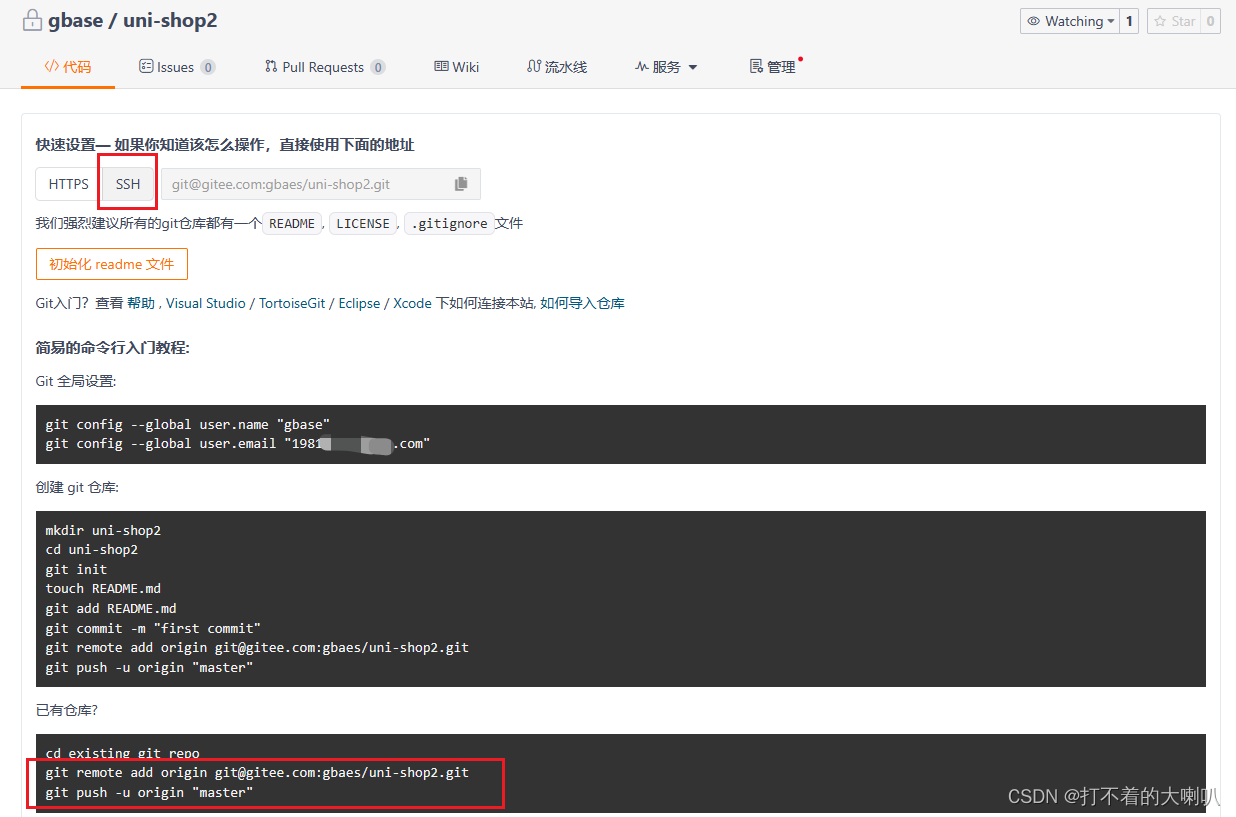
最后,成功执行后,就可以刷新码云,看见,整个项目都在上面了