背景
《基于腾讯云CVM如何搭建visual-chatgpt的环境》一文主要描述了基于腾讯云CVM的TencentOS Server 3.1(TK4)搭建的visual-chatgpt(https://github.com/microsoft/visual-chatgpt)搭建环境。本文将记录以Ubuntu-64位-Ubuntu Server 22.04 LTS 64位 | img-487zeit5 来搭建环境。尽量帮助大家零基础的在腾讯云中玩起来。
具体流程
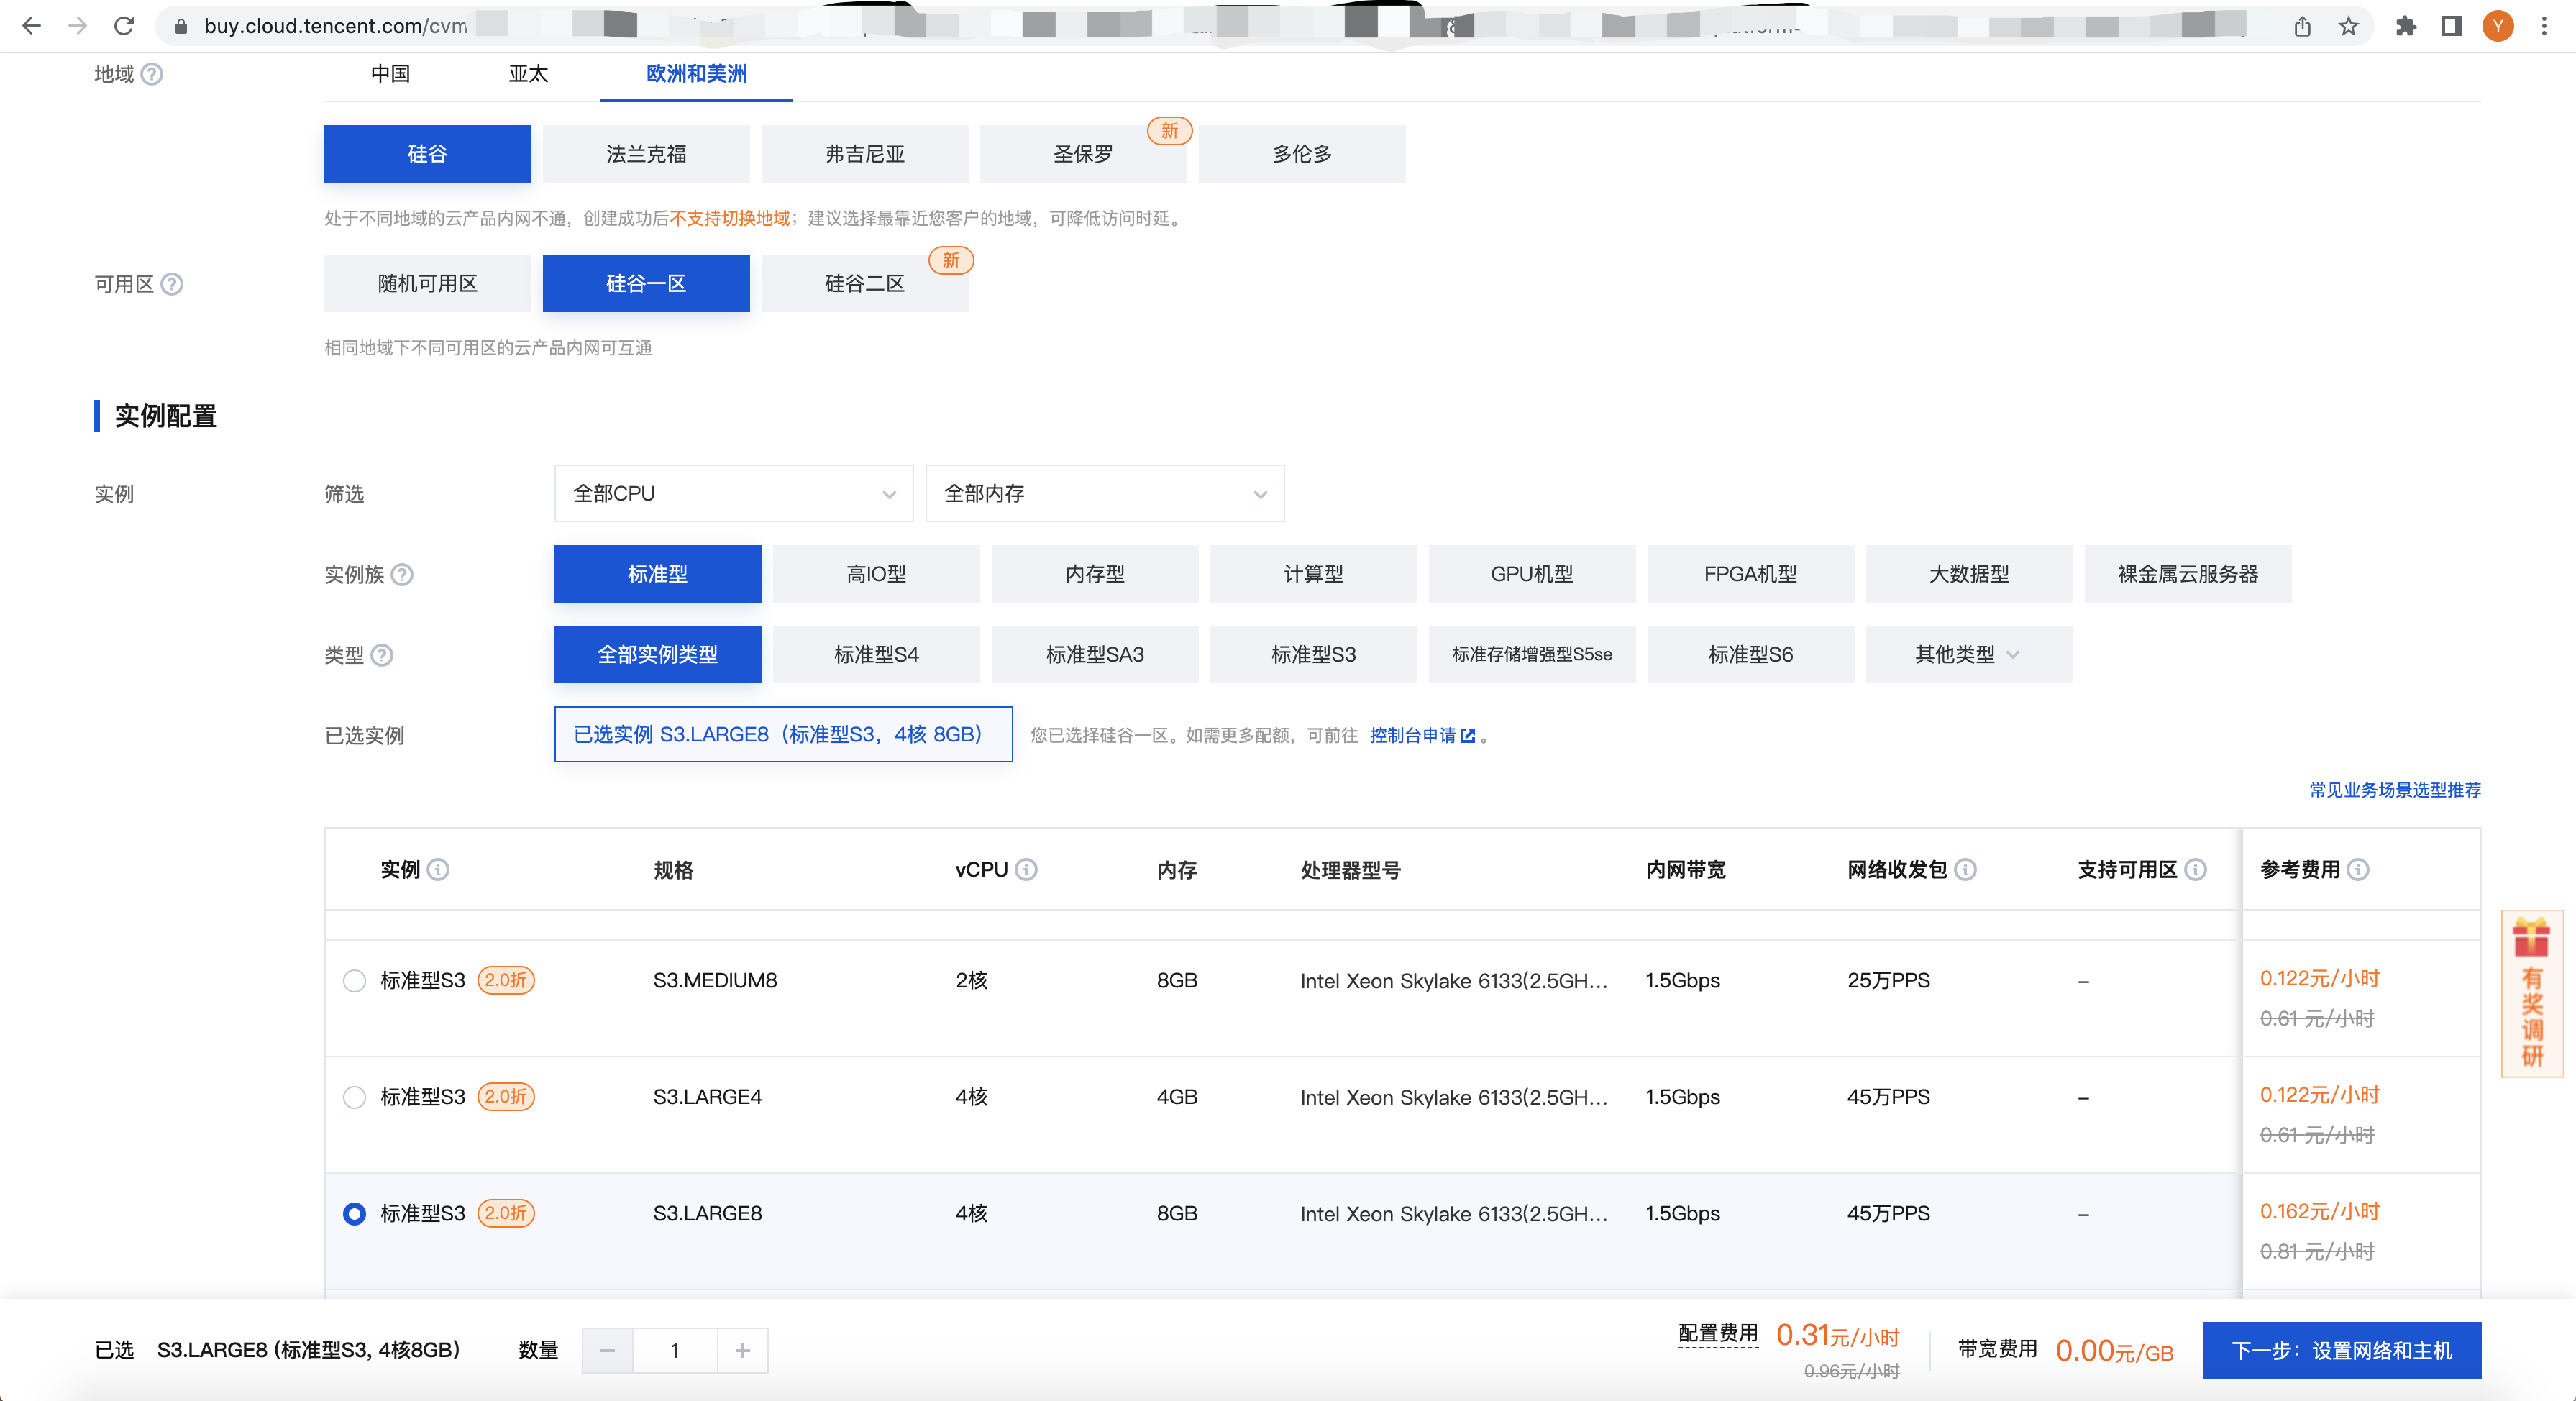
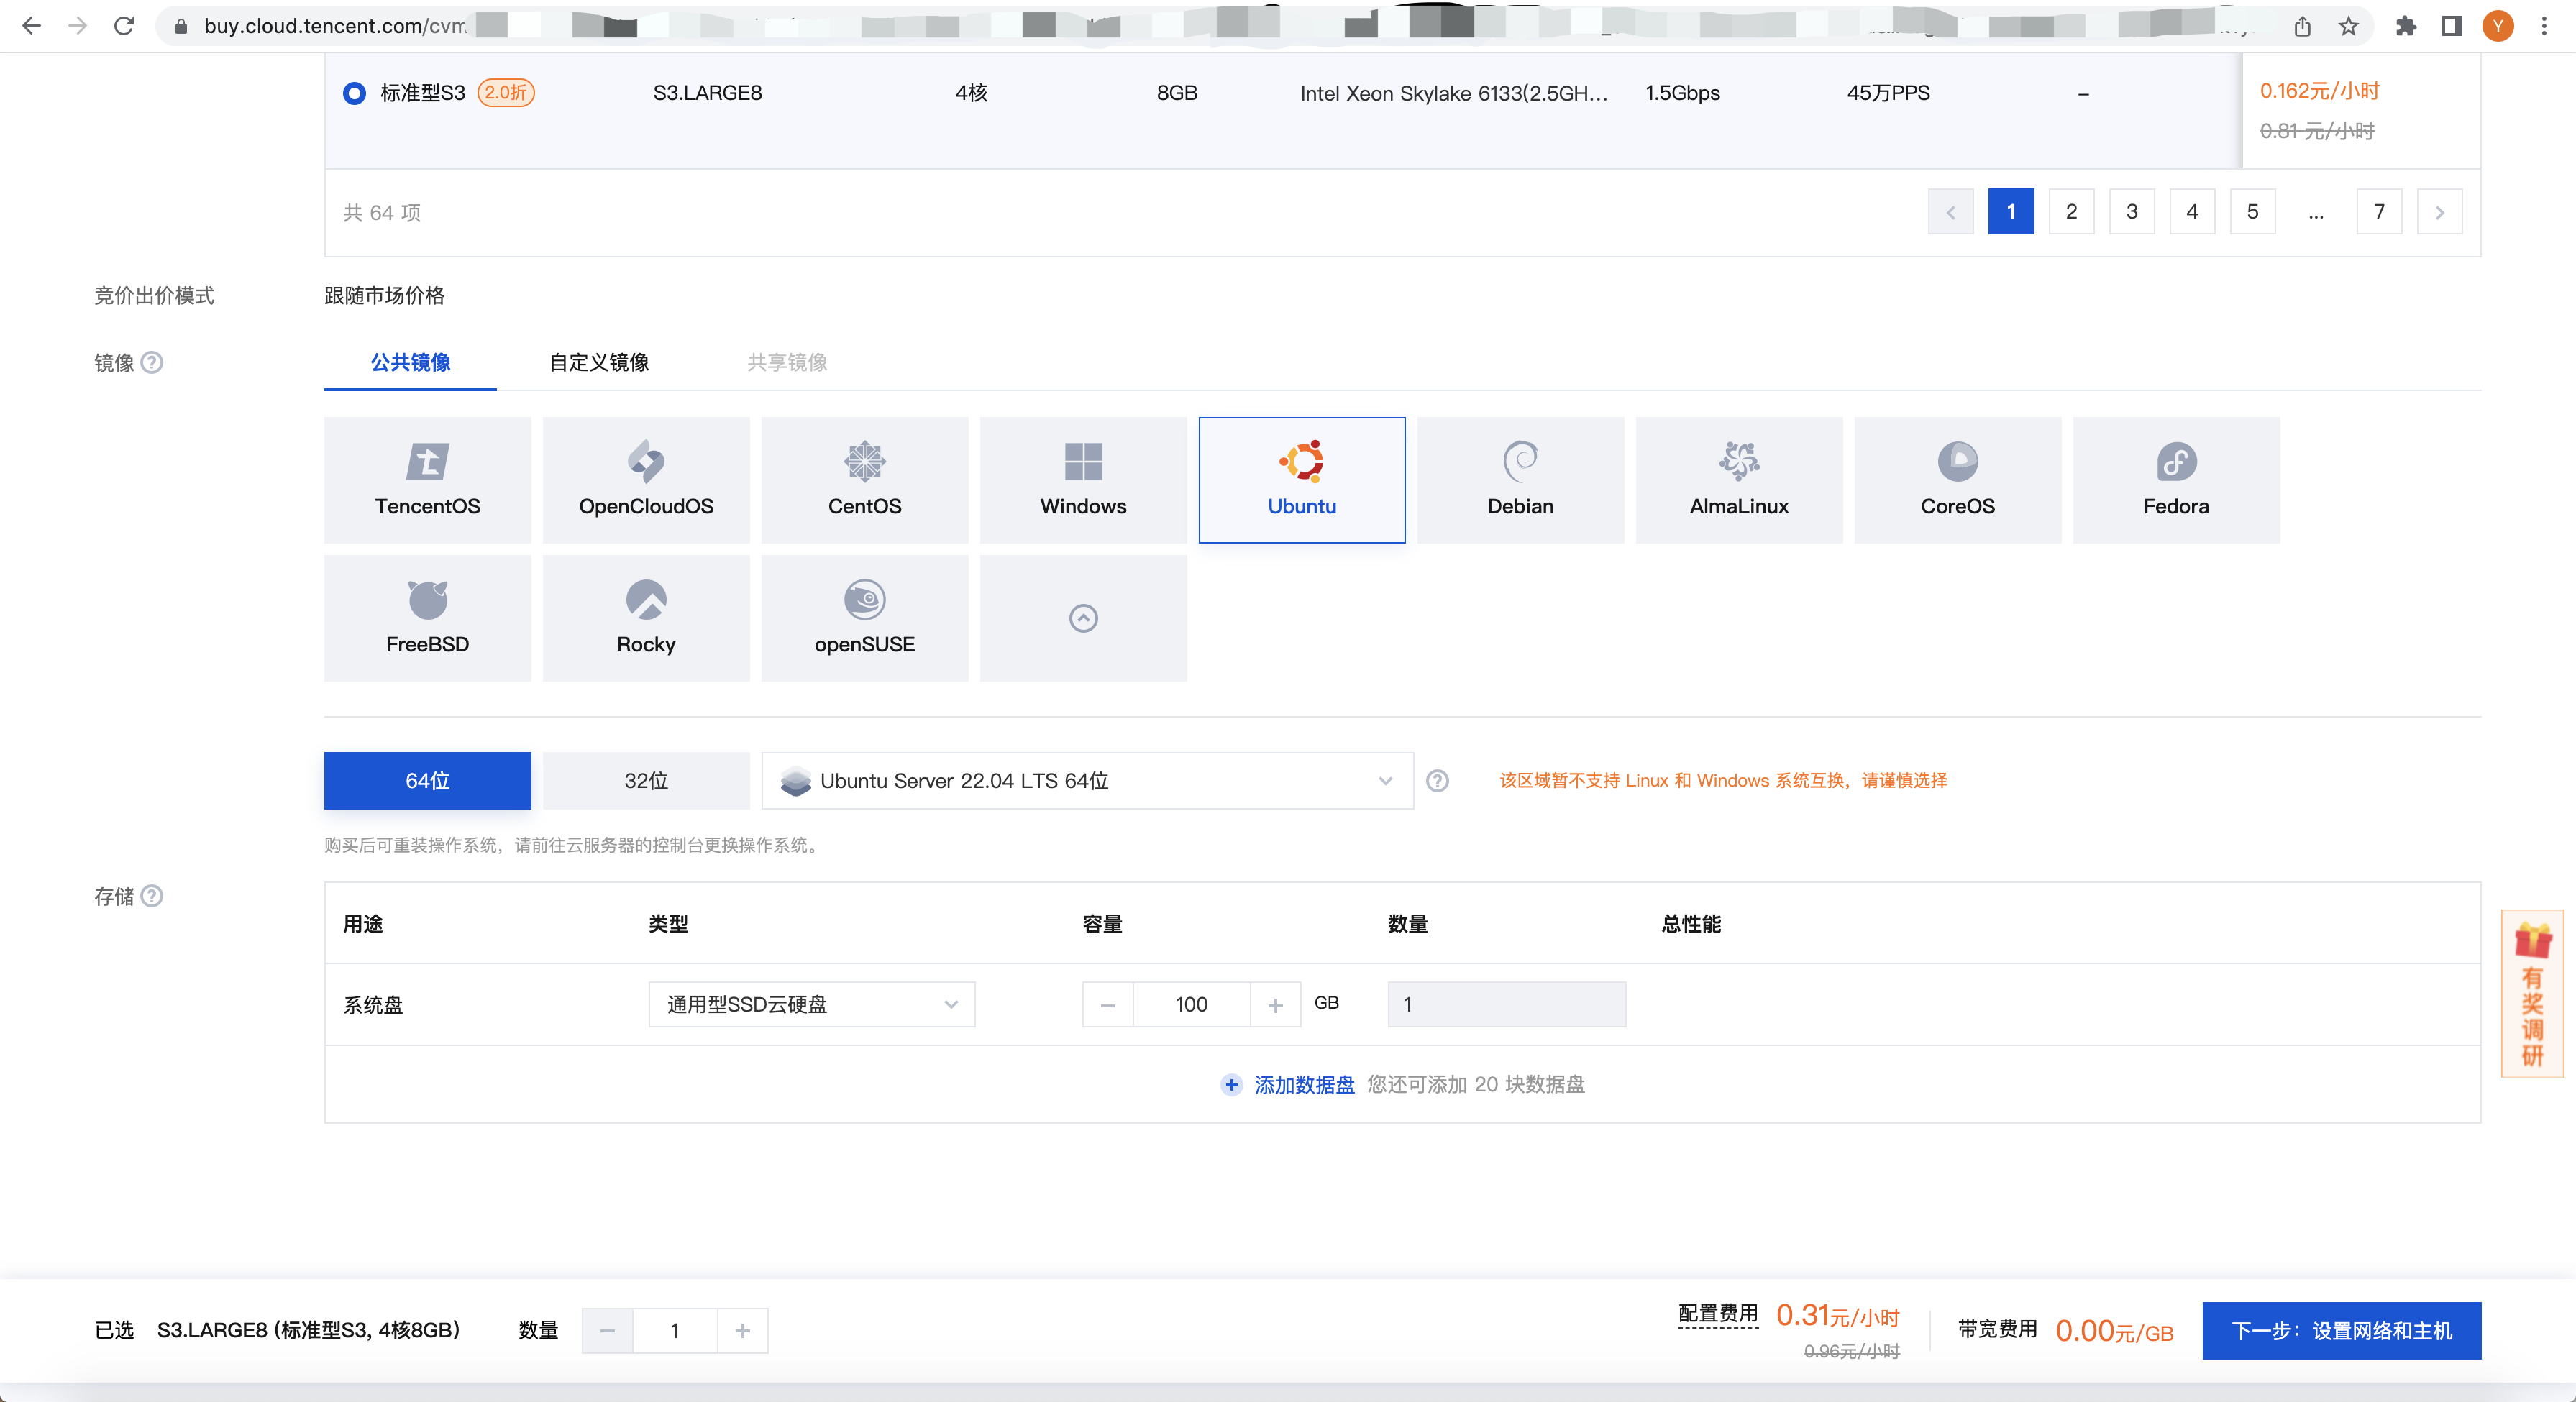
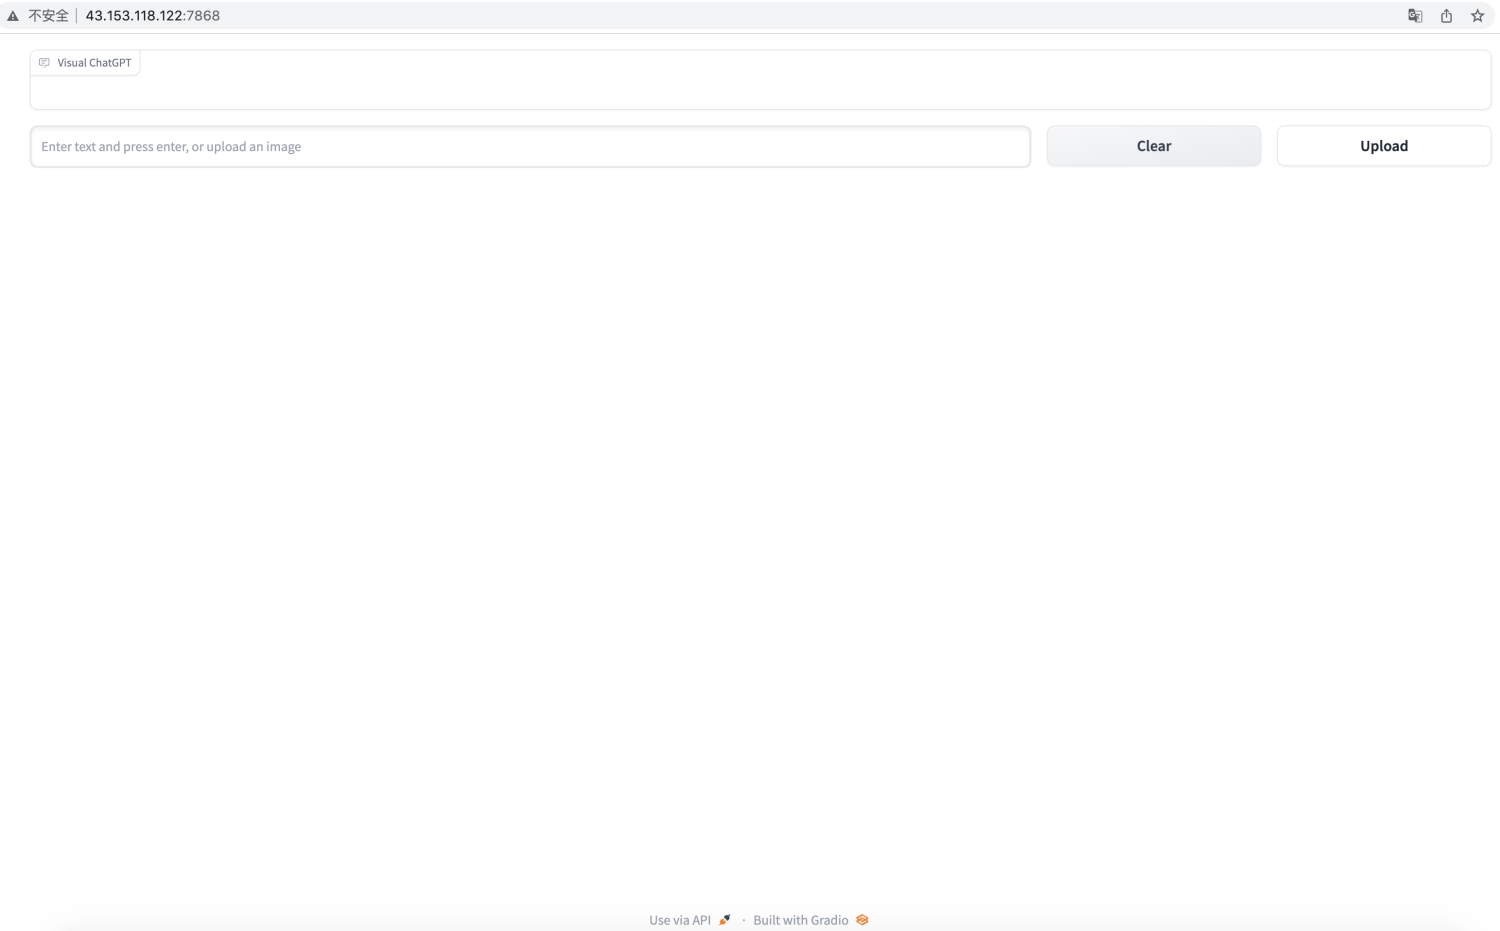
在腾讯云CVM的硅谷区域,申请一台4核8GB内存的服务器,选择公共镜像Ubuntu-64位-Ubuntu Server 22.04 LTS 64位 | img-487zeit5。系统盘选择100GB。网络安全组-入站规则需要打开7868端口。建议带宽值直接拉到100Mbps,因为需要下载的依赖非常多,非常大。

命令行 ssh -o ServerAliveInterval=30 root@服务器IP地址 登录。
git clone https://github.com/microsoft/visual-chatgpt.gitwget https://repo.anaconda.com/miniconda/Miniconda3-py310_23.1.0-1-Linux-x86_64.sh
chmod 775 Miniconda3-py310_23.1.0-1-Linux-x86_64.sh
sh Miniconda3-py310_23.1.0-1-Linux-x86_64.sh
重新登录
cd visual-chatgpt/conda create -n visgpt python=3.8
conda activate visgpt
pip install -r requirements.txt
export OPENAI_API_KEY={Your_Private_Openai_Key}
sudo apt-get install libsm6 libxrender1 libxext6 # 这一句命令可能不需要,未测试是否不需要
sudo apt-get install ffmpeg
pip uninstall numpy
pip install numpy==1.23.4


总结
喜欢Ubuntu的朋友可以尝试这个流程。