Hugo在windows安装教程,官方文档已经很详细了,详见:Install Hugo on Windows.。
官方文档给的工具也挺多,本文是采用winget包管理工具。winget安装教程详见:winget在win10的安装。
1. 下载hugo
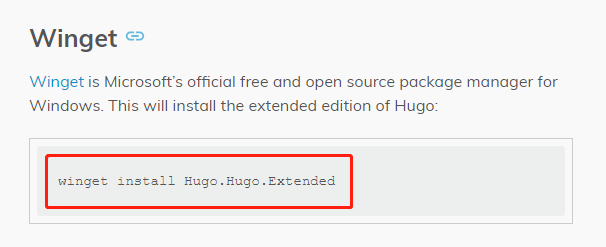
winget下载hugo指令

提示同意协议条款,选择Y,回车

开始下载Hugo安装包了,接下来是拼网速的时候了。
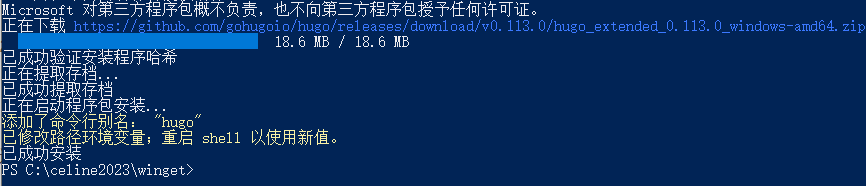
安装完成!
2. 使用Hugo创建站点
很开心的想要开始创建hugo站点,但是...

提示hugo指令不能用
感觉是环境变量配置问题。 首先我得知道winget把hugo下载在哪里了。
1. 先确认下是否真的安装了
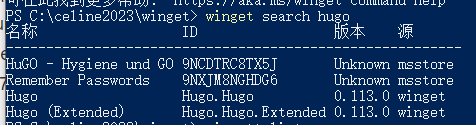
winget search
2. C盘下搜索下hugo安装包
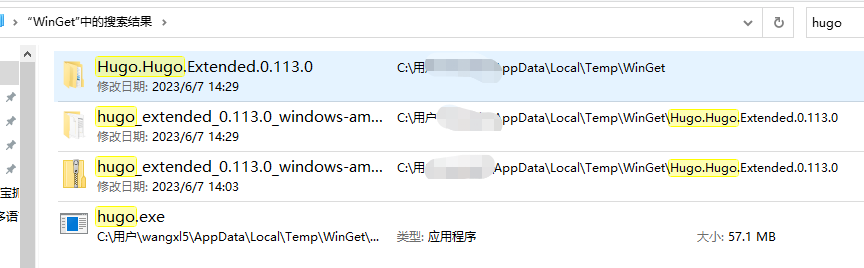
这个图是我解压后重新搜索的,不然一开始只有zip包
3. 解压zip运行下hugo.exe

解压zip后获取hugo.exe地址
4. 设置环境变量 找到“我的电脑“-”高级系统设置“-”环境变量“-”系统变量“中的path,向其中添加hugo可执行软件(.exe)的路径。

设置环境变量
5. 重启shell,测试hugo指令

很开心,hugo指令可以用了
2.x 重新回到hugo建立站点
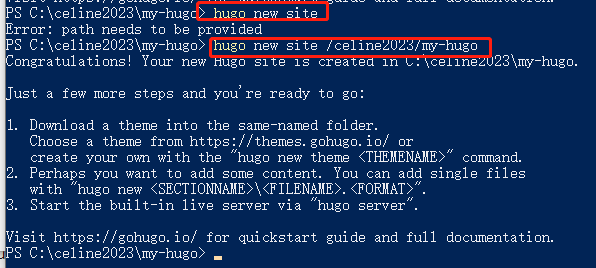
hugo new site 指定路径

my-hugo文件夹下新增了这些文件夹和文件
创建站点后的命令窗口,也有三条提示告知后续做些什么了:
- 选择主题
- 新建文件内容
- 启动hugo服务
2.1 选择主题
去官网(https://themes.gohugo.io/)选择自己喜欢的主题。比如此处我选择了PaperMod。

hugo主题
进入主题详情页,拉到底部Install模块,点击连接进入安装说明。

PaperMod主题
进入PaperMode主题的github地址,按照安装说明进行主题下载,下载方式有很多中,此处采用git clone方式(要提前安装git工具)。下载后,可以看到hugo站点的themes多出了一个PaperMod文件夹。

下载PaperMode主题
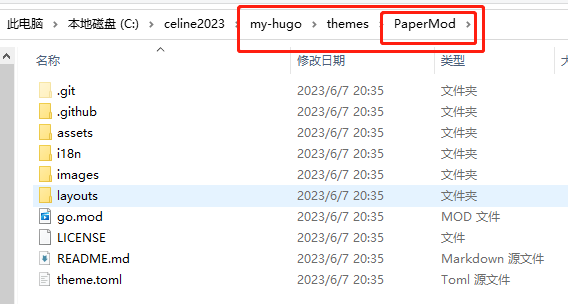
主题文件夹
下载主题后,别忘记了给站点设置主题!如果没有设置主题就hugo serve,会提示找不到主题模板(一堆关于html的报错),启动页面提示“404 not found”。
此处官网说是在config.yml新增主题,但我在站点目录下只看到hugo.toml。因为hugo支持多种配置格式文件,所以我尝试直接在已有的hugo.toml添加主题字段。
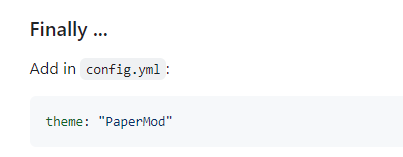
设置站点主题为PaperMod

hugo.toml设置theme字段
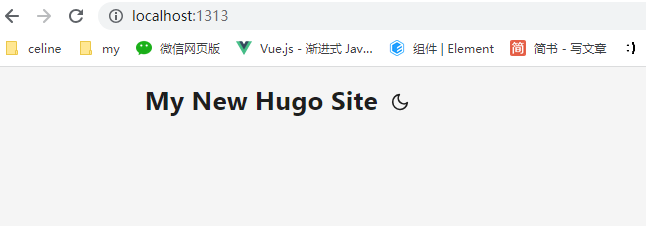
设置完主题hugo serve,就可以看到主题模板啦
2.2 新建内容
hugo的文章创建,一般是在content文件夹下。我们在content下创建一个posts文件夹,专门放发布文章,然后新建一个second.md文件。
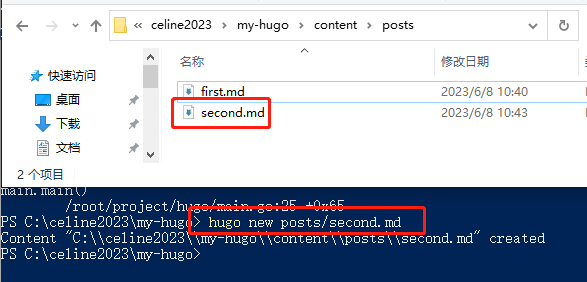
hugo new xxx.md

写入内容
2.3 启动服务
在站点目录下,hugo serve启动内置服务预览博客。
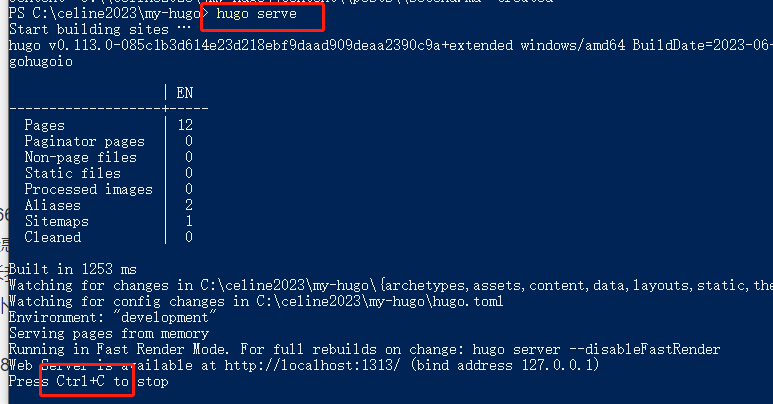
启动服务

预览博客
hugo serve后面可以接一些参数,比较常用的有:
--watch 选项可以在修改文件后自动刷新浏览器。这个很好用,就不用改下文章,还得重启服务预览。
--buildDrafts 包括标记为草稿(draft)的内容。这个当你还在调整草稿又想预览时候,可以用。
--theme 选项可以指定主题。多个主题时候,预览时候可以选定主题查看效果。
小彩蛋
说不上彩蛋了,就是给一些小白(中性词)朋友梳理下链接和文章的关系。
localhost:1313:是一个本机地址localhost(也可以用127.0.01) 加上 端口号1313。启动的是本地调试服务,外网是不能访问的(你可以认为是只有你自己电脑上能访问的一个本机服务)。
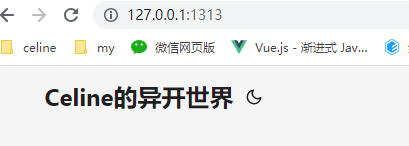
localhost可以替换成127.0.0.1
这个服务地址的根目录是hugo站点目录/content文件夹下。所谓的根目录意思就是,我一输入localhost:1313之后,它访问的是哪个文件夹。
知道这层关系后,你就可以根据content文件夹的目录结构去映射localhost:1313链接路径。比如你要直接访问about.md这个文件,那就是输入localhost:1313/about。
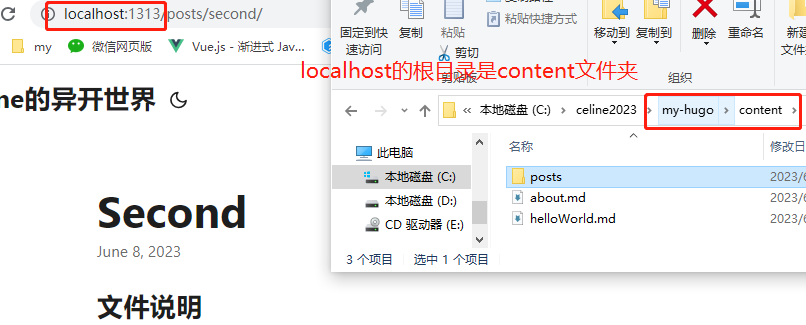
哈哈哈,我图片是展示访问posts/second.md这个文件啦
2.4 生成静态网站
前面都是hugo预览,接下来我们要对这些主题和文章生成静态网站啦!
直接只用hugo指令,就能在my-hugo/public文件夹下生成静态网站的相关内容了。
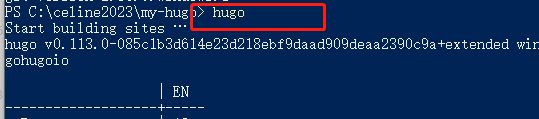
直接使用hugo指令
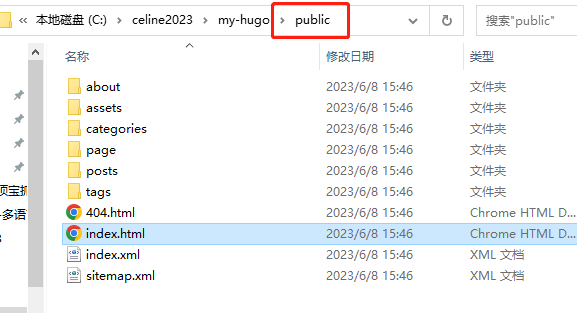
public文件夹里面就是一个静态网站代码
如果你有服务器,直接把public里面的内容复制到服务器站点根目录就可以啦。
结语
好了。hugo在windows的安装,并在本地使用就介绍到这里。实际上这只是起步,大家建博客是希望可以放到互联网上,给大家看。所以下一篇我们来讲述下,怎么创建一个“真正”的博客。
参考文章:
- Windows下使用 hugo + github pages 创建自己的个人博客
- Hugo - 安装、设置及使用:这篇很想详细,也解疑了我一些疑惑。主题官方文档一直说是改config.yml,找了老半天找不到,终于有文章告诉我hugo其实支持多种配置文件,现在默认是toml了,所以我应该按照toml格式补充
theme字段.

image.png